28 Easy DIY Christmas Decorations to Make This Holiday Season

Handmade decorations bring a warmth to Christmas that store-bought pieces rarely match, and the best projects do not require advanced skills, expensive supplies, or a whole weekend. A few jars, pinecones, scraps of yarn, and basic craft staples can become ornaments, garlands, wreaths, and glowing accents your family will treasure for years to come.
This collection gathers 28 easy DIY Christmas decorations to make this holiday season, each one beginner-friendly, budget-conscious, and finished in simple steps. Every project uses materials you may already own, with brief safety notes wherever hot glue, sharp tools, or candles are involved, so crafting stays relaxed and fun.
Start with one project for your door, inspired by our 30 Beautiful Christmas Door Decorating Ideas for 2026, then add a garland, a tabletop accent, and something handmade for the tree.
28 Easy DIY Christmas Decorations to Make This Holiday Season
1. Mason Jar Snow Globes
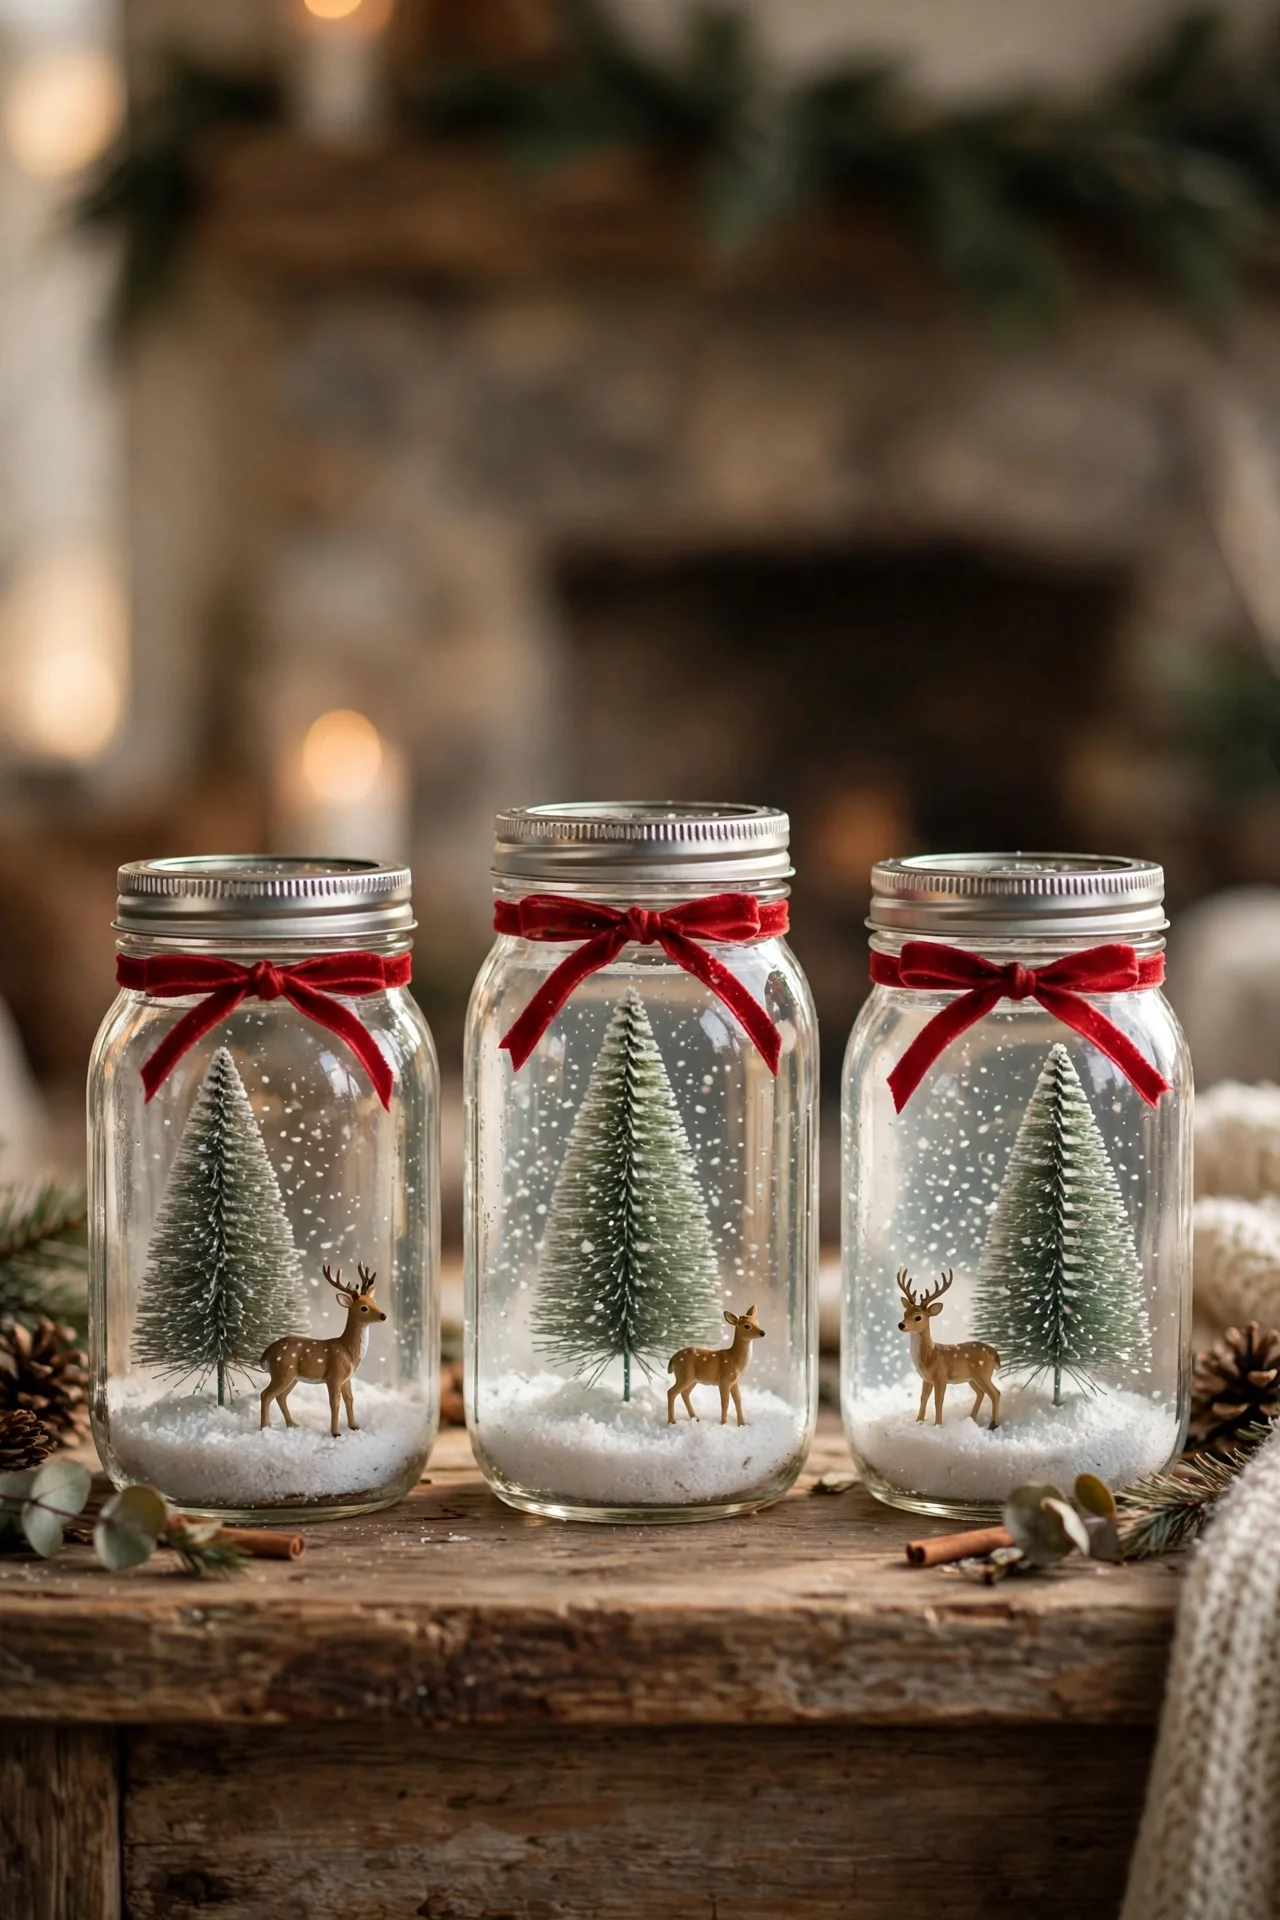
Turn ordinary mason jars into charming snow globes in under an hour. Glue a miniature bottle-brush tree and a tiny deer or house to the inside of the lid, add faux snow or coarse glitter to the jar, then screw the lid on and flip it over.
Use waterproof craft glue or a small amount of hot glue, and let it cure fully before inverting the jar. Adults should handle the glue gun, since the tip gets hot enough to burn skin.
Group three globes of different heights on a mantel or windowsill. A red ribbon tied around each jar neck adds a finished, festive touch that hides the metal lid edge beautifully.
2. Salt Dough Ornaments
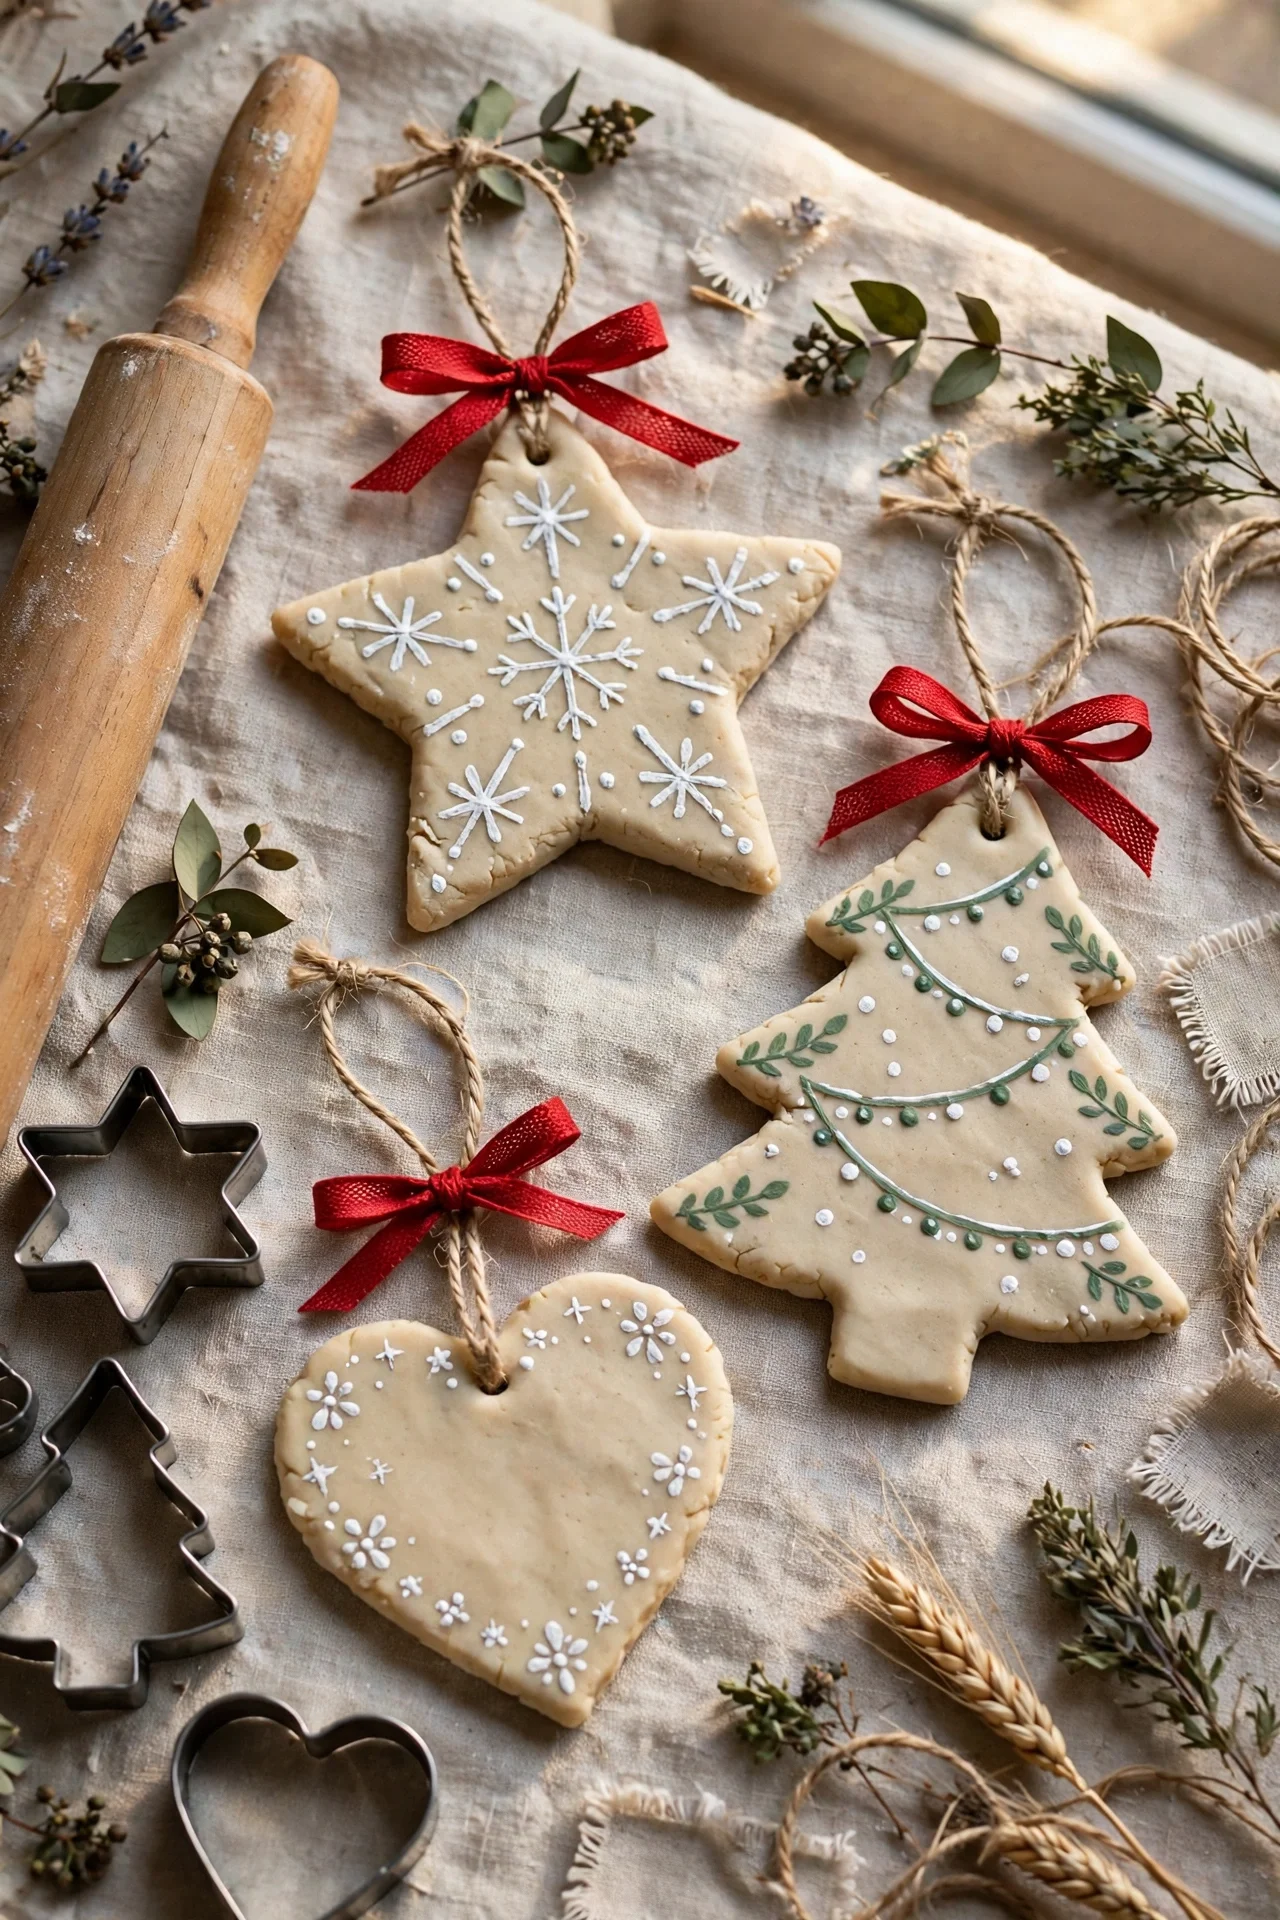
Salt dough ornaments cost pennies and keep little hands happily busy. Mix two cups of flour, one cup of salt, and one cup of water, knead until smooth, then roll the dough about a quarter inch thick and cut shapes with cookie cutters.
Poke a hanging hole with a straw before baking at a low temperature until the shapes feel hard and dry. Let them cool completely, then paint with acrylics and seal with a clear craft sealer for shine.
Tie each ornament with twine or narrow ribbon for hanging. These lightweight keepsakes suit the tree, gift packages, and garlands, and they store well between sheets of tissue for many seasons.
3. Dried Orange Slice Garland

A dried orange garland brings natural color and a gentle citrus scent to any room. Slice oranges about a quarter inch thick, blot them well with towels, then dry them in a low oven for several hours, turning once, until they feel leathery and translucent.
Thread the cooled slices onto twine with a large needle, spacing them with wooden beads, bay leaves, or cinnamon sticks. Adults should handle the slicing and oven steps, while children can happily do the threading and spacing.
Hang the finished garland across a mantel, window, or staircase rail. The backlit slices glow like stained glass in afternoon sun, and the whole strand composts or stores flat after the season ends.
4. Pinecone Mini Christmas Trees
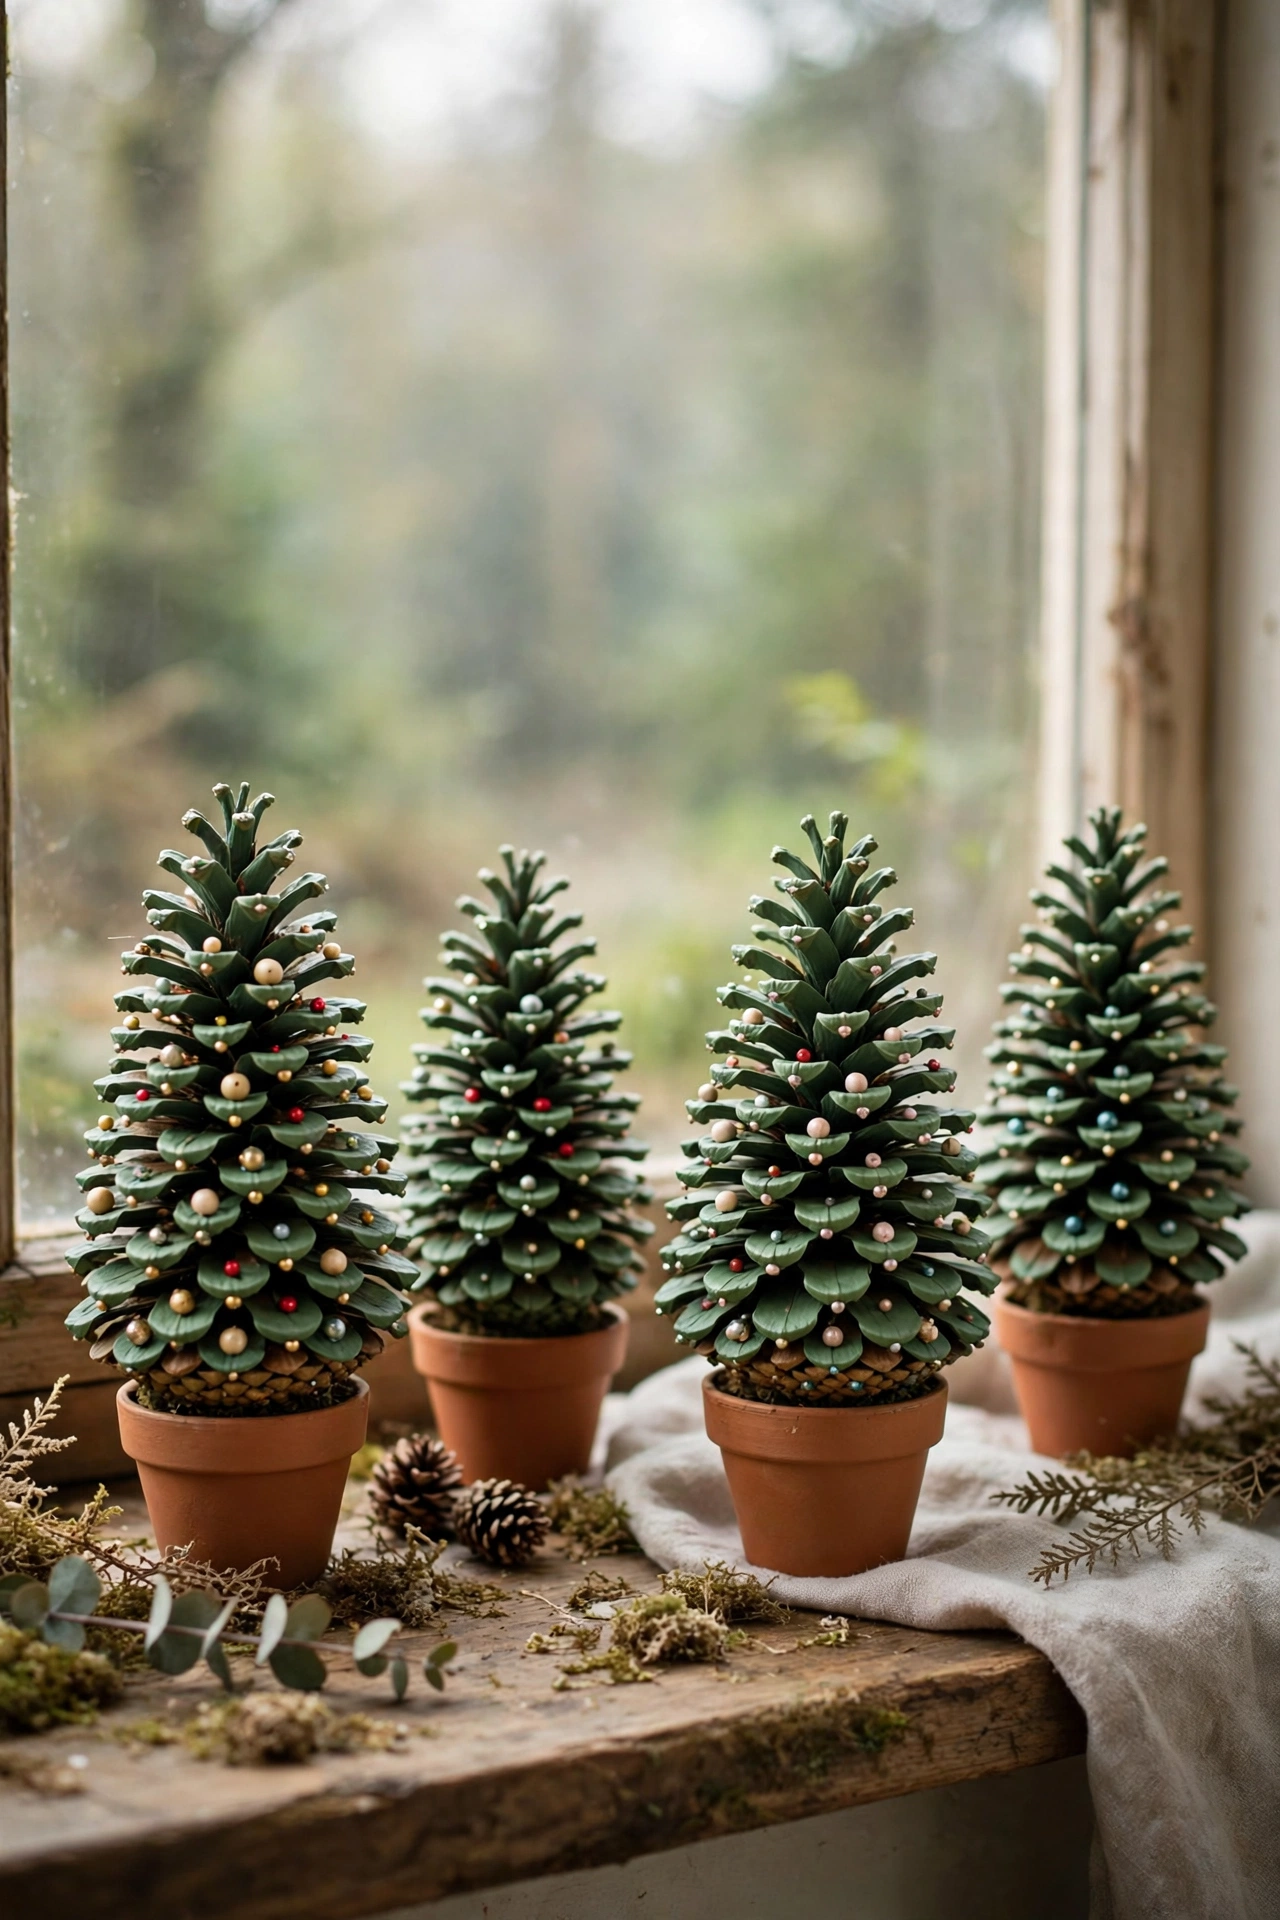
A single large pinecone already looks like a tiny evergreen, so this project almost makes itself. Stand each clean, dry pinecone upright in a small terracotta pot or cork base, using a dab of hot glue to hold it steady and level.
Brush the scale tips with green acrylic paint, or leave the cone natural and add white paint only to the edges for a snowy effect. While the paint dries, prepare tiny decorations from beads, small pom-poms, or a pinch of glitter.
Glue on a few bead ornaments and finish with a small star or bead on top. Line three trees along a windowsill or cluster them as a sweet, woodland table centerpiece.
5. Popsicle Stick Snowflakes
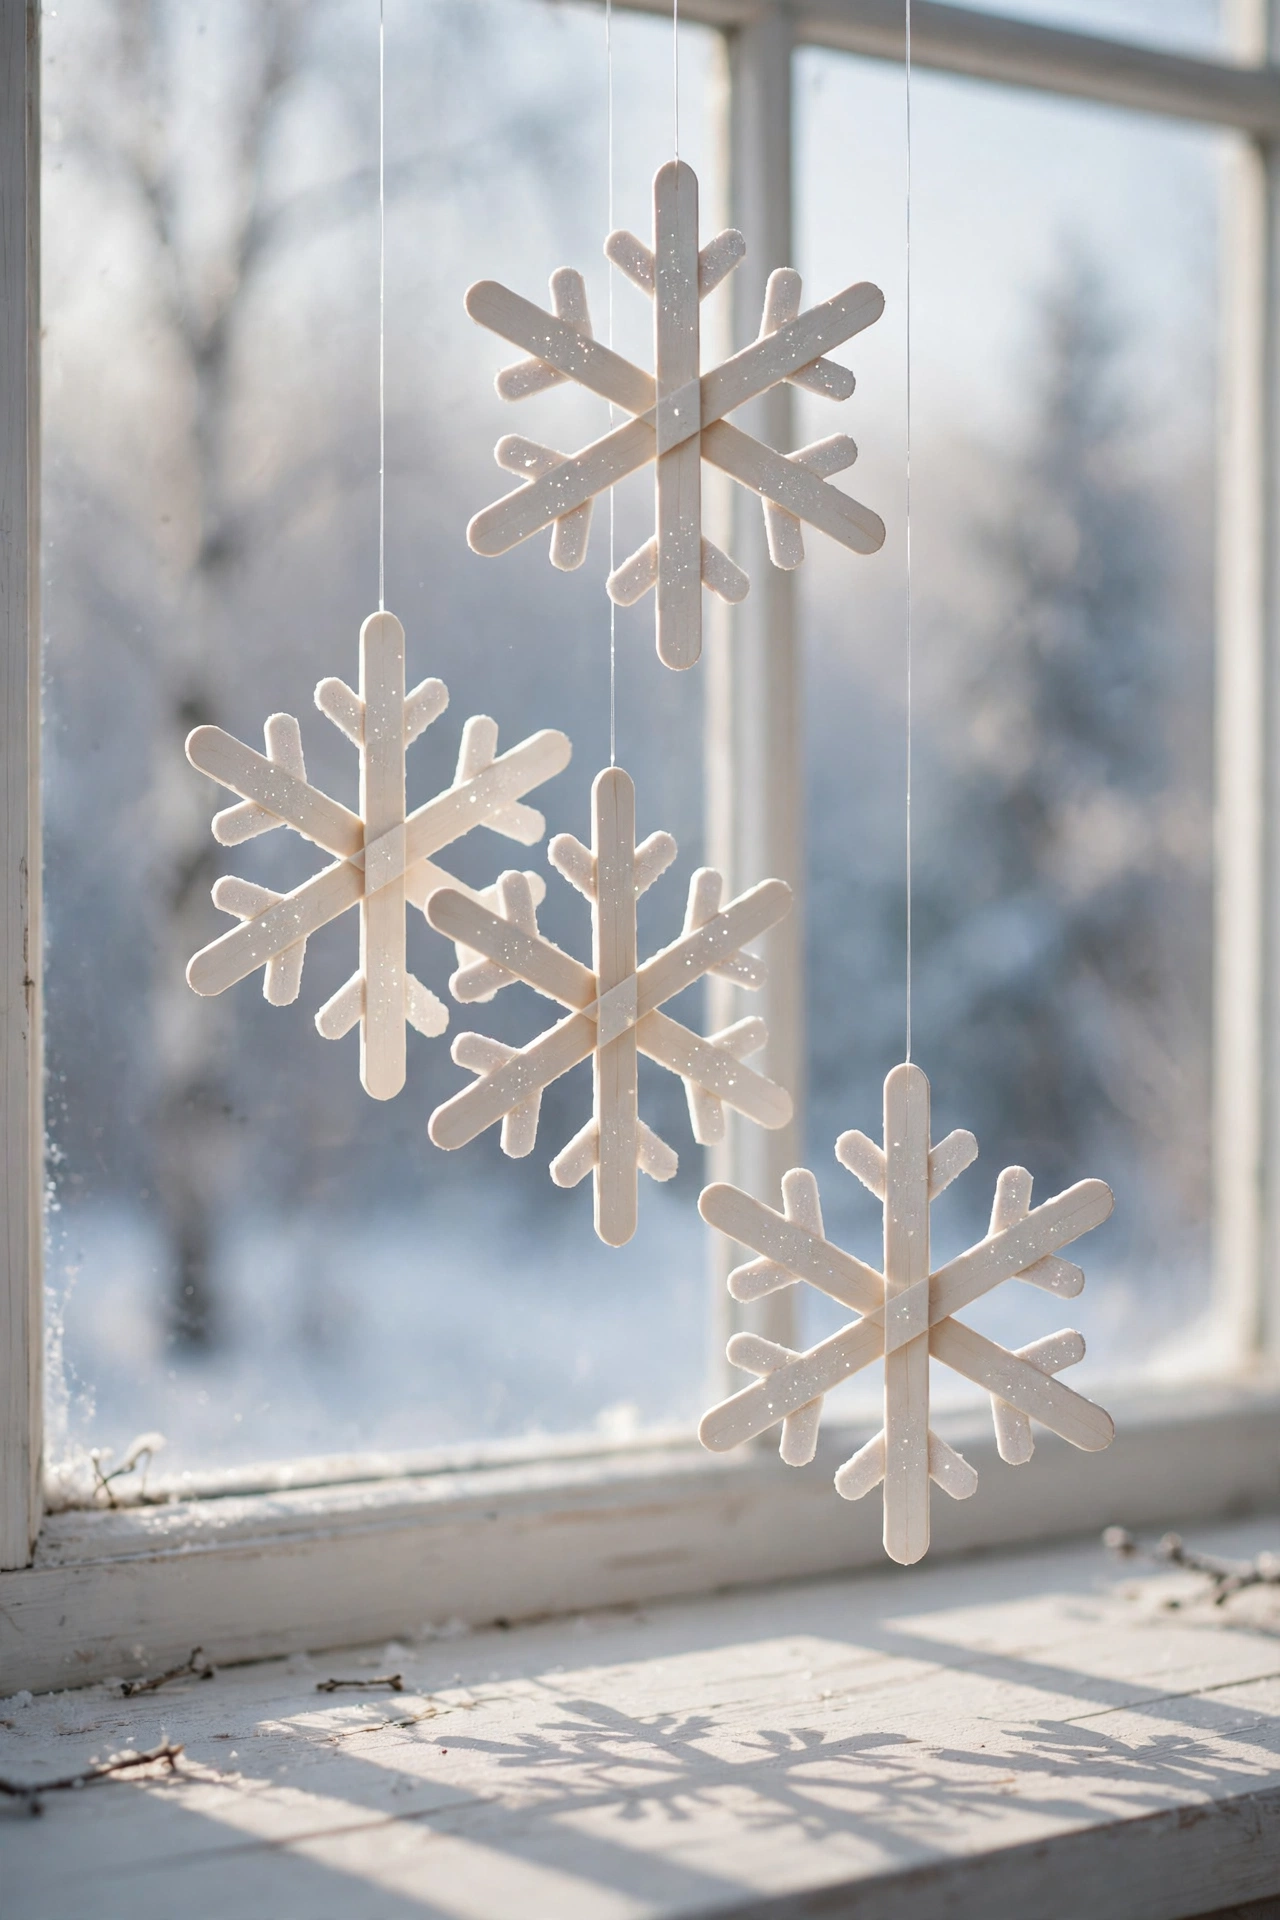
Craft sticks become elegant snowflakes with a little glue and patience. Arrange four sticks in a starburst, glue them at the center, then add shorter pieces between the arms to build a lacy, geometric pattern that mimics real frost crystals.
Paint the finished flakes white, silver, or icy blue, and add a dusting of fine glitter while the paint is still wet. A low-temperature glue gun works best here, and younger crafters should let an adult handle every gluing step safely.
Tie clear thread or thin ribbon to one point and hang the flakes in windows or from a mantel. Different sizes grouped together create a gentle falling-snow effect indoors all season long.
6. Cinnamon Stick Candle Holders

Cinnamon sticks wrapped around a simple candle holder add rustic texture and a warm holiday scent. Stand sticks upright around a short glass votive holder, hold them in place with a rubber band, then tie twine or ribbon tightly over the band to hide it.
For safety, use battery-operated tea lights or pillar candles inside the holders instead of real flames. The flickering LED glow looks lovely through the cinnamon, without any fire risk near the dried sticks, twine, or nearby greenery.
Cluster two or three holders on a tray with pinecones and evergreen sprigs. As the room warms, the cinnamon releases a soft fragrance that makes the whole corner feel like Christmas baking.
7. No-Sew Sock Snowmen
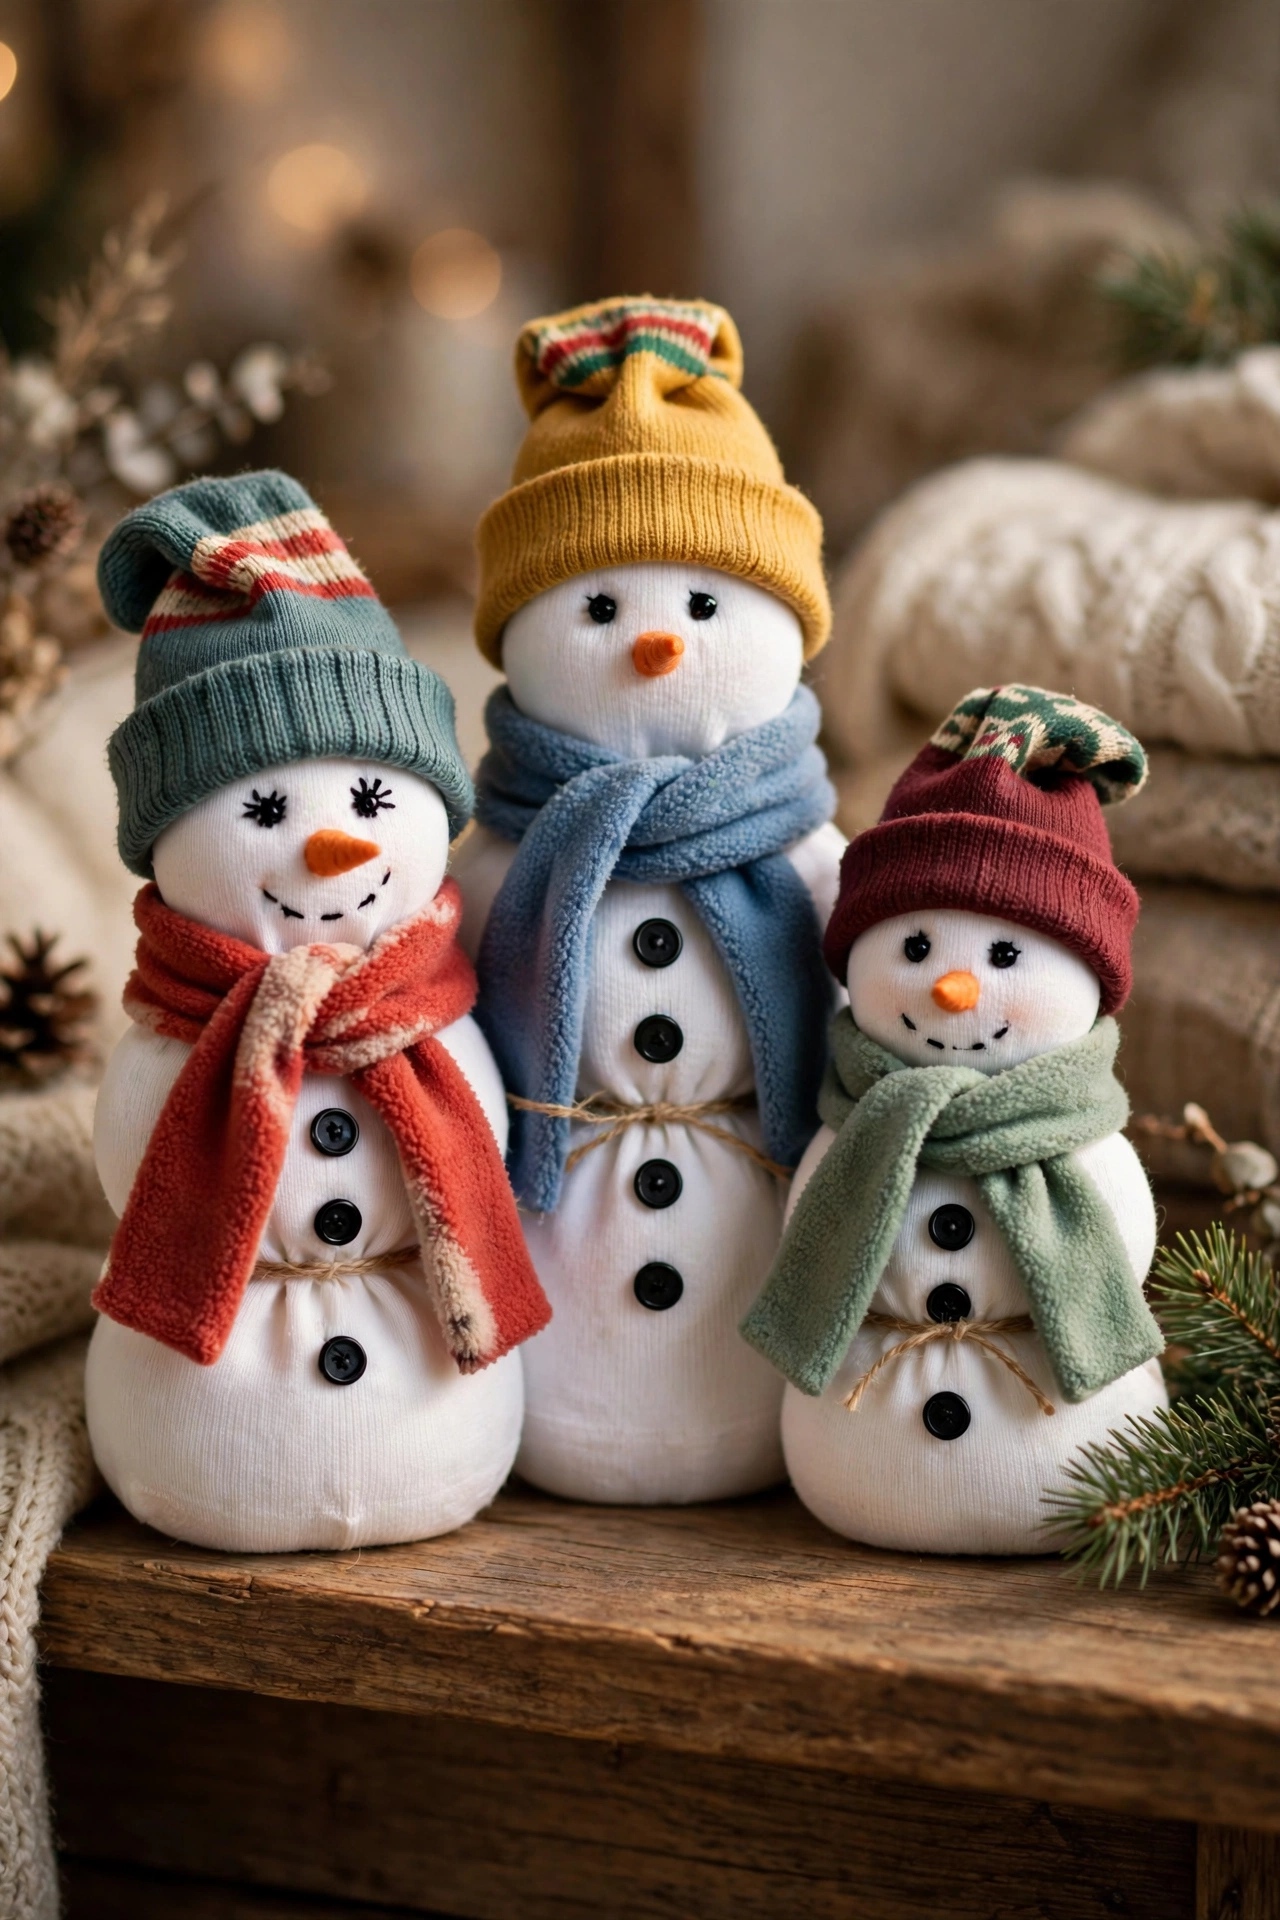
A lone white sock becomes a plump little snowman with no sewing at all. Fill the sock with rice or dry beans, tie it closed with string, then add a second tie partway down to shape a round head above a rounder body.
Cut the cuff from a second, colorful sock to make a hat, and snip a narrow strip of fleece or felt for a scarf. Glue or draw on button eyes, a tiny orange nose, and a row of real buttons down the belly.
Set a row of snowmen along a shelf, each with a different hat and scarf. Because they are soft and unbreakable, they are perfect decorations for homes with curious toddlers and pets.
8. Yarn-Wrapped Cone Trees
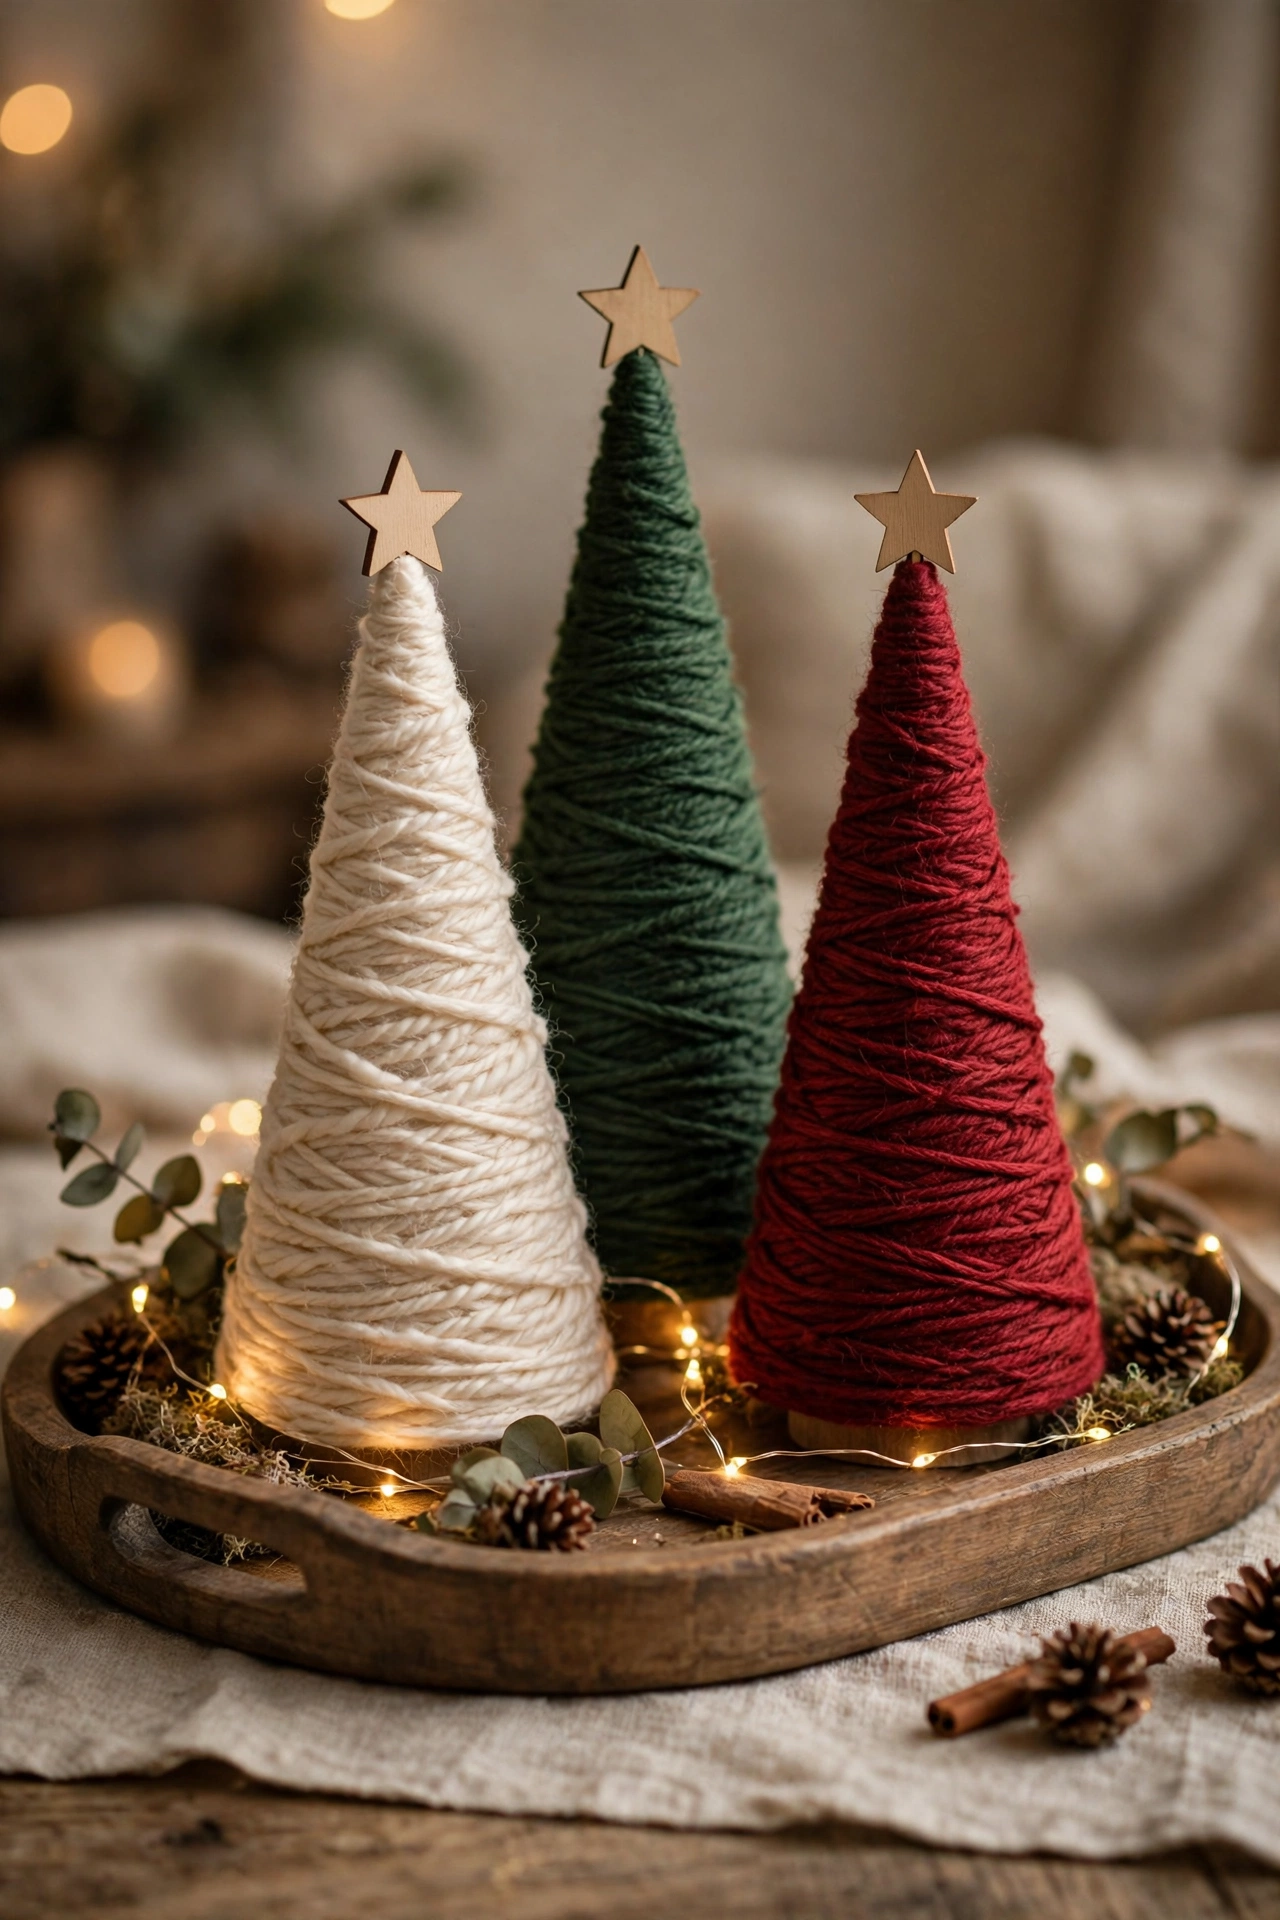
Foam or cardboard cones wrapped in yarn make soft, modern tabletop trees. Secure the yarn end at the base with a dot of glue, then wind steadily upward, keeping the rows snug so no cone shows through between the strands of yarn.
Vary the look with chunky cream yarn, thin forest-green yarn, or two colors wound together. A second loose spiral of contrasting yarn over the first layer adds a pretty garland effect without any extra materials or complicated steps for beginners.
Top each tree with a small wooden star, bead, or pom-pom. Grouped in odd numbers on a tray or mantel, these quiet trees pair beautifully with brighter, shinier decorations elsewhere in the room.
9. Pom-Pom Wreath
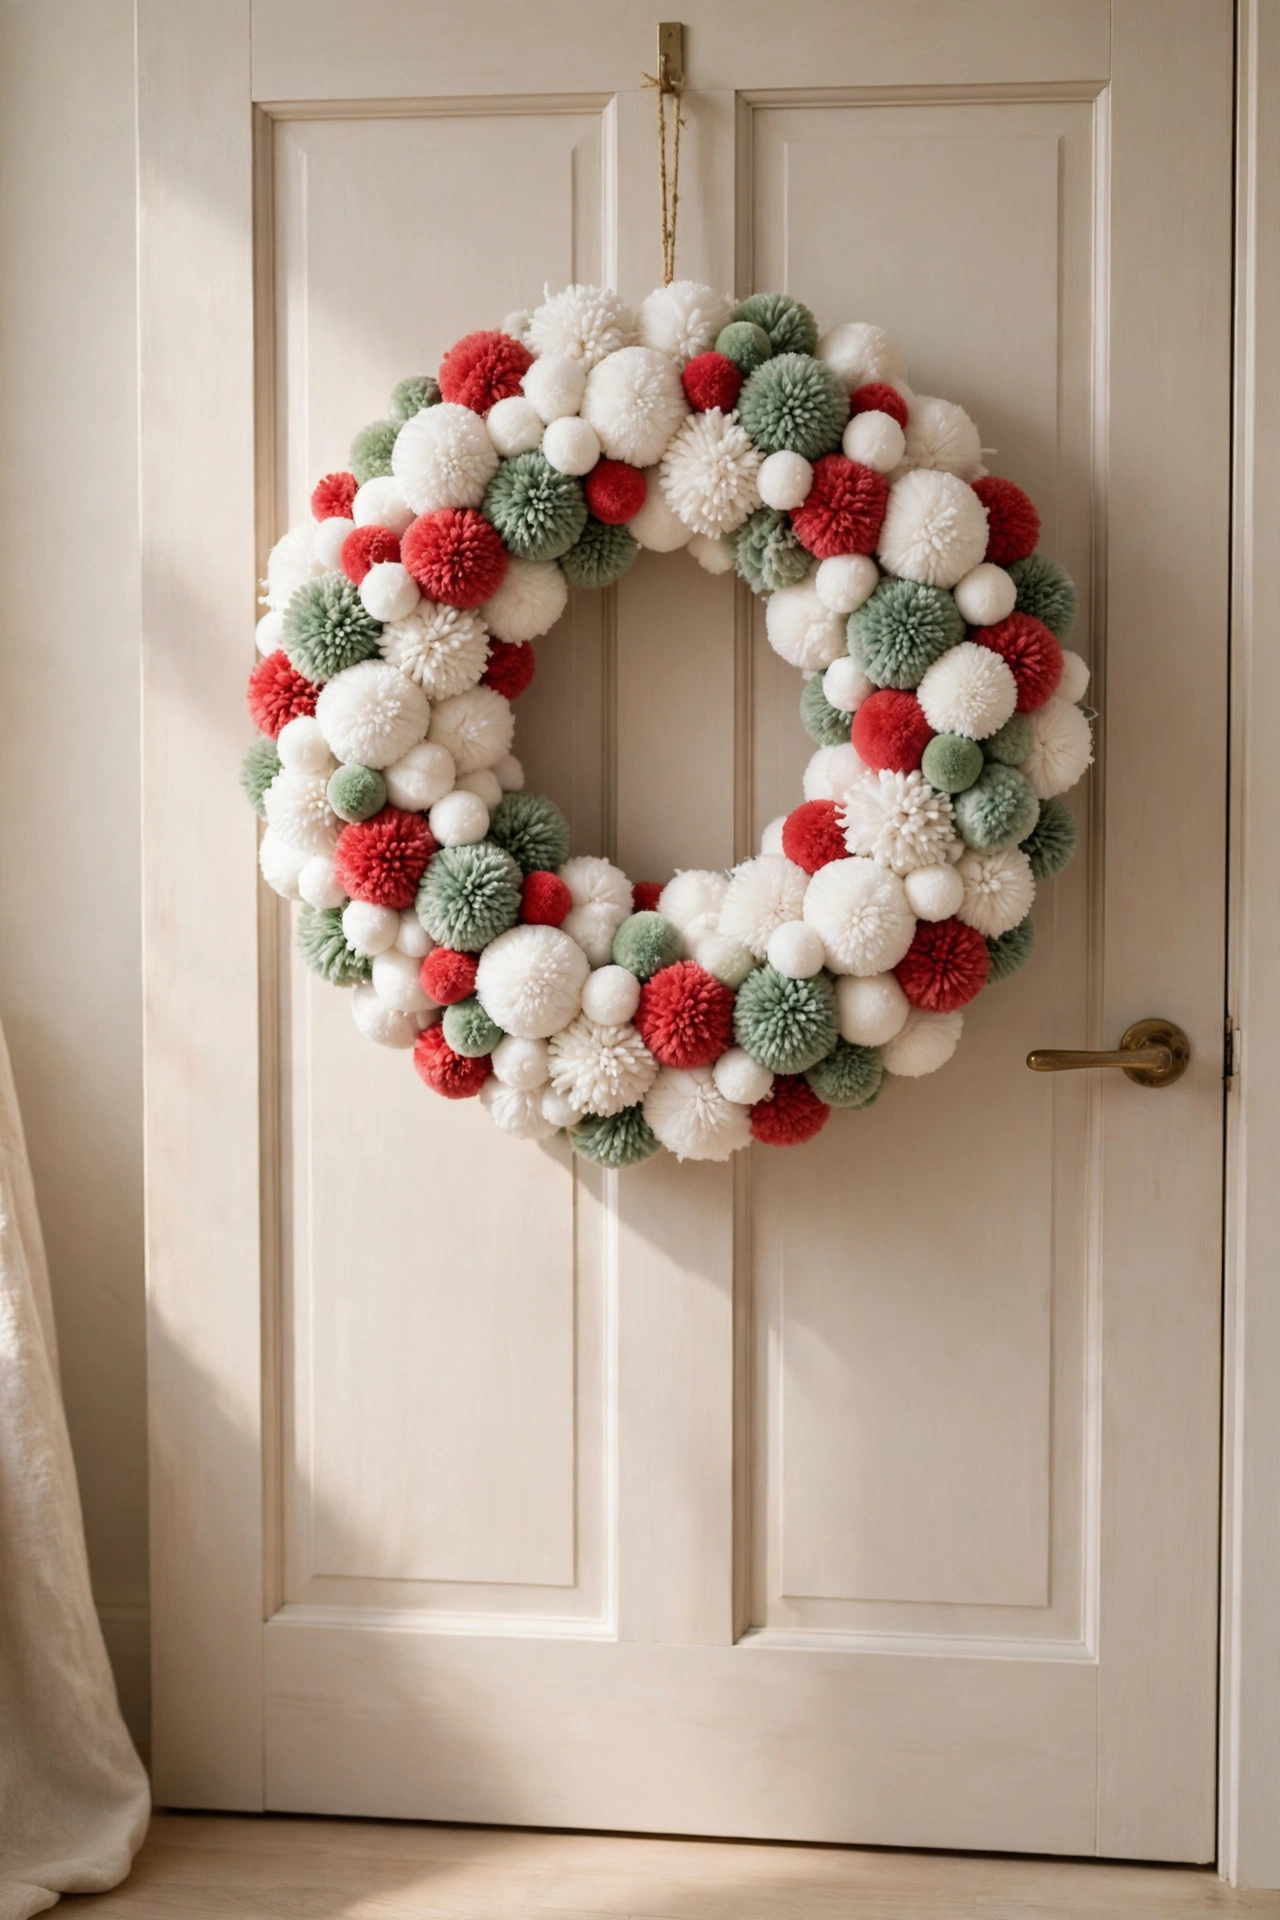
A pom-pom wreath is pure cheerful texture, and it is wonderfully forgiving for beginners. Make or buy pom-poms in white, red, and green, then glue or tie them tightly onto a foam or grapevine wreath form until no base shows through at all.
Mix two or three pom-pom sizes for a plush, cloud-like surface. Fill any gaps with the smallest pom-poms, pressing them gently into the spaces, and shake the wreath lightly to check that every piece is firmly and securely attached before hanging.
Hang it on an interior door, above the mantel, or in a child’s bedroom. The soft wreath is silent, lightweight, and completely door-friendly, with no scratching, shedding, or fragile parts to worry about.
10. Paper Snowflake Window Display
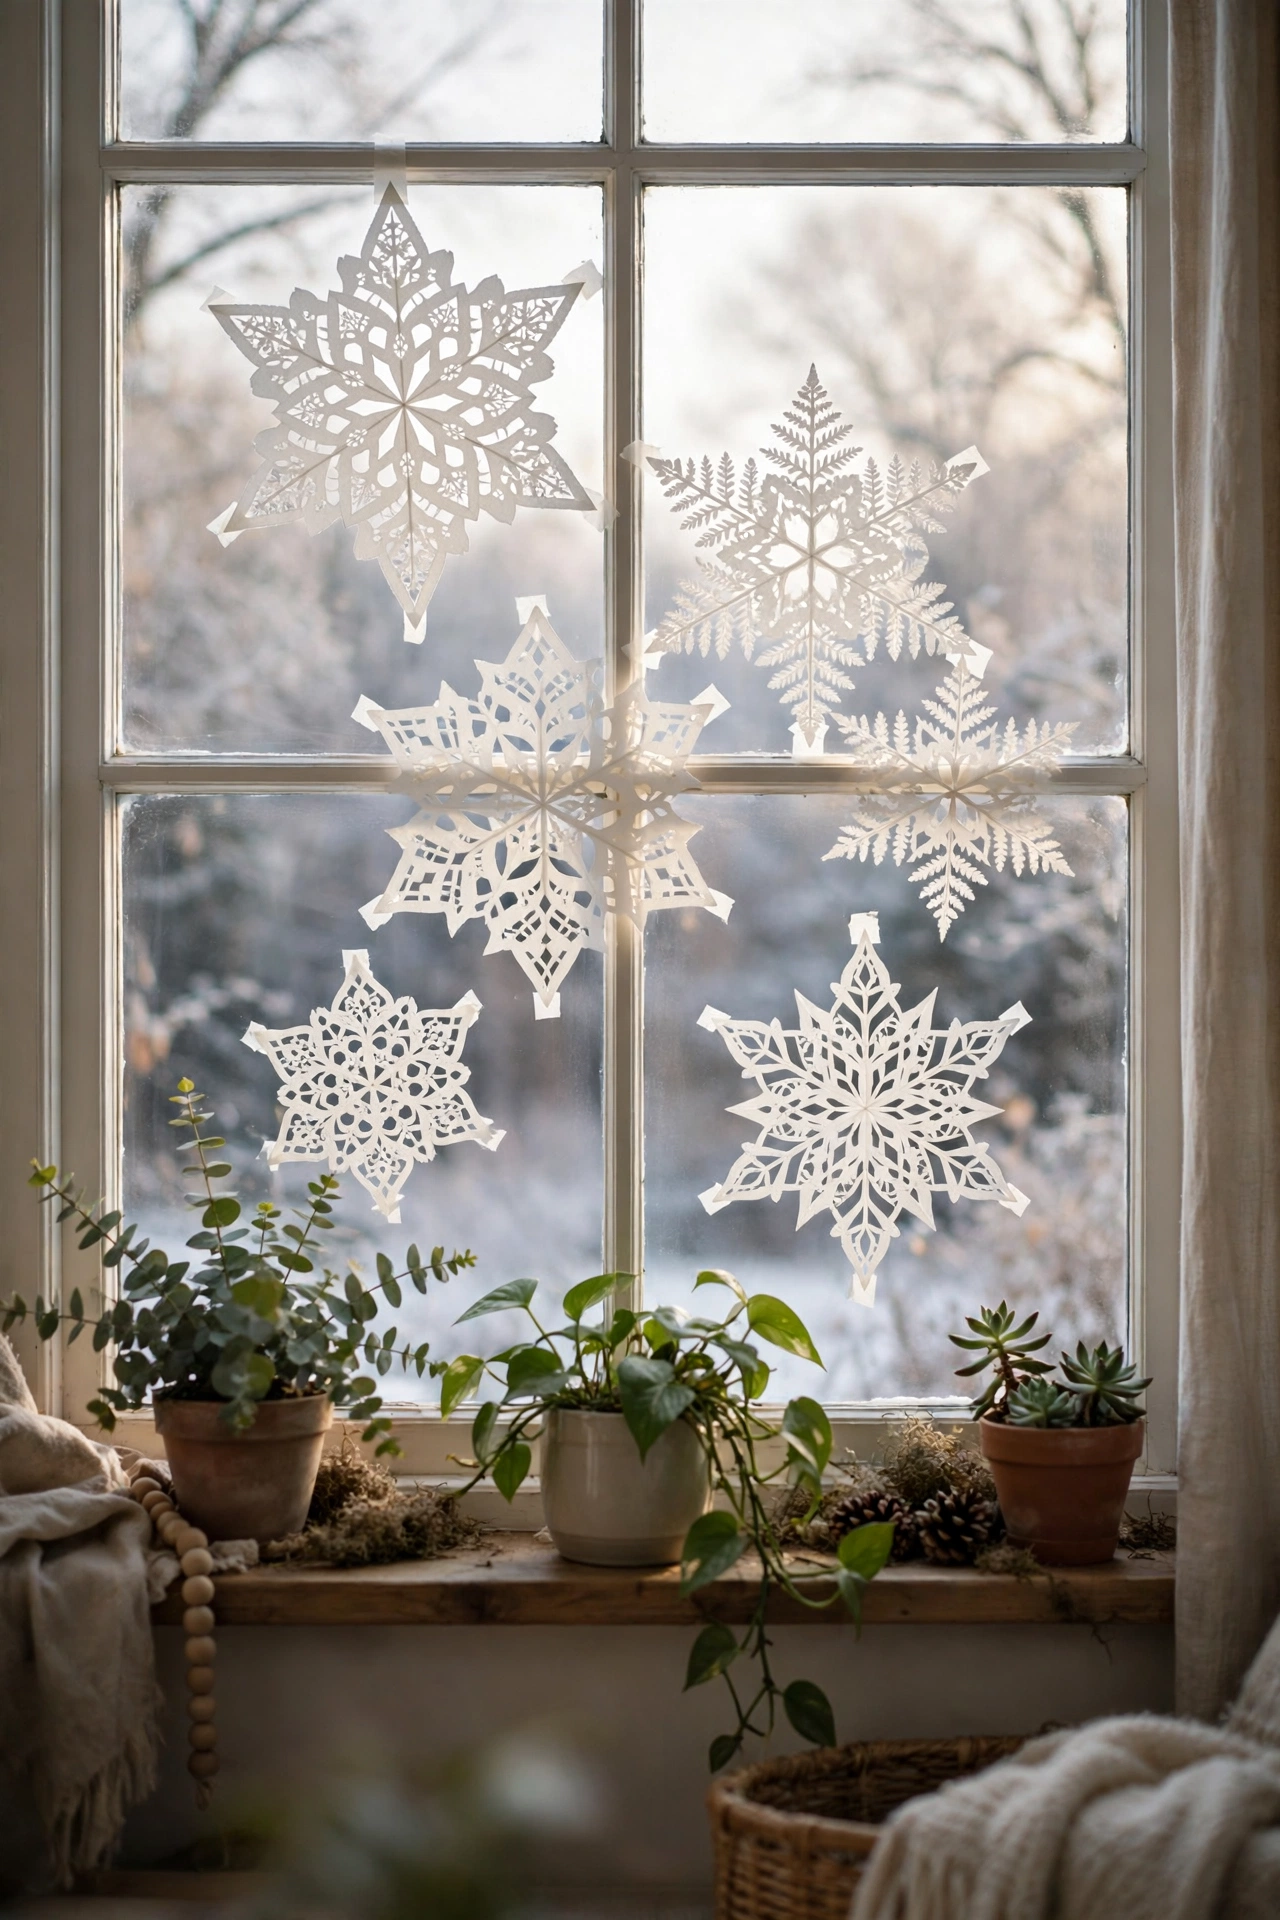
Classic folded paper snowflakes still deliver the biggest effect for almost no cost. Fold white paper or coffee filters into wedges, snip small triangles and curves along the edges, then unfold carefully to reveal a one-of-a-kind lacy pattern every single time.
An adult should handle sharp scissors for intricate cuts, while children can safely design patterns and do the unfolding. Flatten finished flakes briefly under a heavy book so they hang neatly and their points stay crisp against the glass all season.
Tape the flakes to windows with small loops of removable tape, layering large and small designs. Against winter daylight or evening lamplight, the whole window becomes a soft, snowy scene indoors.
11. Wine Cork Reindeer Ornaments
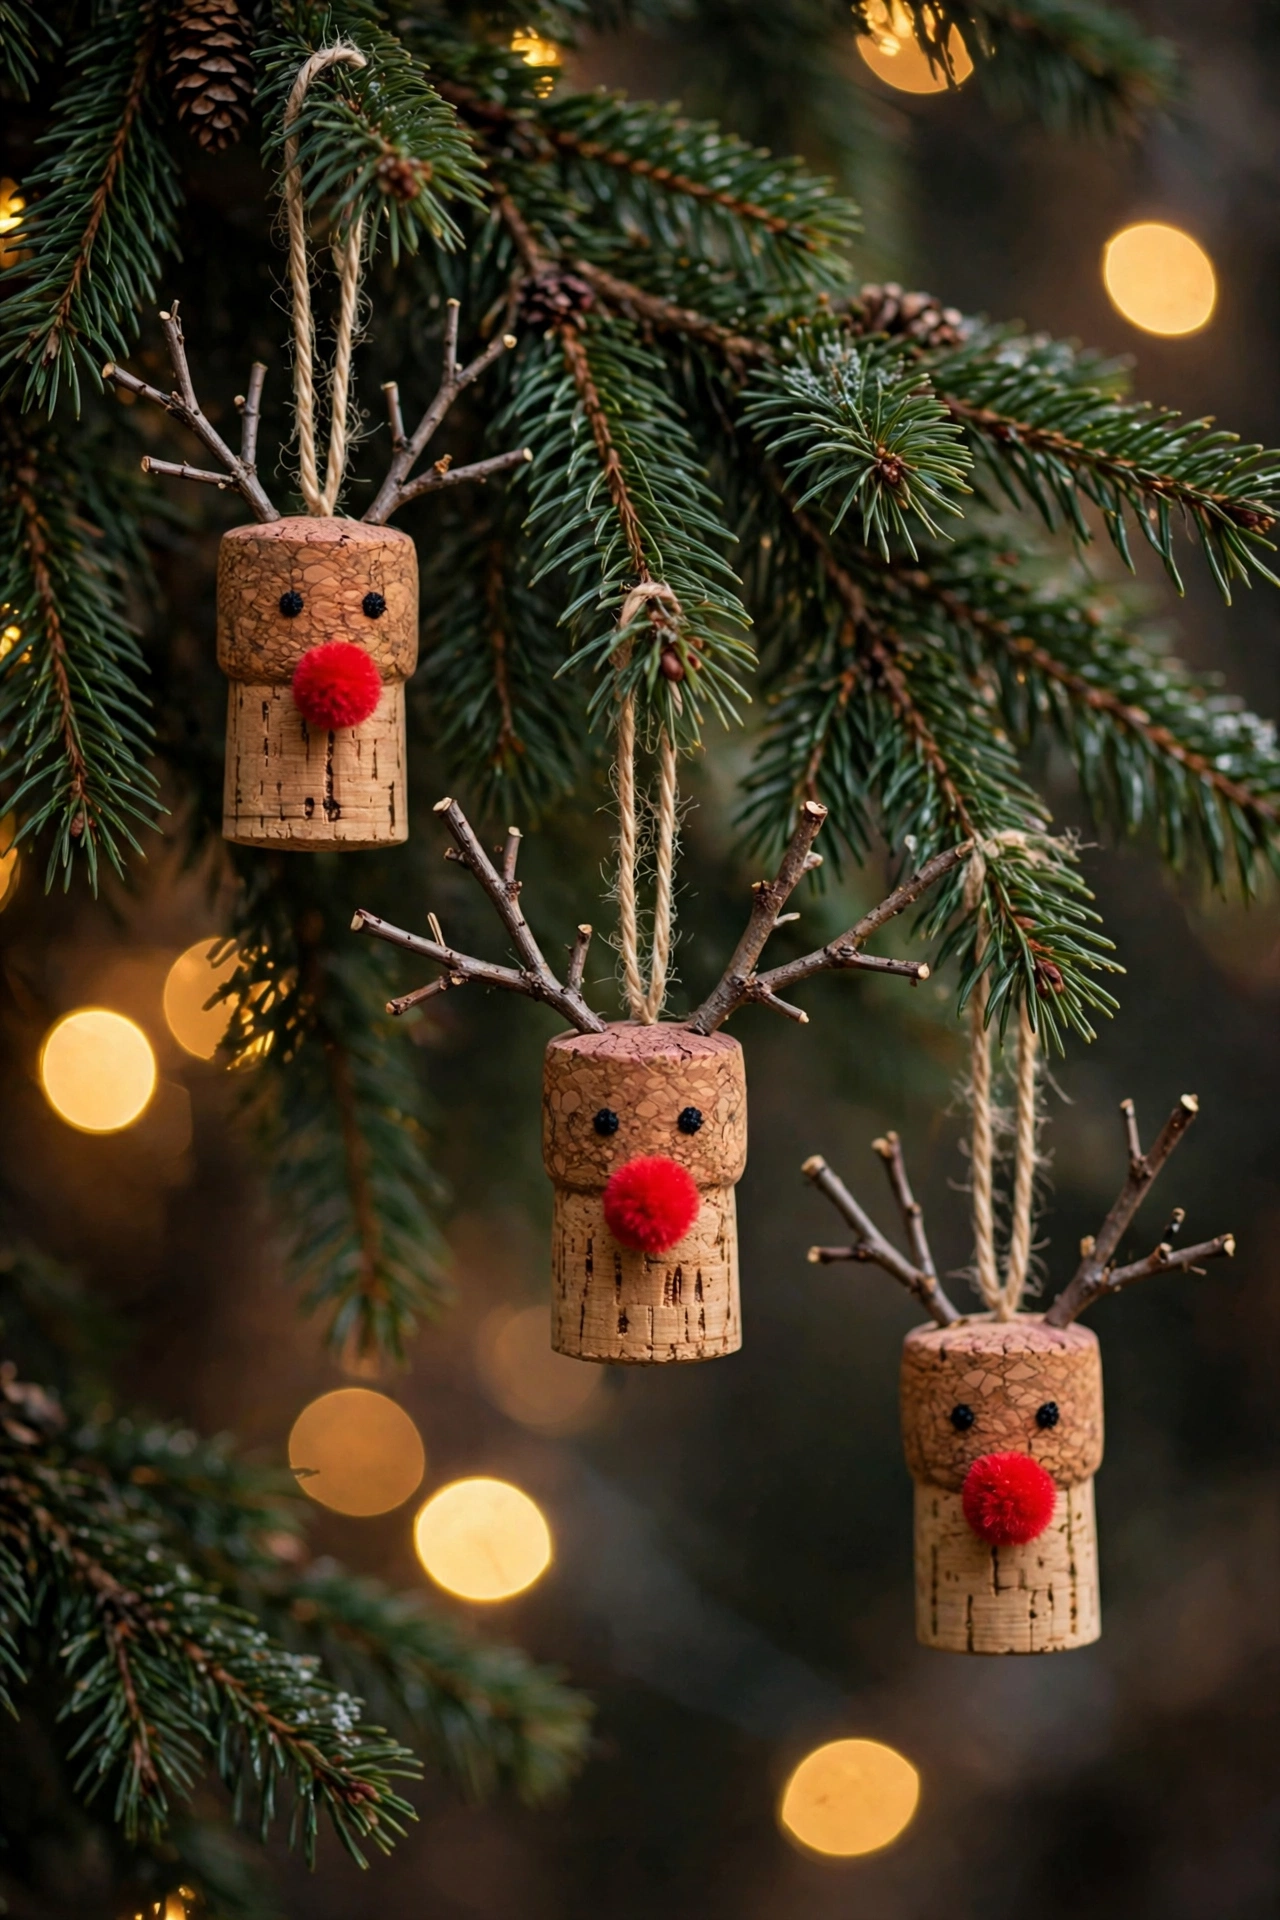
Save a handful of wine corks and turn them into a herd of tiny reindeer. Use one cork as the body and a shorter piece as the head, joining them with a small dot of hot glue applied carefully by an adult.
Push small twigs or brown pipe-cleaner pieces into the top of the head for antlers. Glue on two tiny bead eyes and a red pom-pom nose, then add a loop of twine or ribbon so the reindeer can hang from a branch.
Four little cork legs finish the figure, though a head-only version is even faster. These ornaments make sweet place-card holders and playful gifts for wine-loving friends throughout the holiday season.
12. Felt Tree and Star Garland
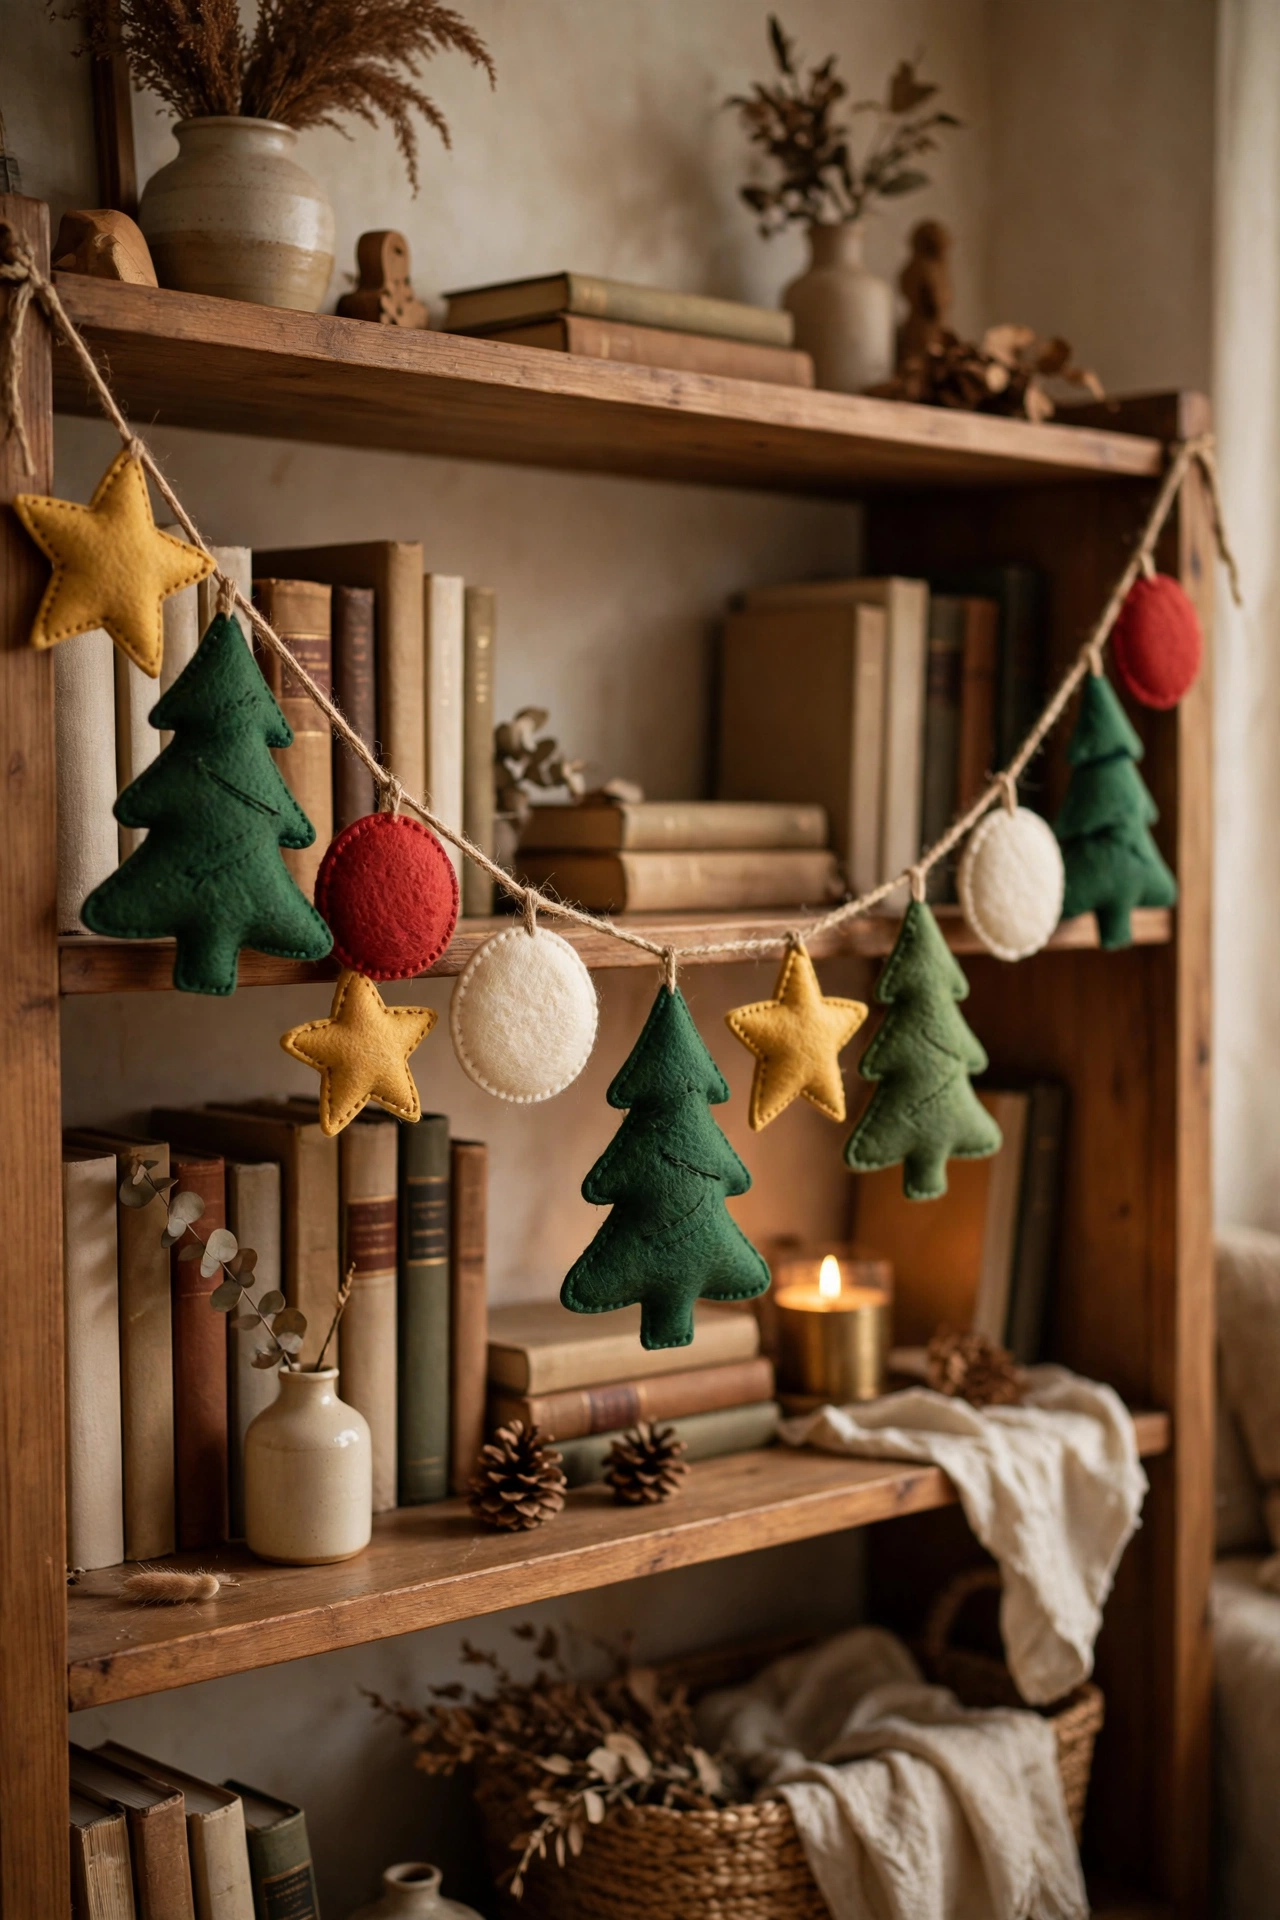
Felt garlands are soft, quiet, and nearly indestructible, which makes them ideal for busy households. Cut simple tree, star, and circle shapes from green, red, cream, and mustard felt, using a paper template so the pieces stay neat and evenly sized.
Stitch or glue two matching shapes together with a little stuffing inside for a gently plump finish, or keep them flat for a simpler look. Felt does not fray, so no hemming or edge finishing is ever needed on this project.
Thread the shapes onto twine through small slits or stitched loops. Drape the garland across a bookcase, headboard, or child’s doorway, where its soft shapes can be touched and admired safely.
13. Rustic Twig Star Ornaments
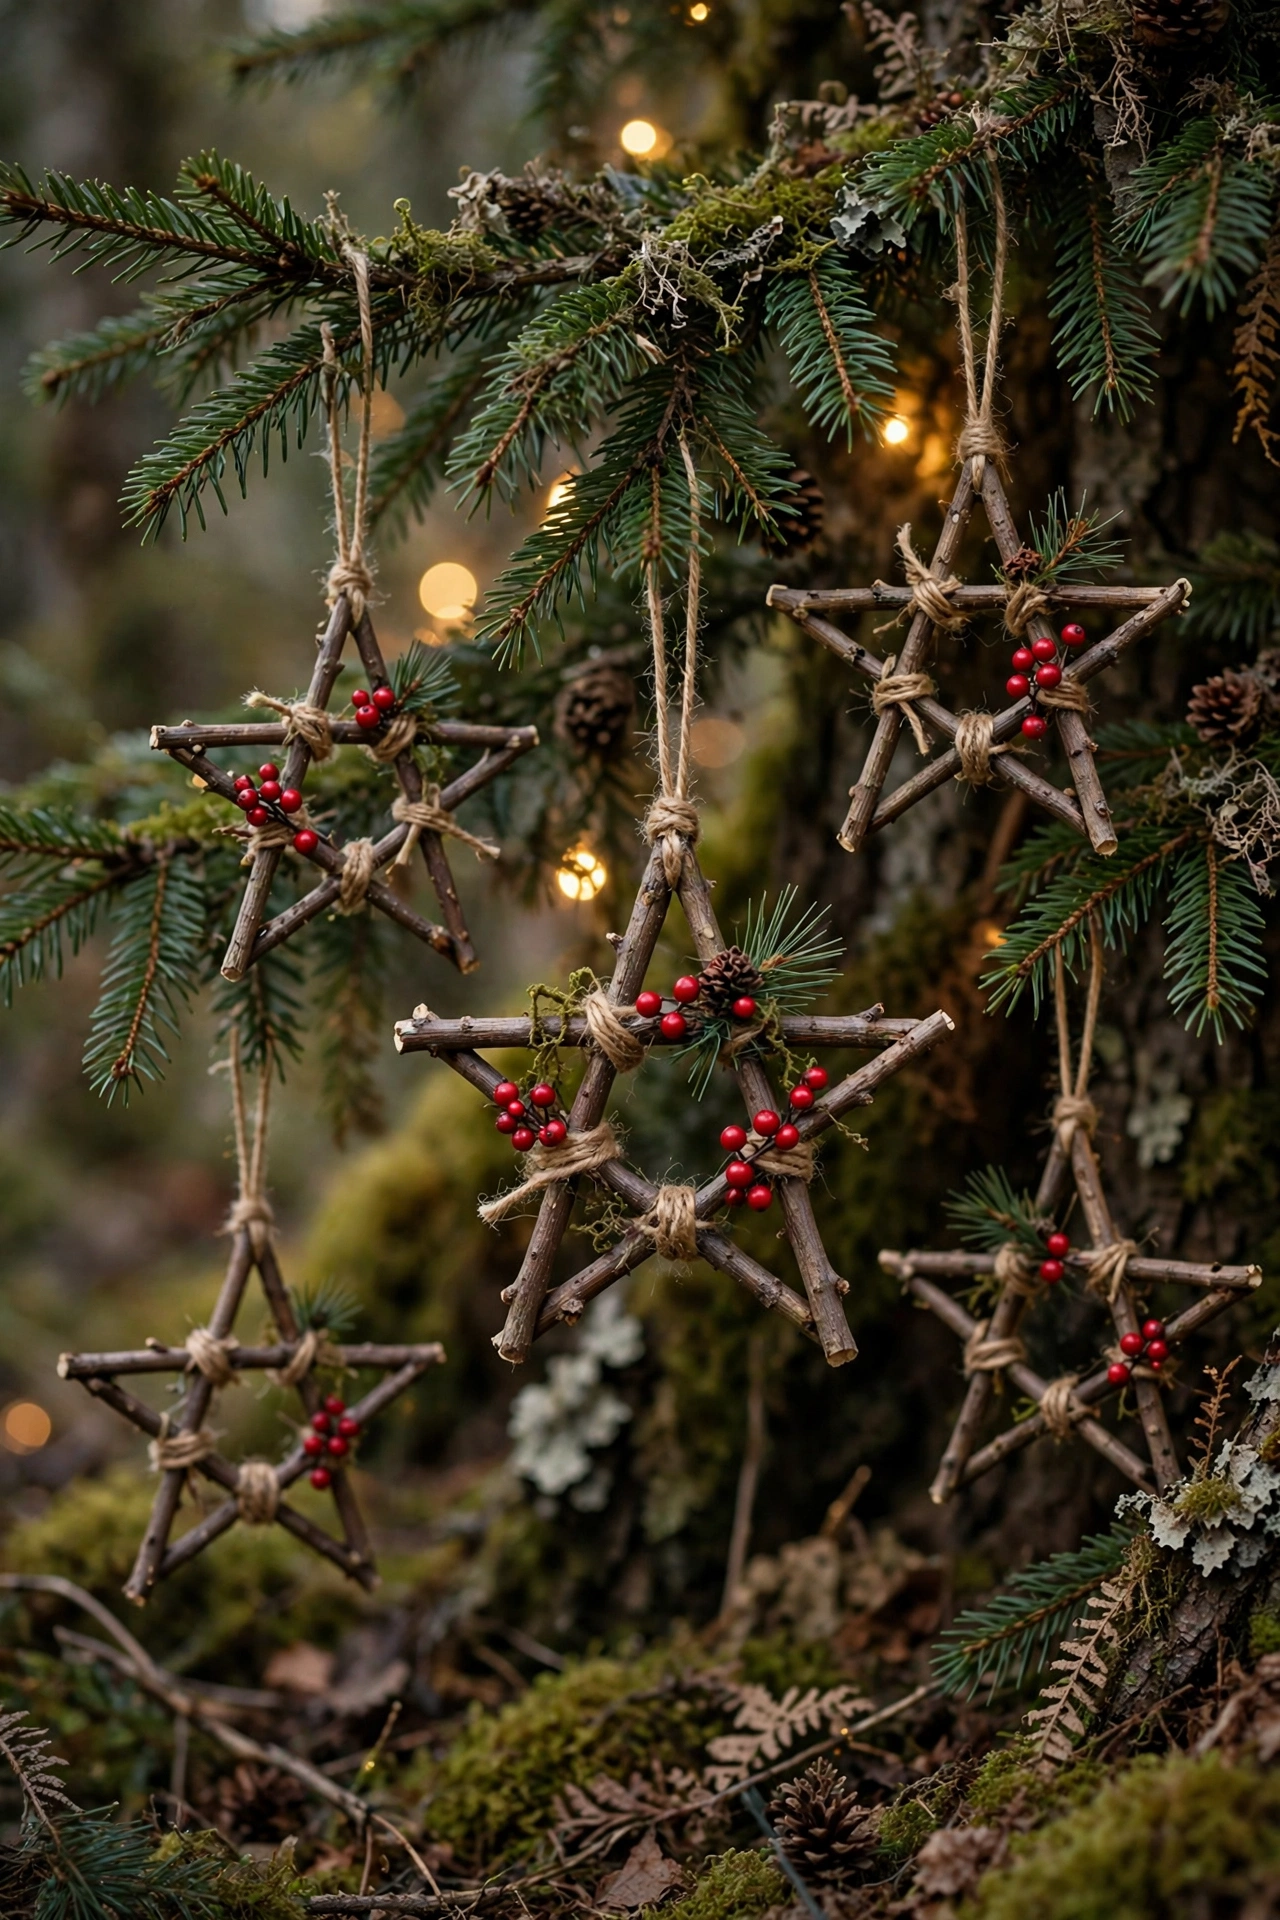
Five straight twigs and some twine become a rustic star that suits any tree. Collect twigs of similar thickness, trim them to equal lengths, then lay them into a five-pointed star shape on the table before tying anything in place.
Lash each point and intersection with twine or thin wire, keeping the knots small and tight. A tiny drop of glue at each joint adds security, and pruning shears for trimming twigs should be used by adults only, away from small fingers.
Tuck a sprig of faux berries or greenery at one point and add a twine hanging loop. These lightweight stars also look lovely tied onto wrapped gifts and wreaths all season.
14. Mason Jar Fairy Light Lanterns
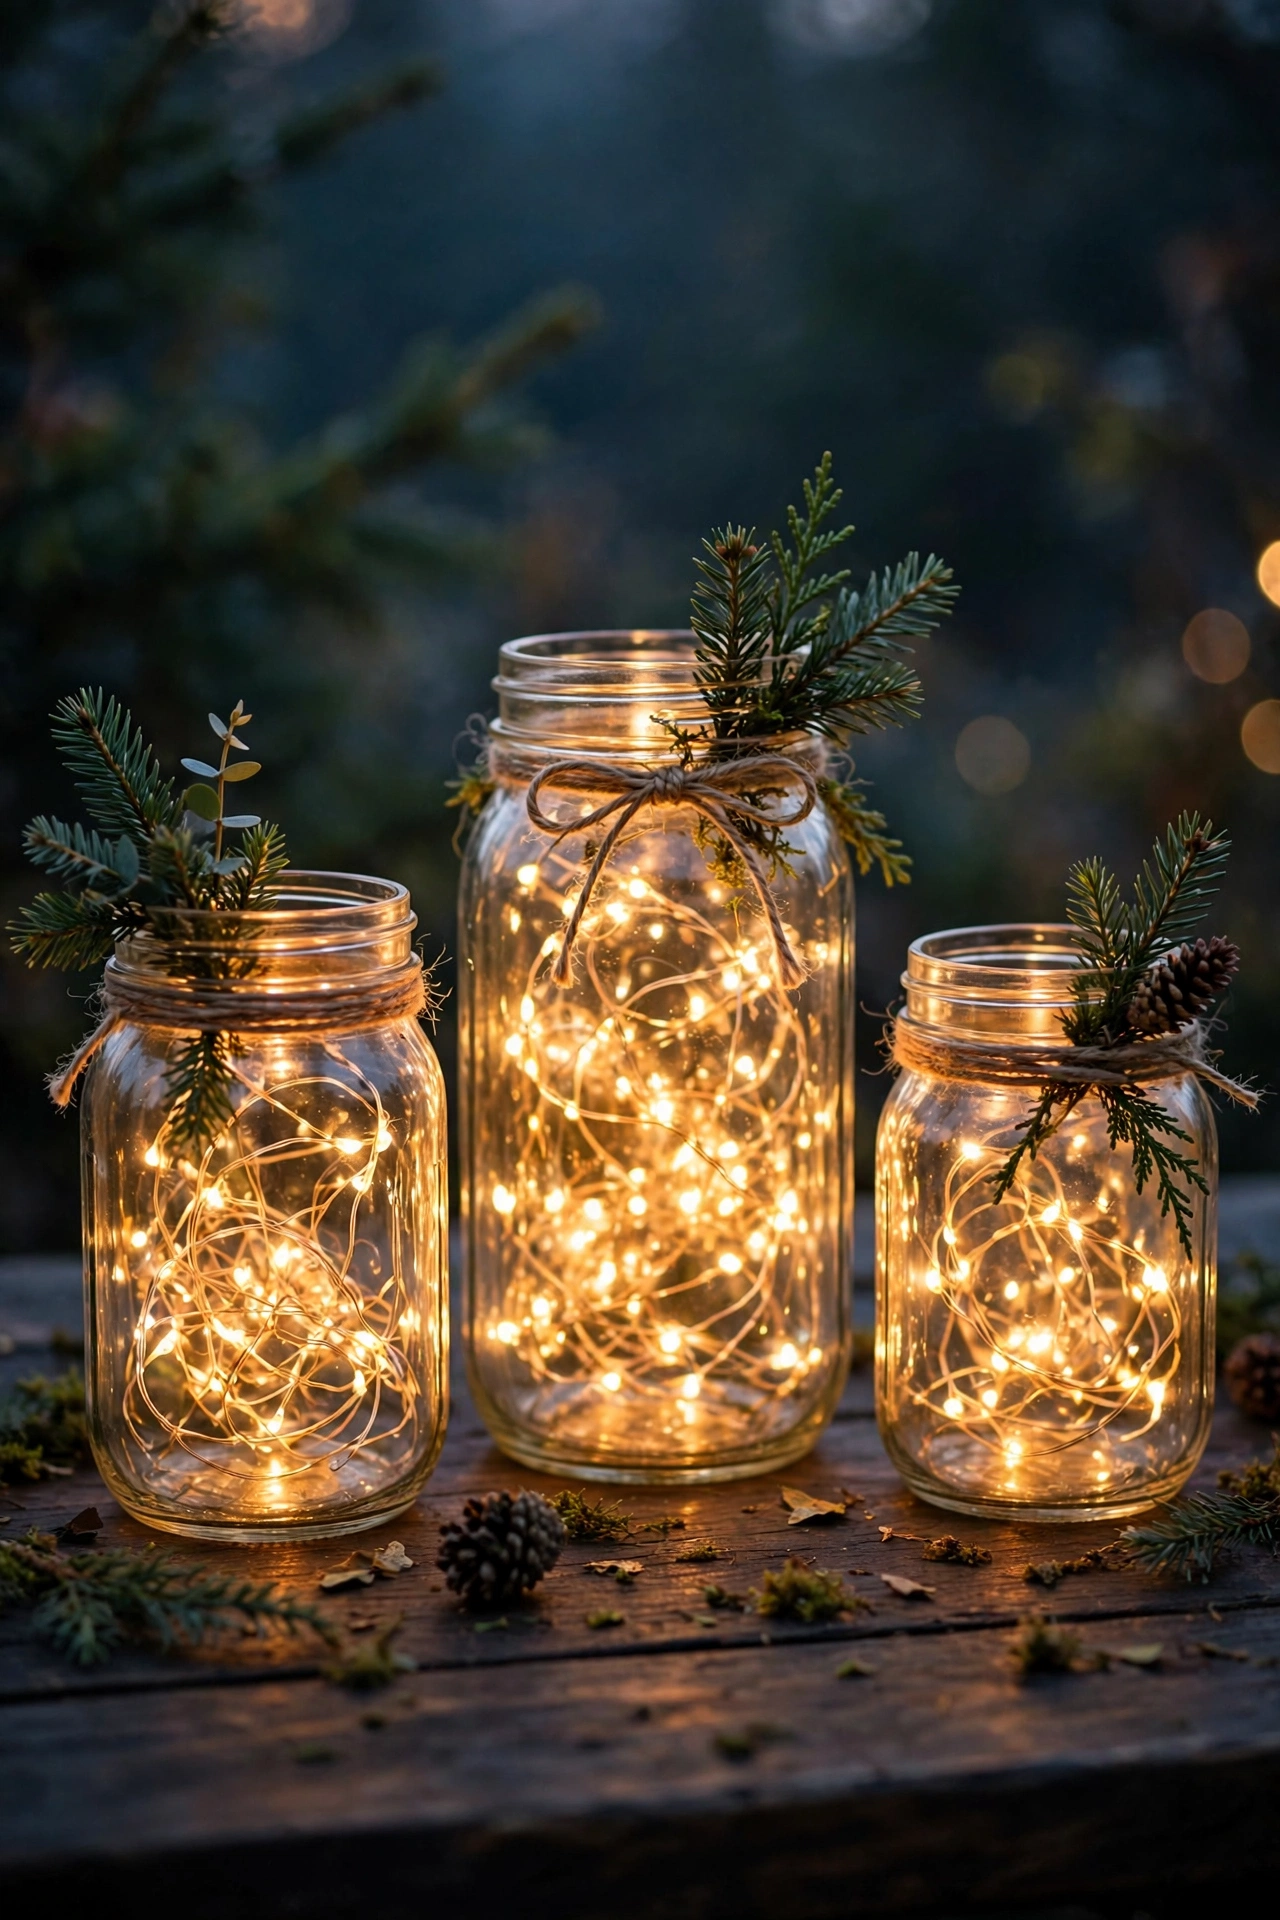
A jar of fairy lights is the fastest glow-up in this whole collection. Coil a short string of warm-white, battery-powered micro lights into a clean mason jar, tuck the small battery pack behind the coil or under a fabric lid cover, and switch it on.
Wrap twine or a strip of burlap around the jar neck and add a sprig of faux greenery or a few cranberries. The lights reflect off the glass, creating a soft firefly effect that feels magical on a mantel, shelf, or bedside table.
For more glowing inspiration, browse our 27 Outdoor Christmas Lighting Ideas for a Festive Home. Battery lights stay cool, so these lanterns are safe around paper, fabric, and curious little hands.
15. Cardboard Gingerbread Garland
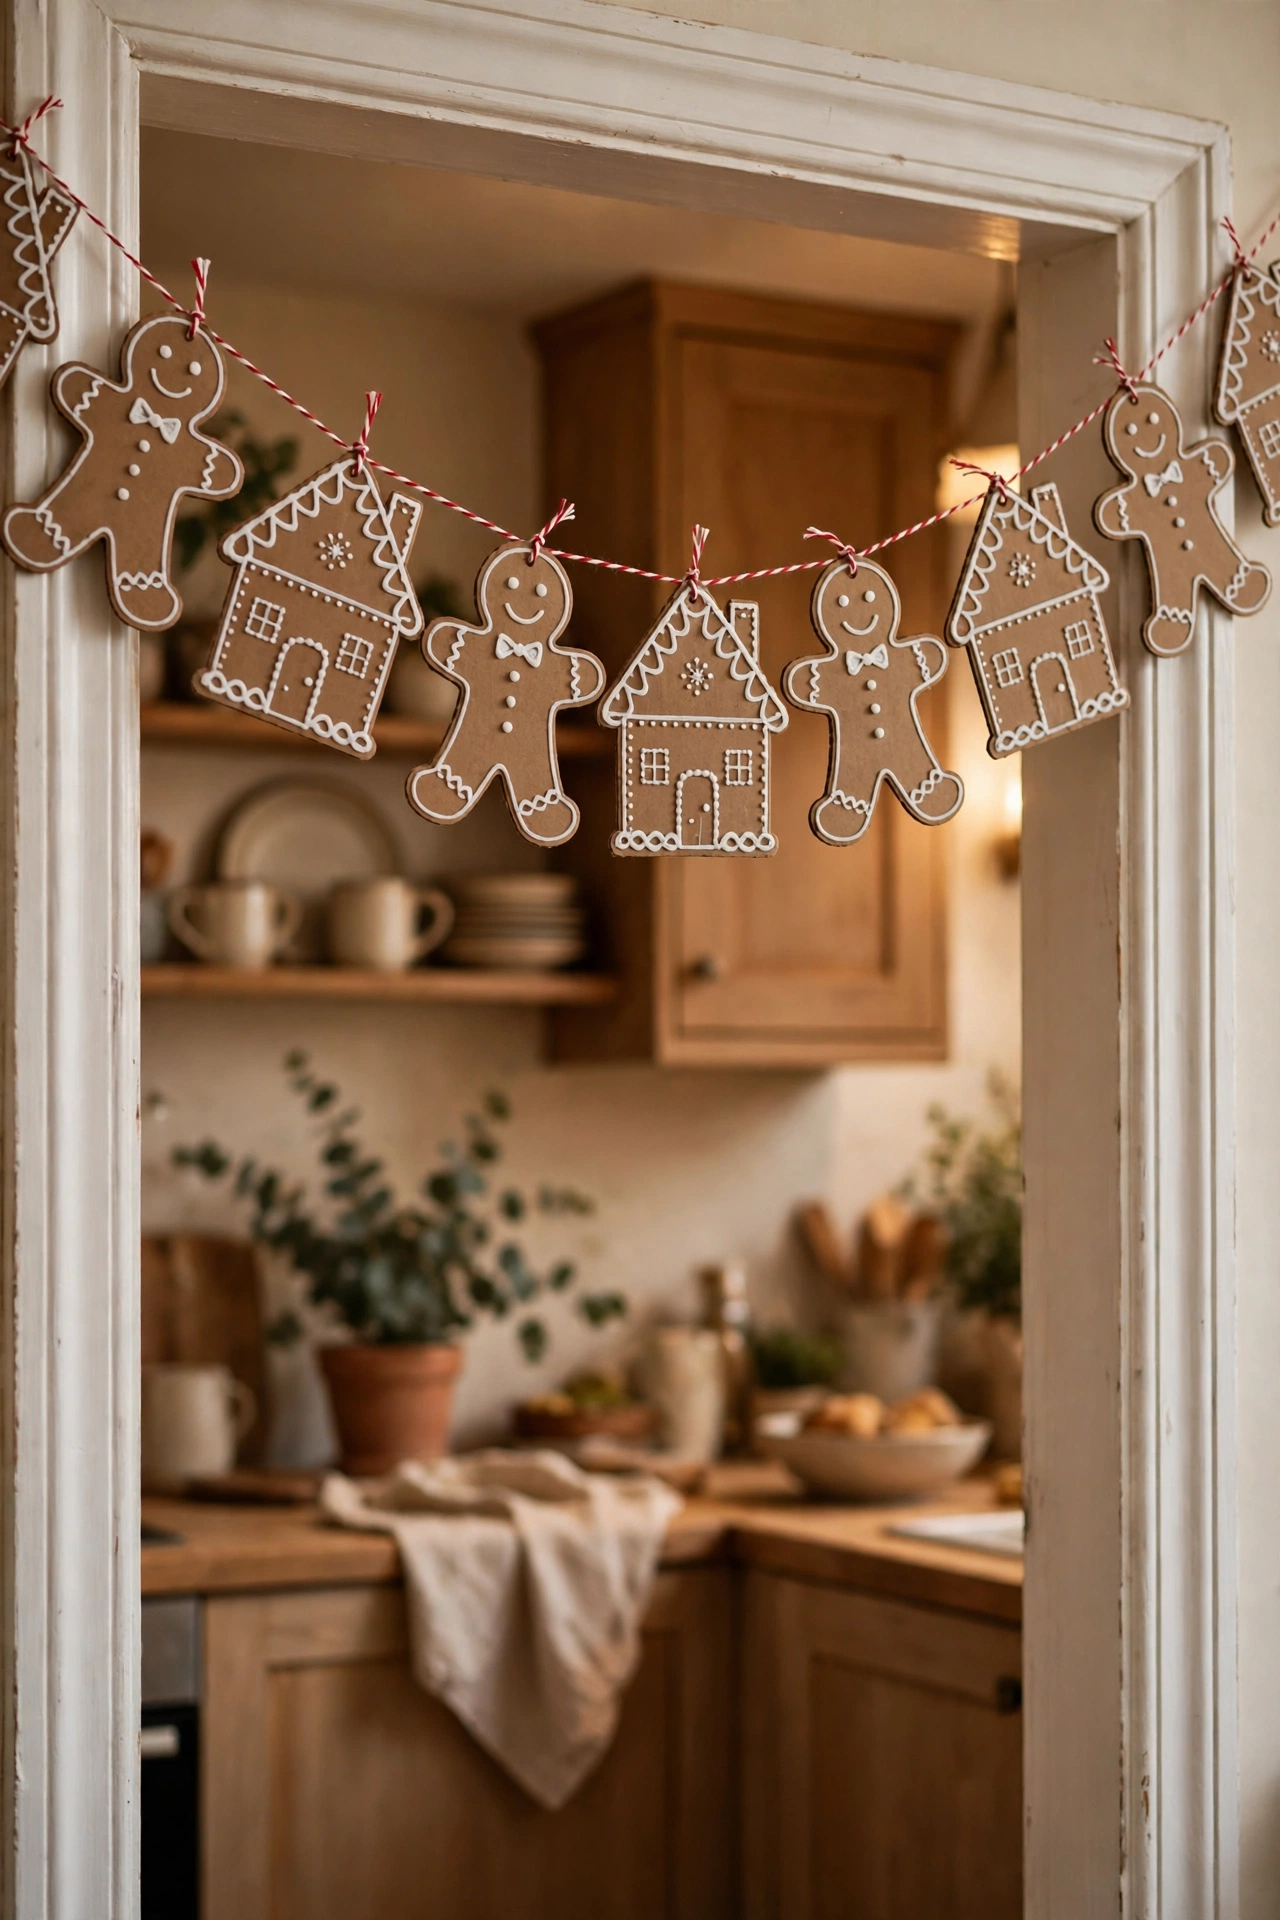
Corrugated cardboard makes convincing pretend gingerbread without any baking. Cut house, tree, and gingerbread-figure shapes from clean cardboard, keeping the brown kraft side facing out, then draw on doors, roofs, and smiling details with a white paint pen.
Let an adult do the cutting with a craft knife or sturdy scissors, since thick cardboard resists small hands. The white icing-style lines look best when you sketch lightly in pencil first and keep the paint pen moving at a steady, unhurried pace.
Punch holes at the tops and thread the shapes onto baker’s twine. Hung across a kitchen doorway or along a hutch, this garland delivers gingerbread charm that never crumbles, fades, or attracts ants.
16. Clothespin Snowflake Ornaments
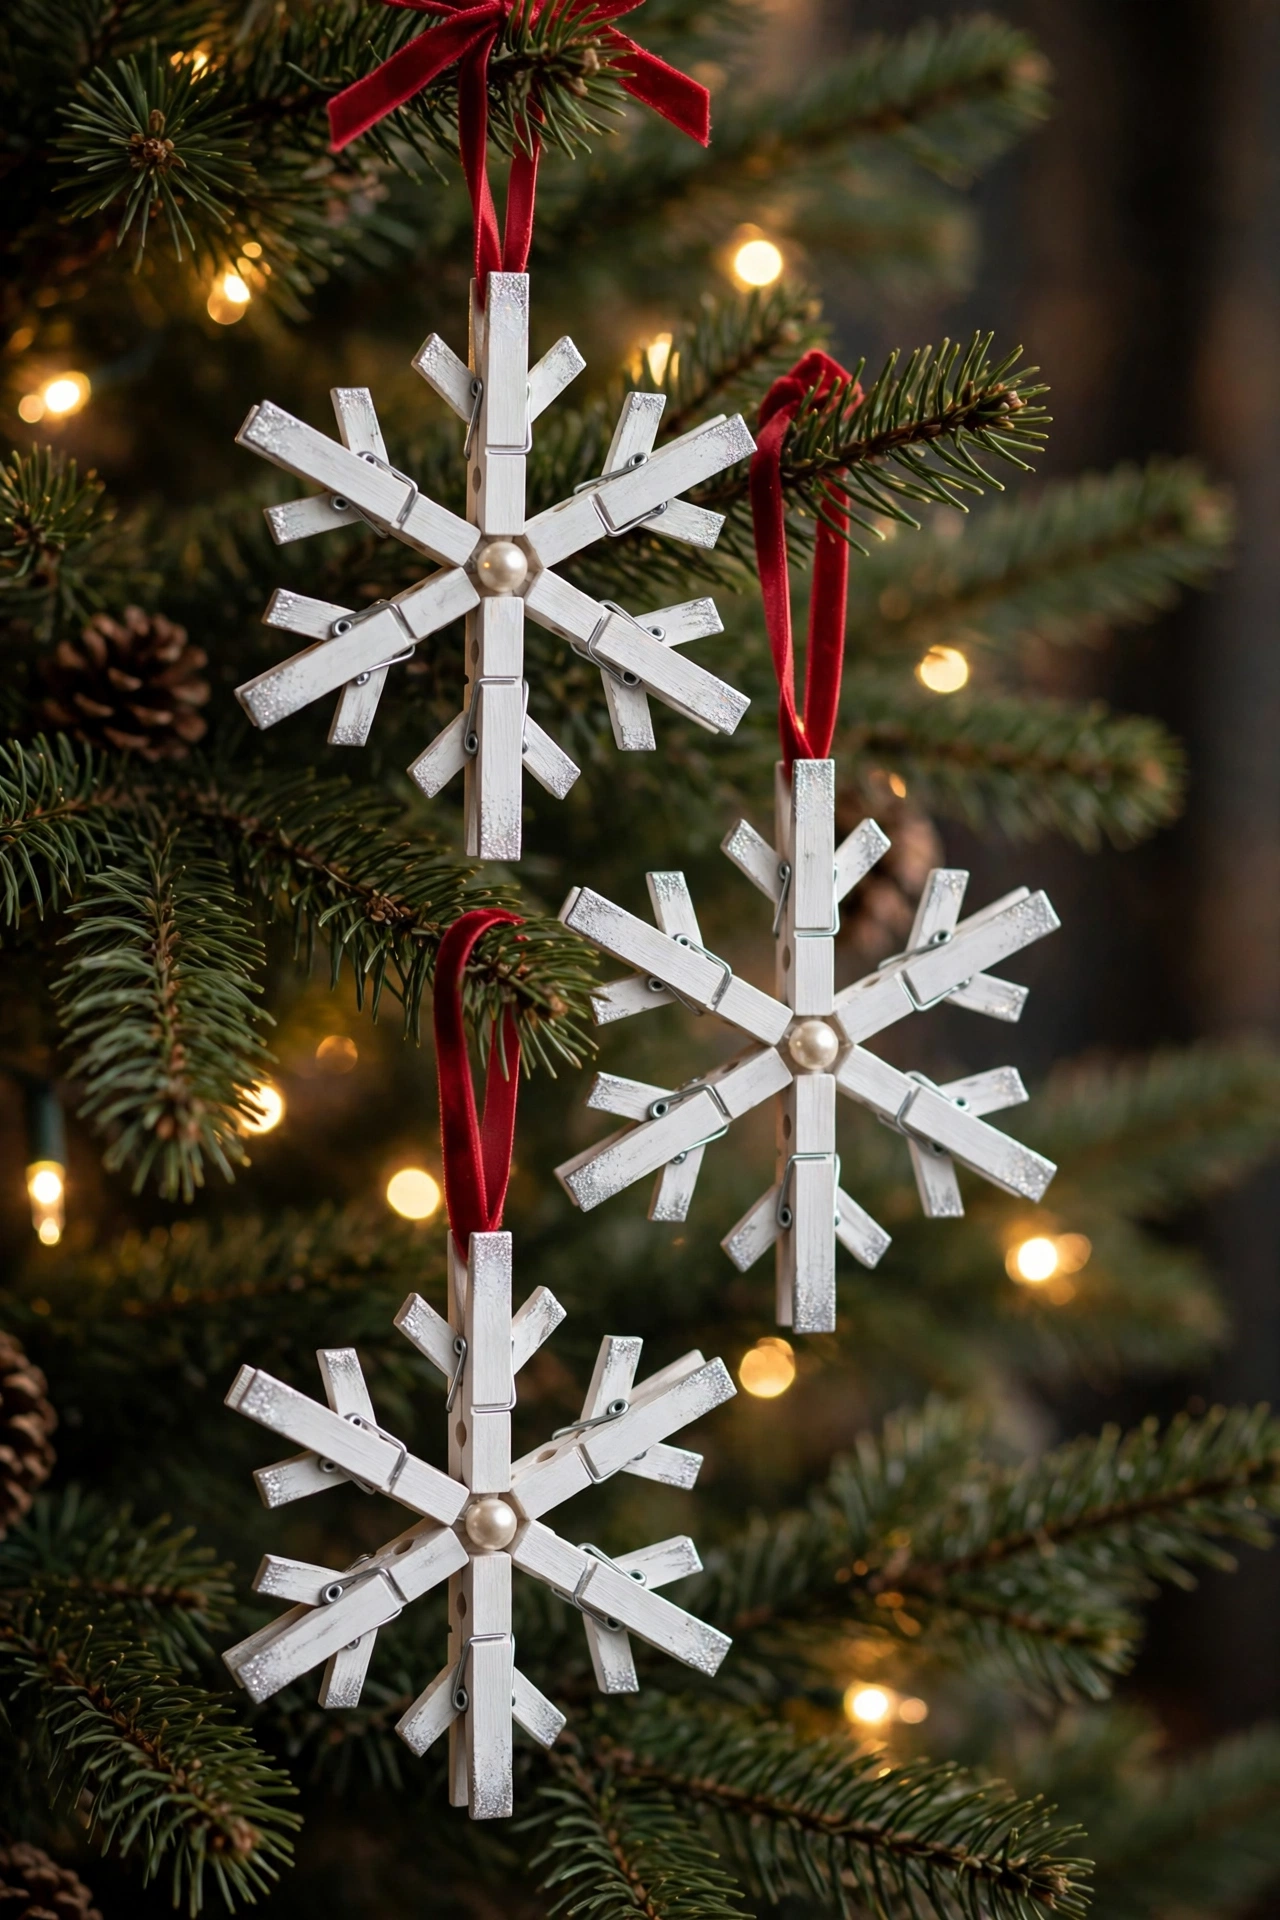
Eight wooden clothespins transform into a surprisingly elegant snowflake. Remove the metal springs, glue the flat sides of each pin together in pairs, then glue the four pairs into a starburst, joining them at one end in the center.
Paint the finished flake white, gold, or silver, and add a sprinkle of glitter or a single jewel-like bead at the center. Because clothespins are chunky, the ornaments feel sturdy rather than delicate, and they survive storage without bending or breaking.
Add a ribbon loop and hang them on the tree, in windows, or along a garland. A matching set of six, painted the same color, looks like a boutique purchase rather than a craft project.
17. Button Christmas Tree Ornaments
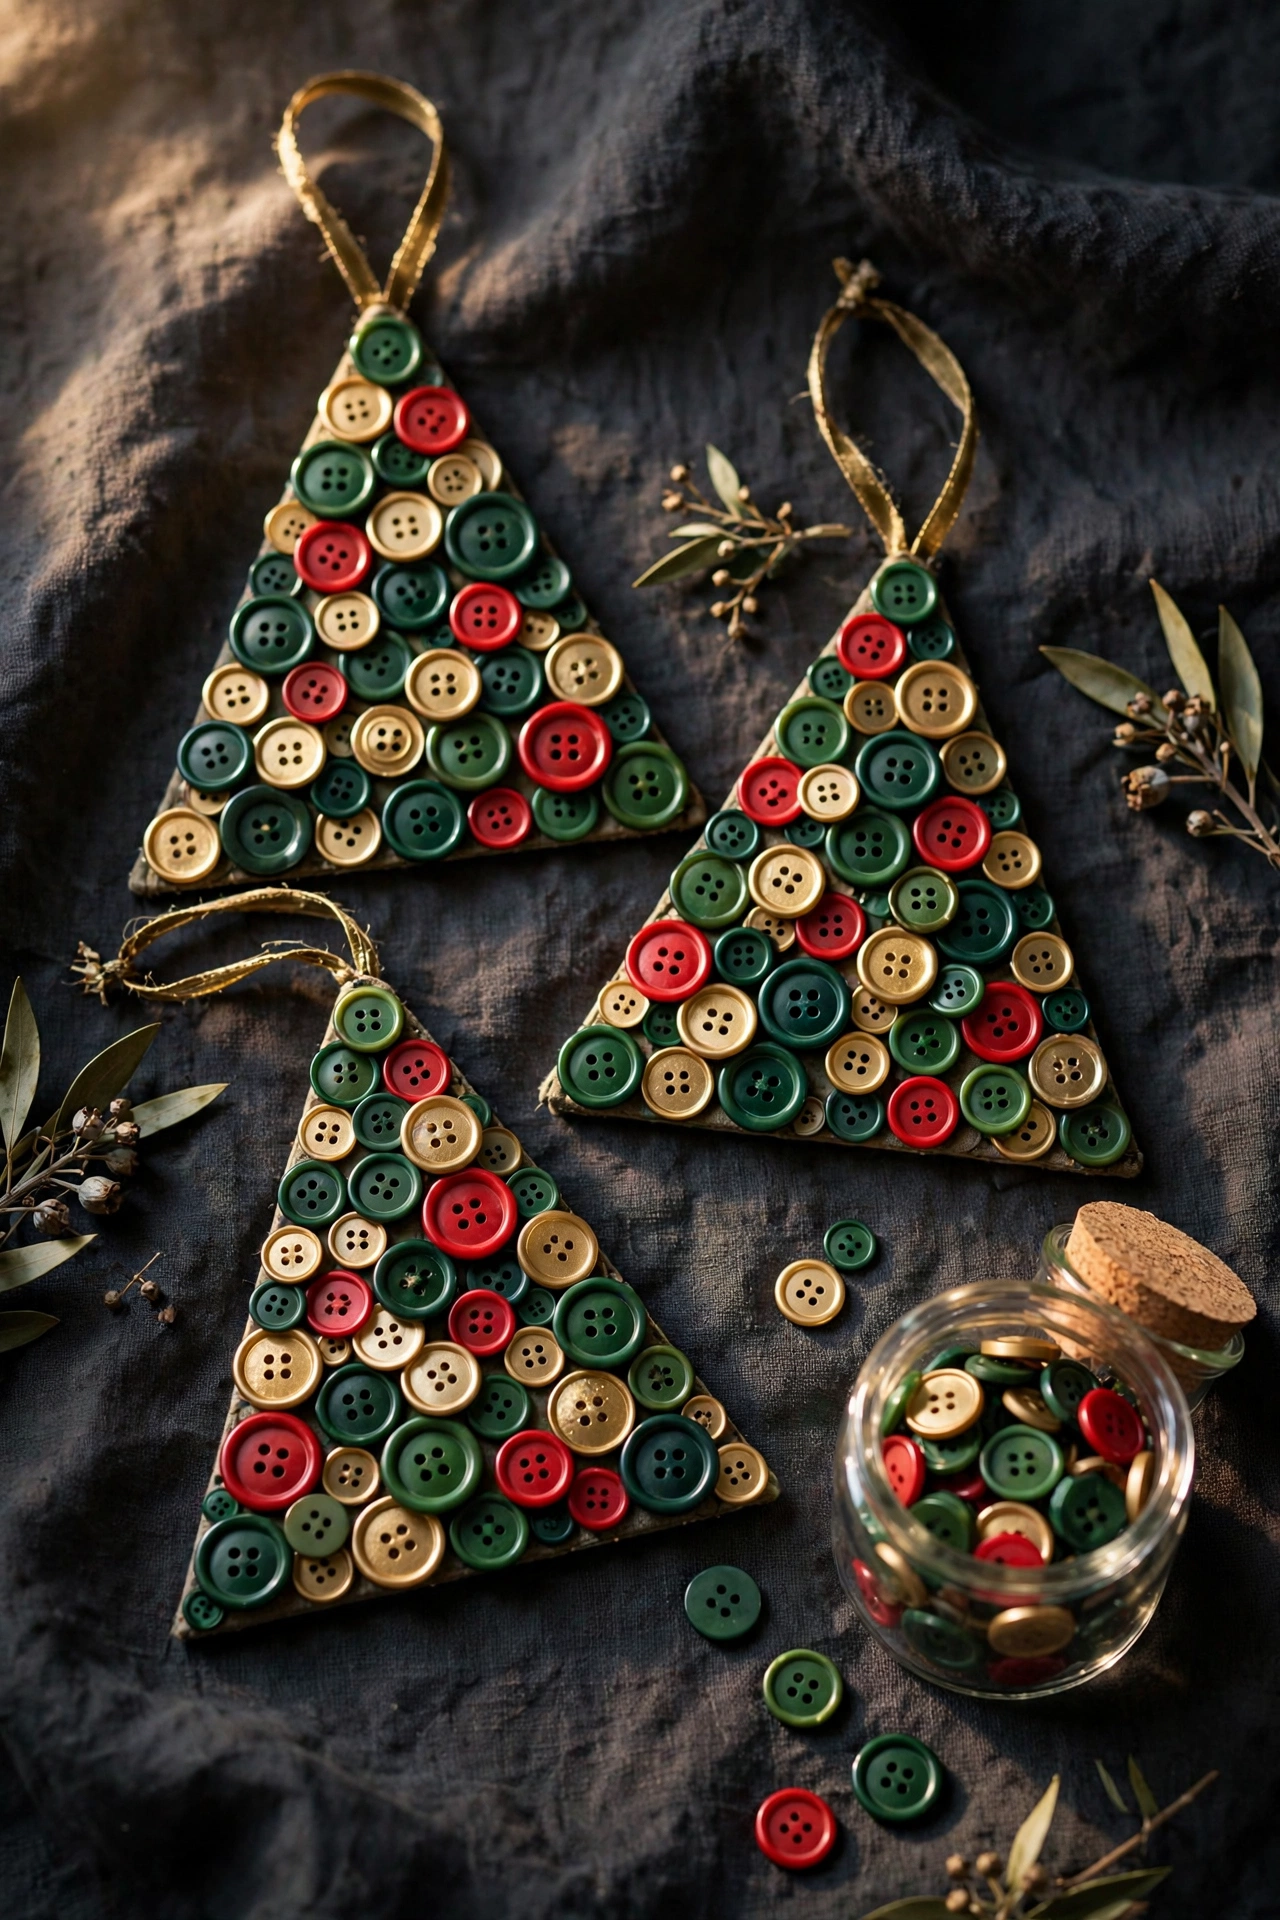
A jar of spare buttons becomes a whole set of charming tree ornaments. Cut a simple tree shape from sturdy cardstock, felt, or thin craft wood, then cover the surface with buttons in greens, reds, and golds, overlapping them slightly like shingles.
Use strong craft glue and work in small sections so buttons stay where you place them. Sort buttons by size first: larger ones anchor the bottom branches, while the smallest fill the tip and any narrow gaps near the trunk and edges.
Add a ribbon loop and one special button as the tree topper. These ornaments are a lovely way to use buttons saved from a loved one’s sewing box, giving them a new holiday life.
18. Paper Bag Luminaries
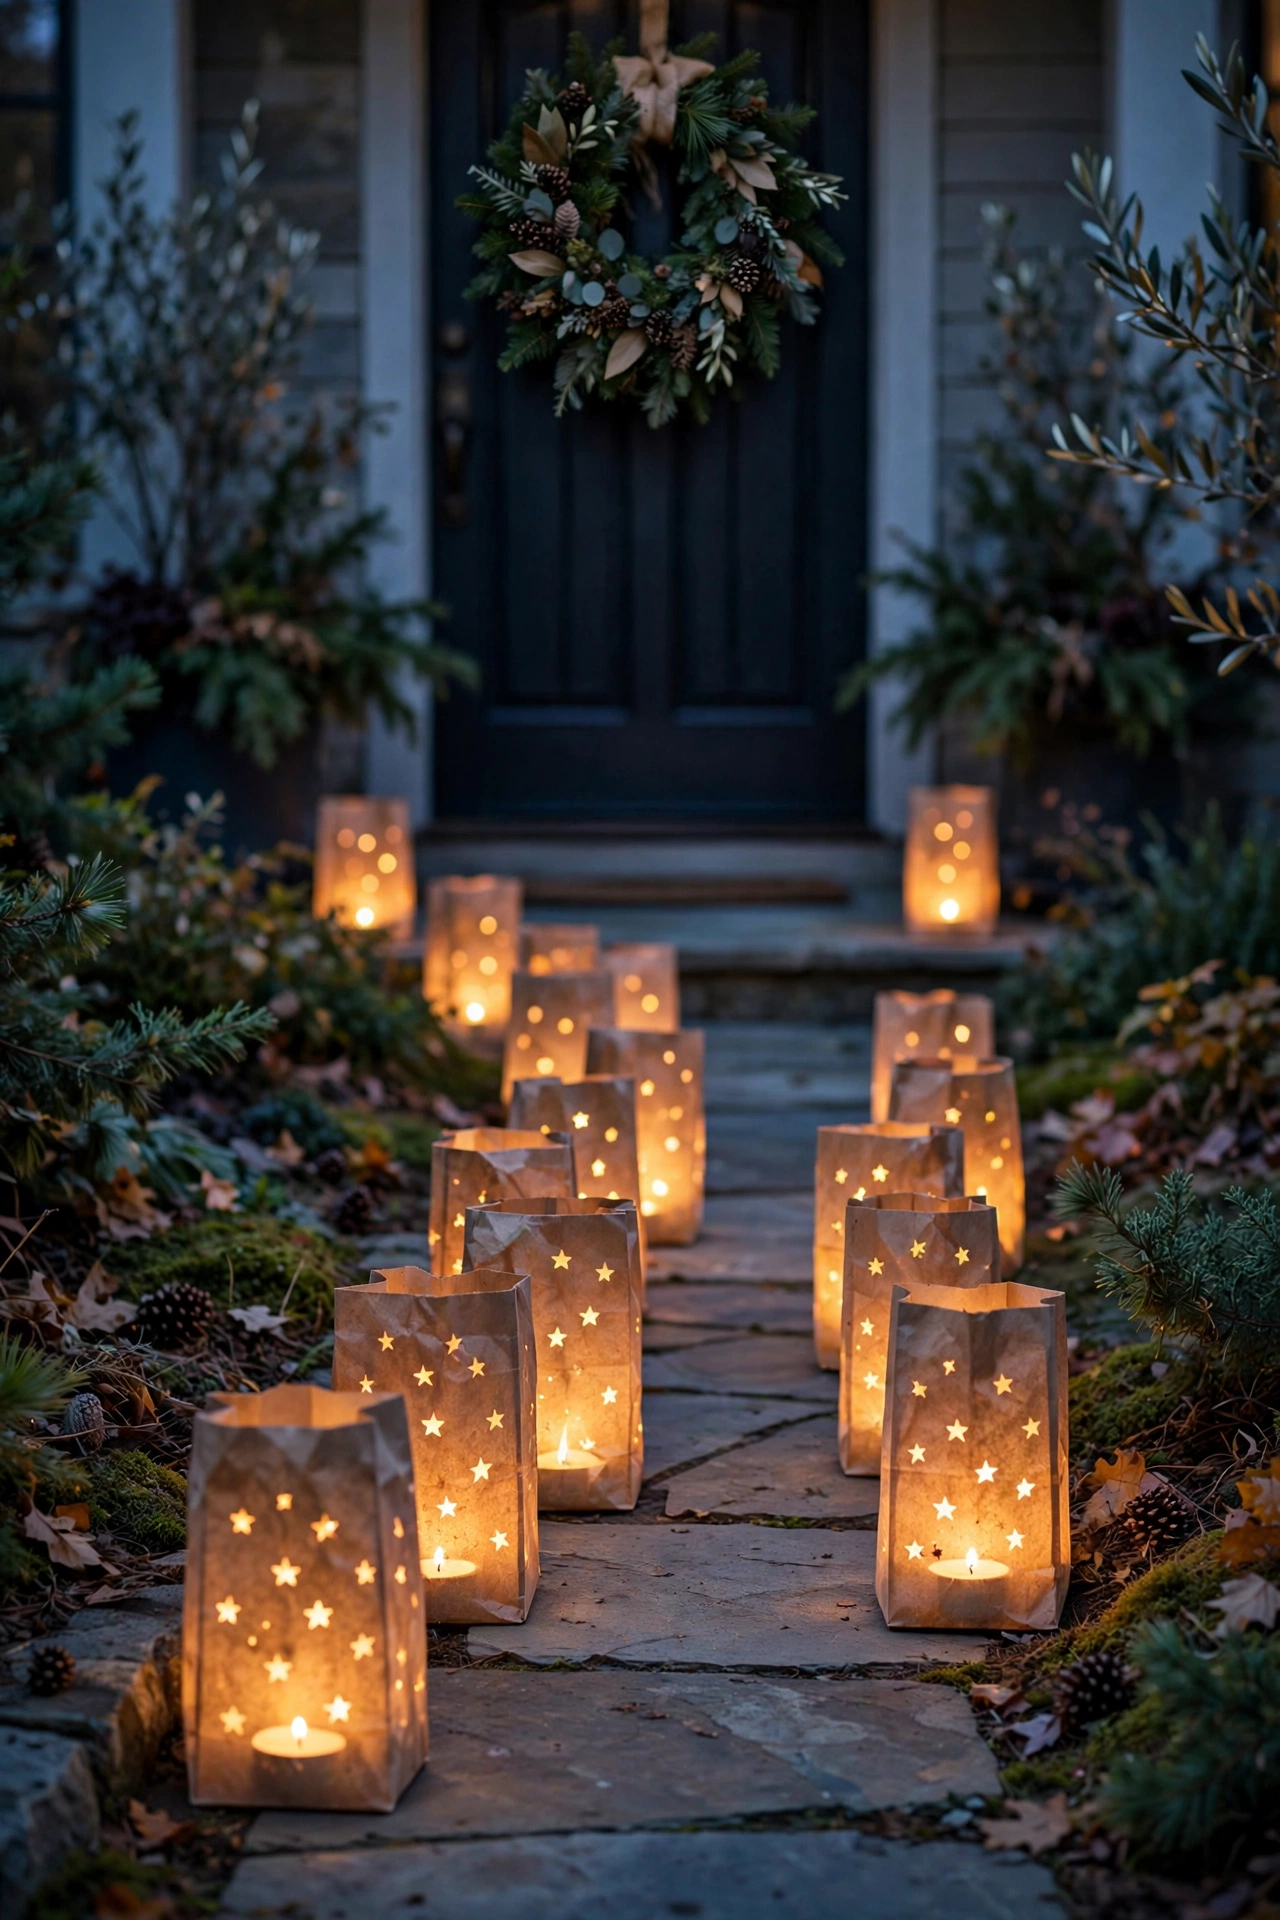
Paper bag luminaries line a walkway with the softest golden glow. Fold down the top edge of each plain brown or white lunch bag once or twice for a neat cuff, then punch decorative holes or cut a simple star or tree shape into the front.
Weigh each bag with a little sand or gravel so it stands steady outdoors. For complete safety, light them only with battery tea lights — never real candles inside paper, even for a short evening display on a calm, dry night.
Set the bags along your front path, echoing the displays in our 28 Outdoor Christmas Decoration Ideas for a Magical Front Yard. Indoors, the same bags glow safely along a hallway or staircase.
19. No-Sew Sweater Stockings
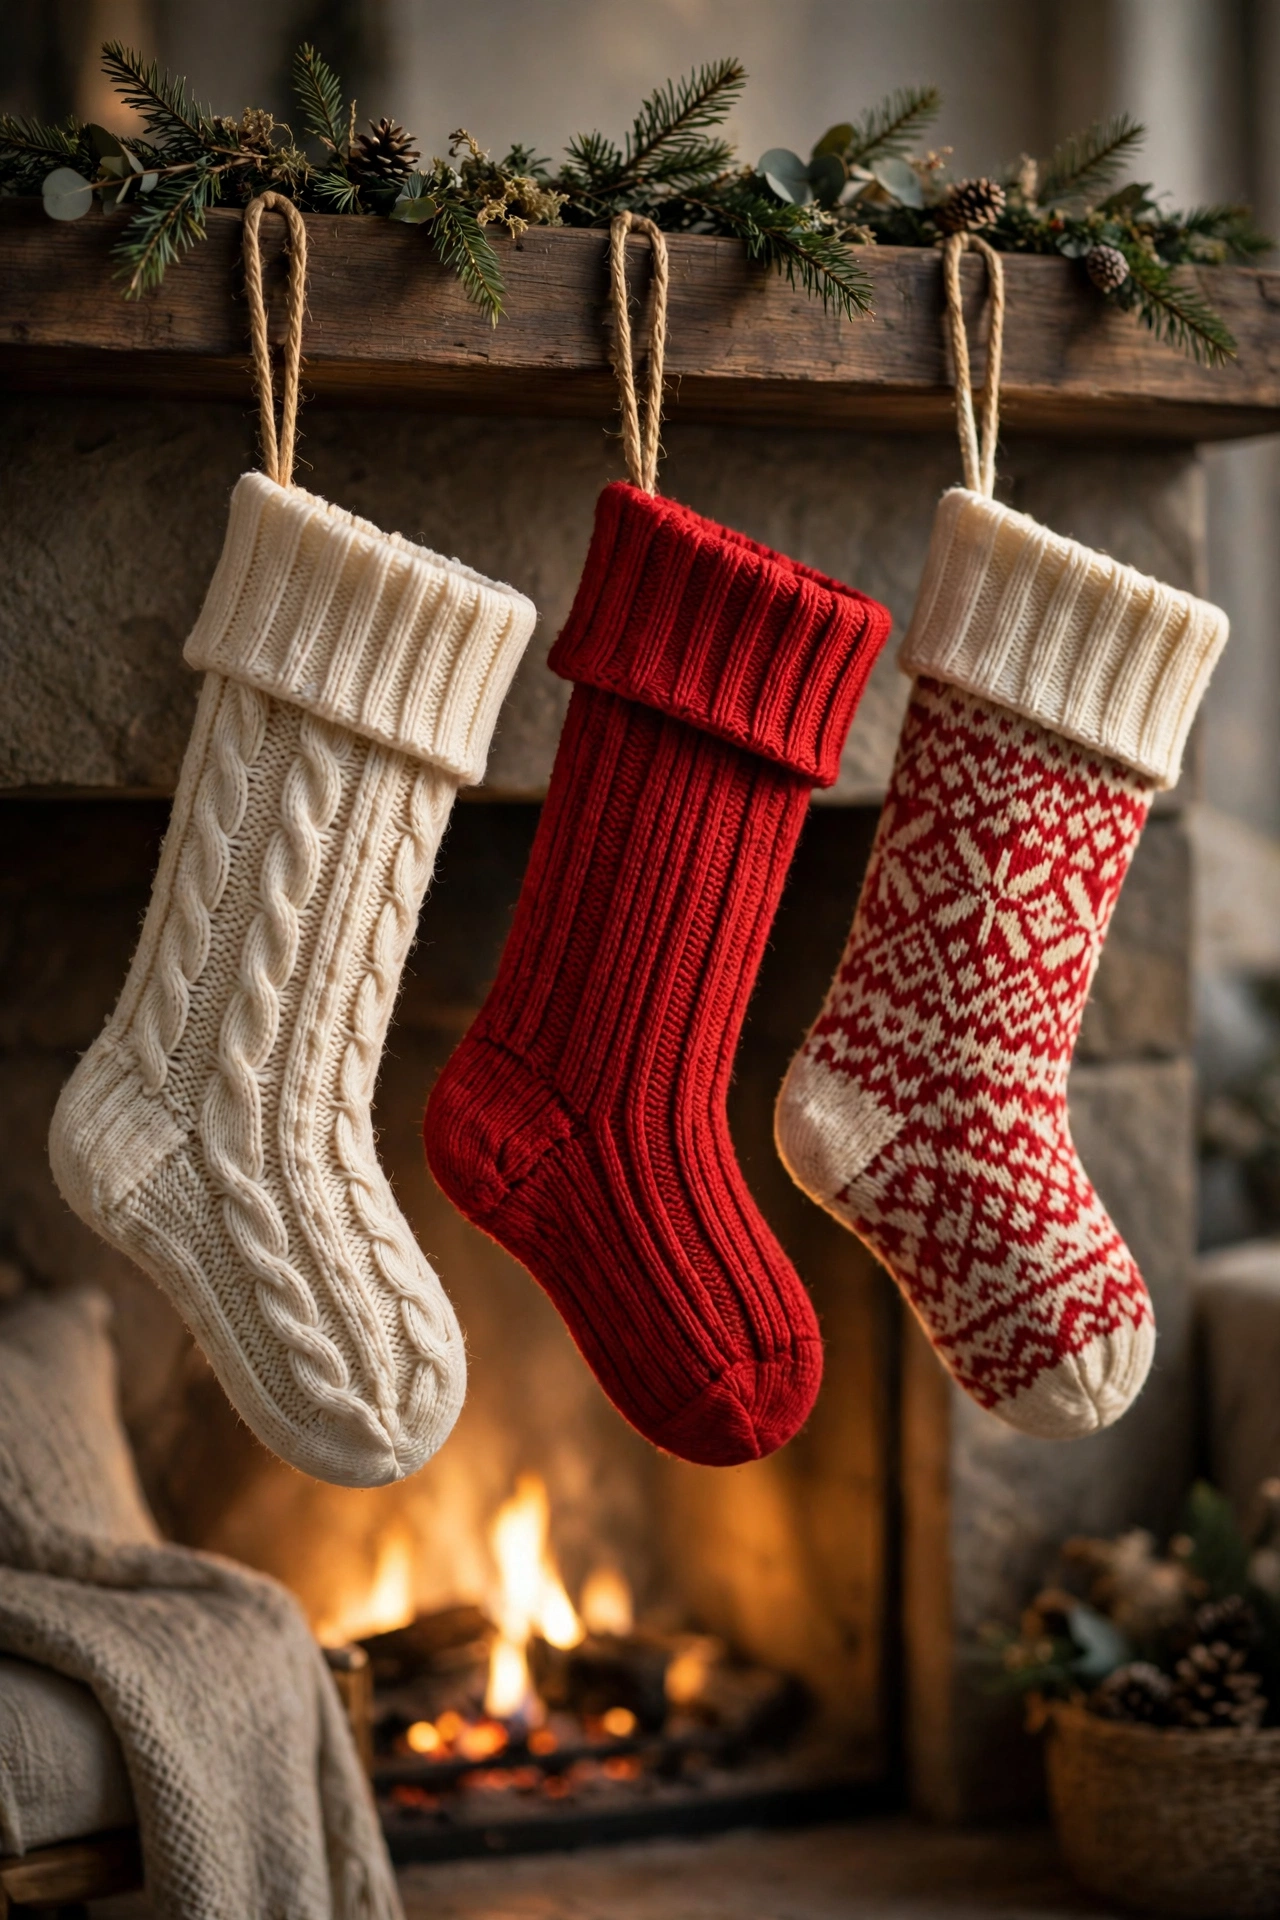
An outgrown or thrifted sweater makes a wonderfully cozy Christmas stocking, no sewing machine required. Trace a stocking shape onto the sweater so the ribbed cuff becomes the stocking top, then cut through both layers with sharp fabric scissors, adults handling the cutting.
Turn the shape inside out and join the edges with hot glue or fabric glue, pressing the seam firmly and letting it cure fully. Flip it right side out, and the sweater’s own knit pattern does all the decorative work for you.
Add a loop of ribbon or leather cord for hanging. A row of mismatched sweater stockings by the fireplace feels collected, personal, and far more interesting than a matching store-bought set.
20. Clear Ornament Photo Keepsakes
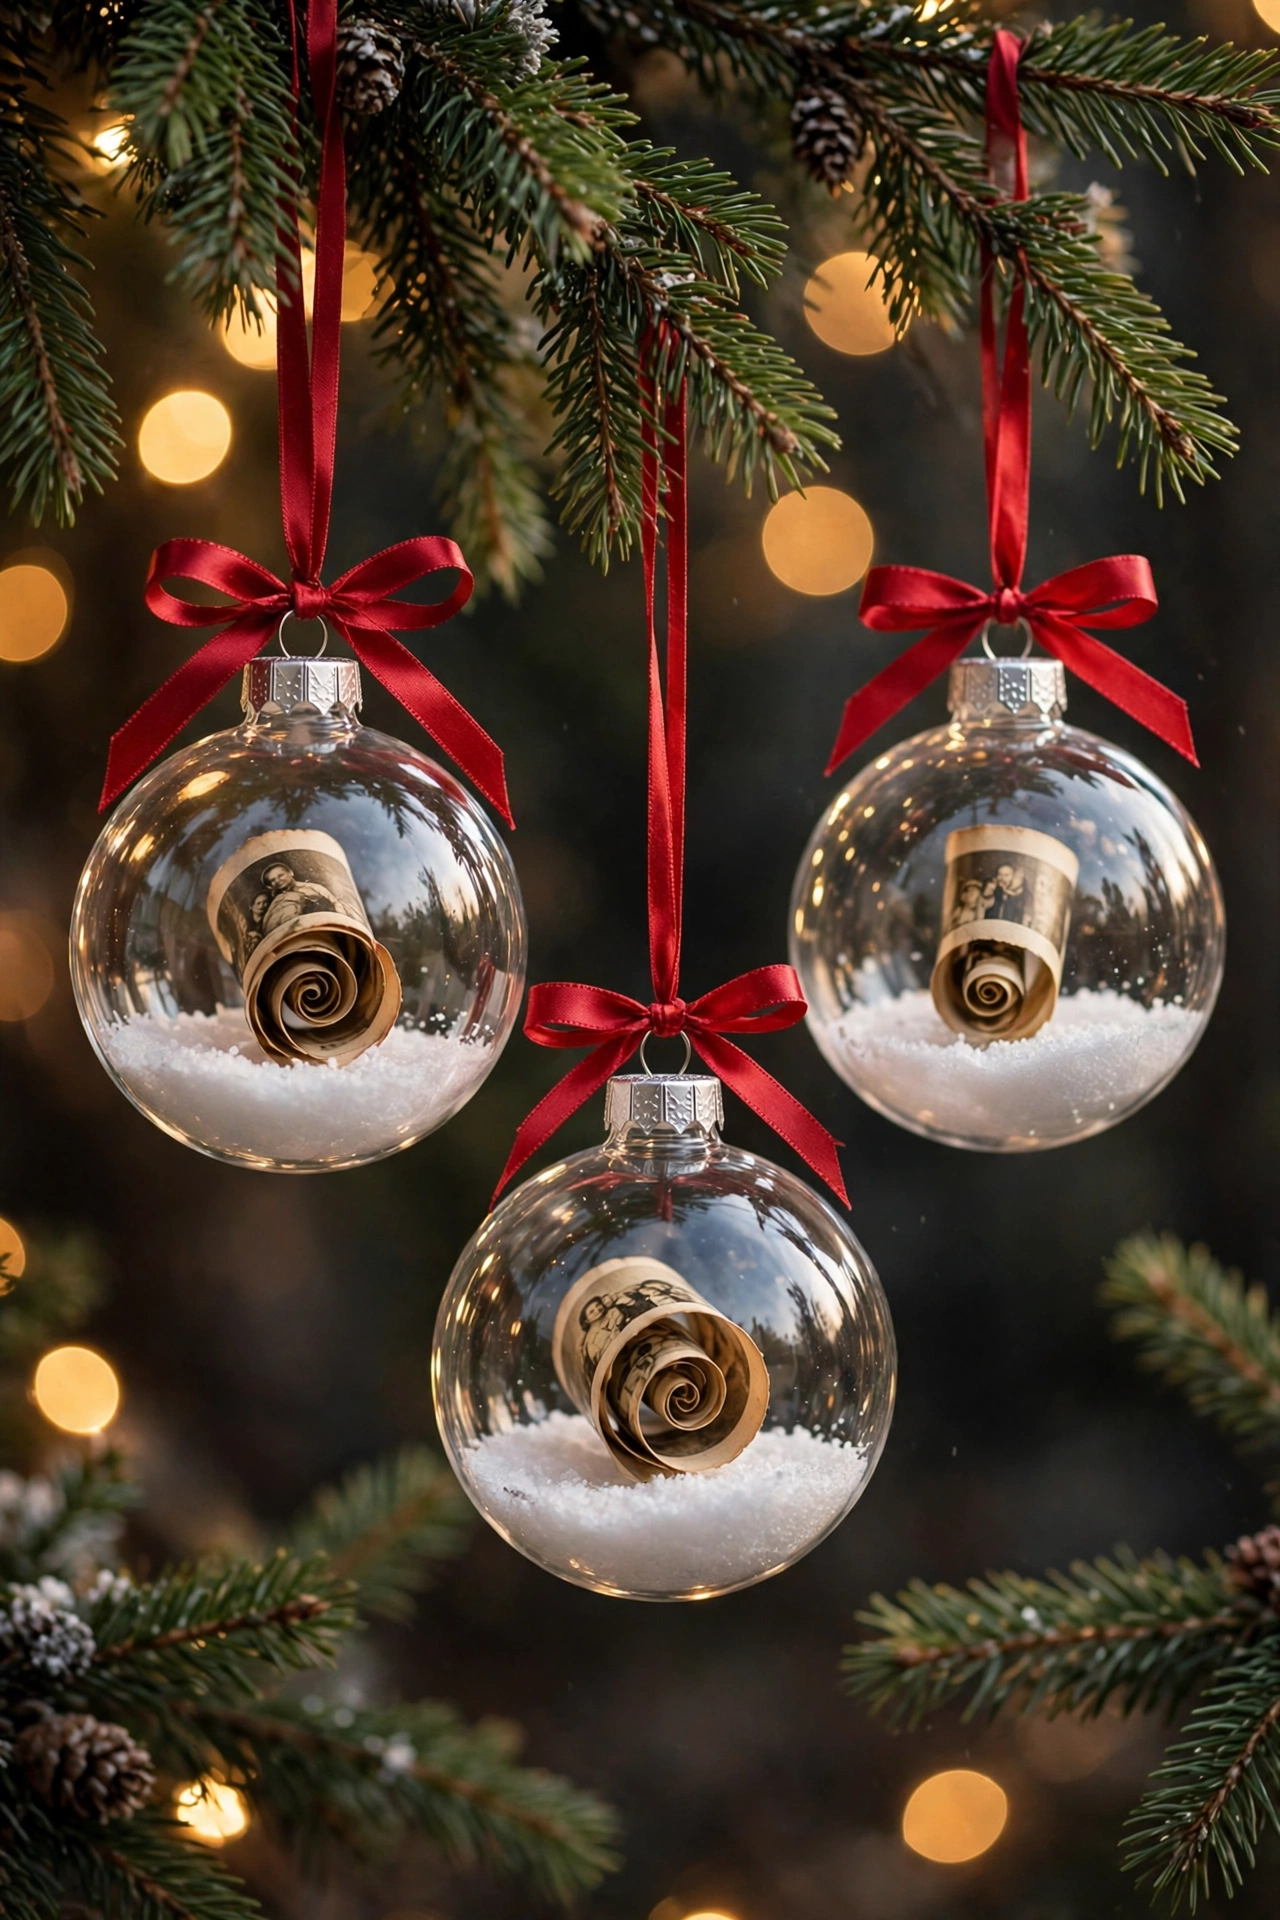
Clear fillable ornaments turn favorite photos into keepsakes for the tree. Print small photos, trim them into circles slightly narrower than the ornament, then roll each print gently around a pencil and slide it inside, letting it spring open against the glass or plastic.
Add a pinch of faux snow, tiny sequins, or a few miniature pinecones at the bottom before replacing the cap. Use plastic ornaments for children’s photos, since they survive drops, and keep printed copies so the originals stay safely stored in albums or frames.
Tie on a ribbon and hang the ornaments where the light catches them. Year after year, these little photo globes become the decorations everyone looks for first when the tree goes up.
21. Ribbon Scrap Garland

Every crafter has a bag of ribbon scraps too pretty to throw away, and this garland uses them all. Cut ribbons into strips about five to six inches long, mixing widths, textures, and colors within one palette, such as reds and creams or greens and golds.
Tie each strip onto a long strand of twine or thin cord with a simple knot, pushing the knots close together for fullness. There is no sewing and no gluing, so this is a relaxing project to make while watching a favorite holiday movie.
Drape the finished garland on the tree, a mantel, or a stair rail. The fluttering ribbon tails catch the light beautifully and add movement to stiffer, more structured decorations nearby.
22. Pinecone Elf Decorations
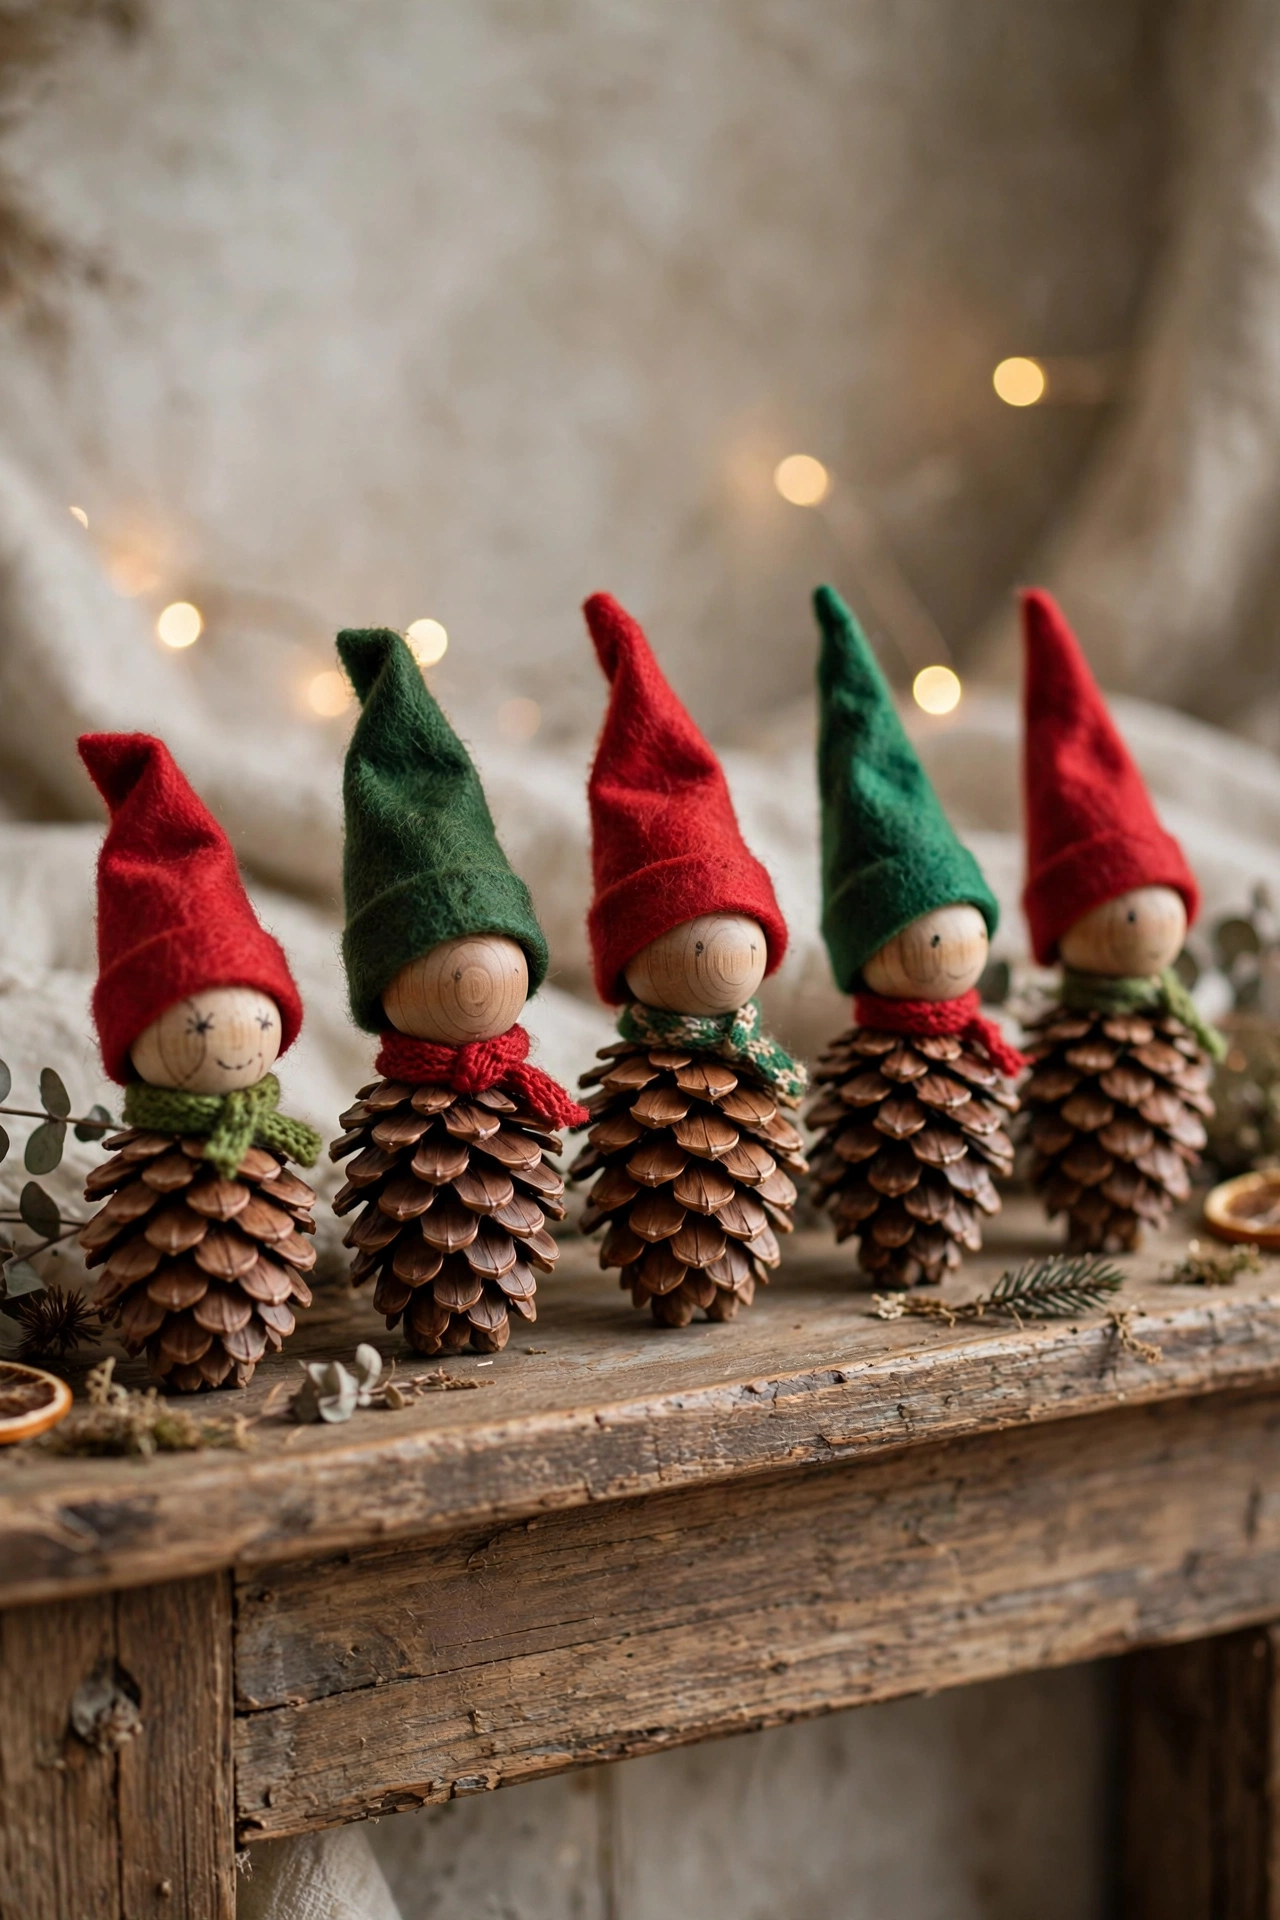
Pinecones make perfect little elf bodies with almost no effort. Glue a wooden bead on top of a small pinecone for the head, then add a tall felt hat, folded into a cone and glued around the bead with the tip flopped cheerfully to one side.
Draw a tiny face with a fine marker, or leave the elves faceless for a simple Scandinavian look. A narrow felt strip becomes a scarf, and two tiny felt pieces at the base work as boots if you want the elves to stand upright on shelves.
Perch a whole workshop of elves along a mantel or among your tabletop trees. Children love arranging them, and their natural materials blend beautifully with rustic and woodland holiday themes.
23. Hot Glue Snowflake Decorations
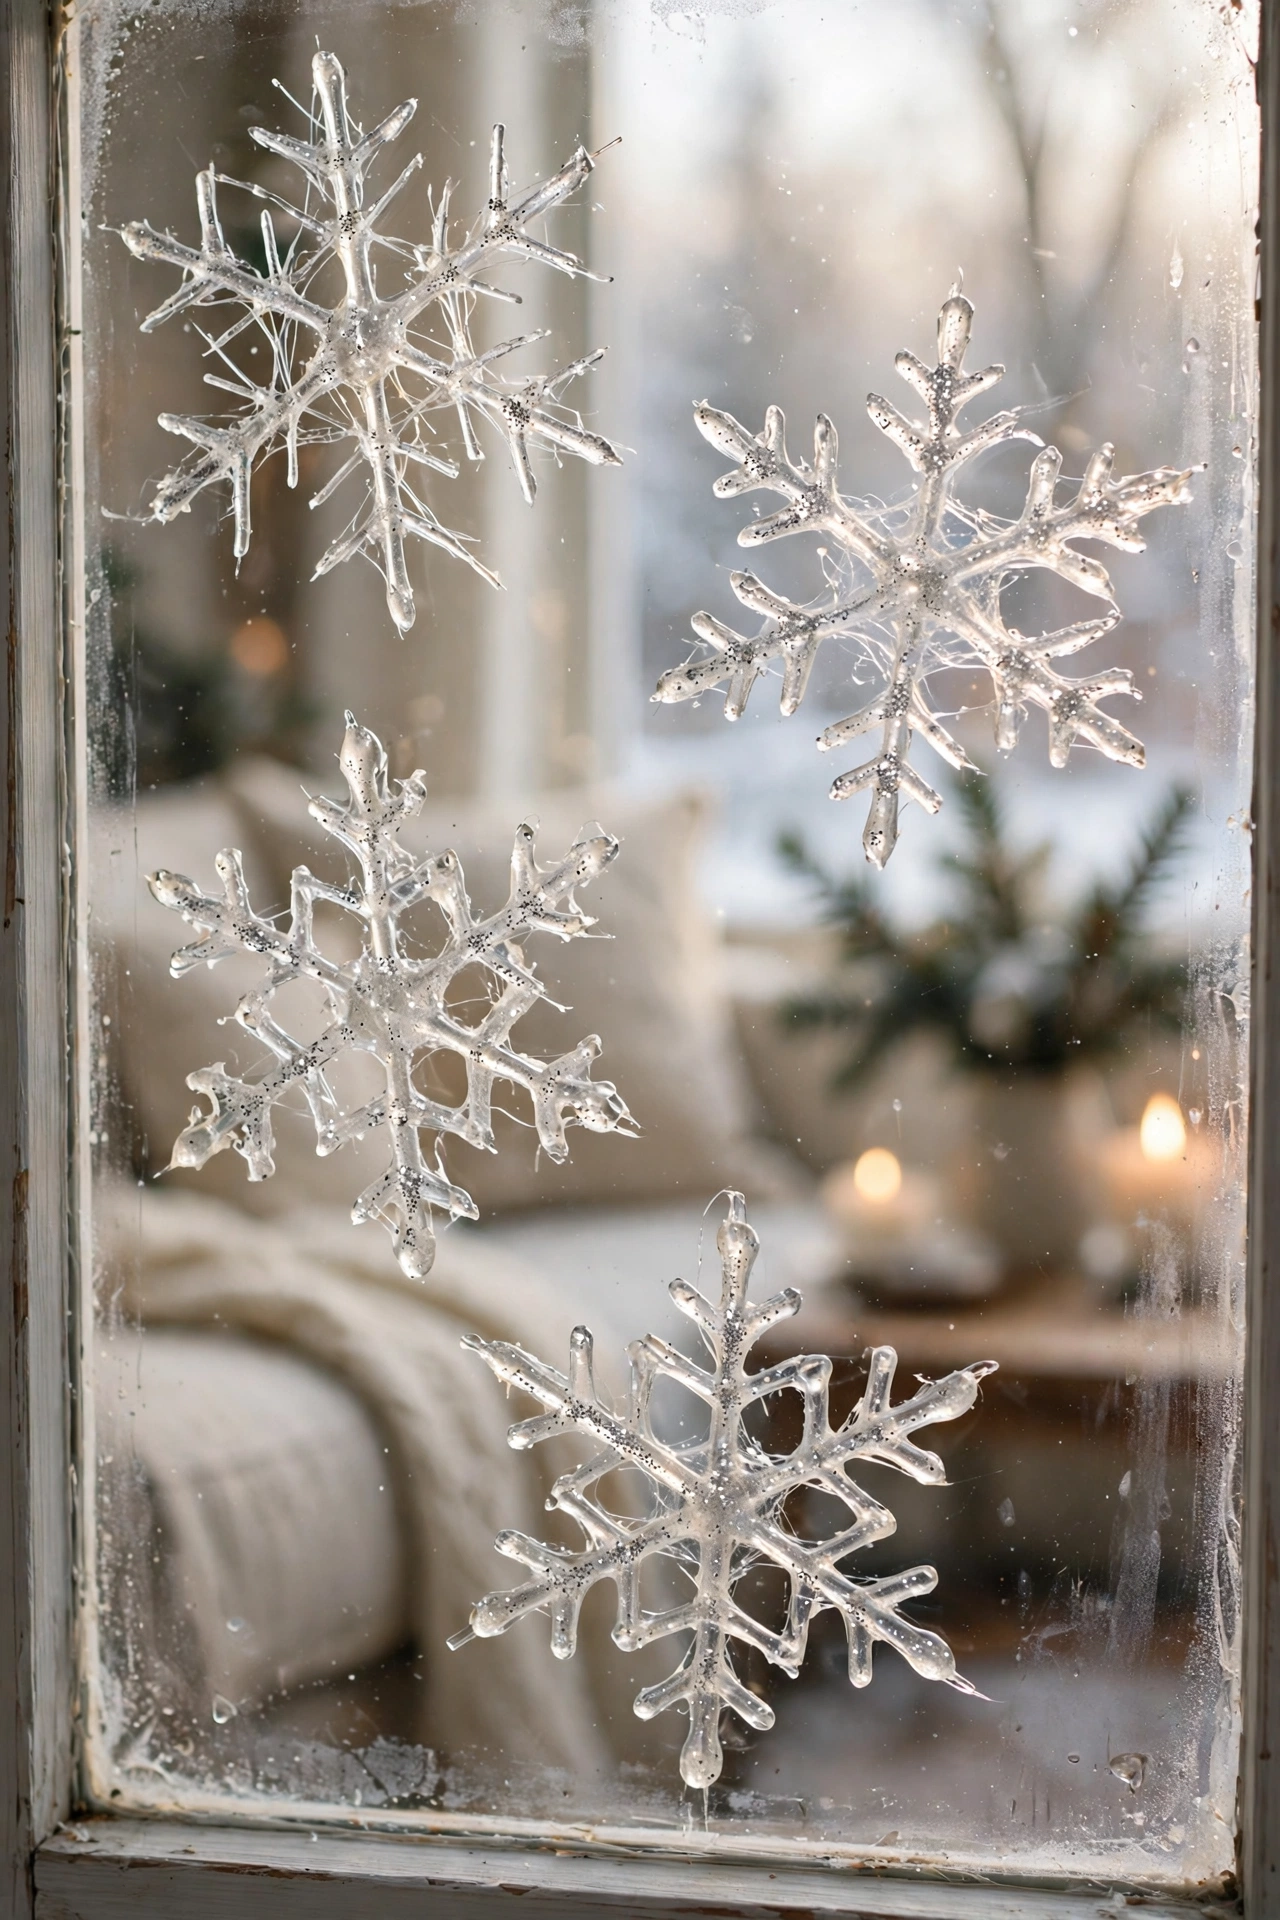
A glue gun can draw its own snowflakes. Draw or print simple snowflake outlines, place parchment paper over them, then trace the lines slowly with hot glue, making the strands thick enough to peel away cleanly once the glue has cooled completely and turned firm.
Only adults should operate the glue gun, working on a heat-safe surface and keeping fingers well away from the nozzle. While the glue is still slightly tacky, sprinkle fine silver or iridescent glitter over the flake for a frosty, light-catching finish.
Peel the cooled snowflakes from the parchment and press them onto windows, mirrors, or glass doors, where they cling on their own. They peel off cleanly in January and can be stored flat for next year.
24. Evergreen Bottle Centerpiece
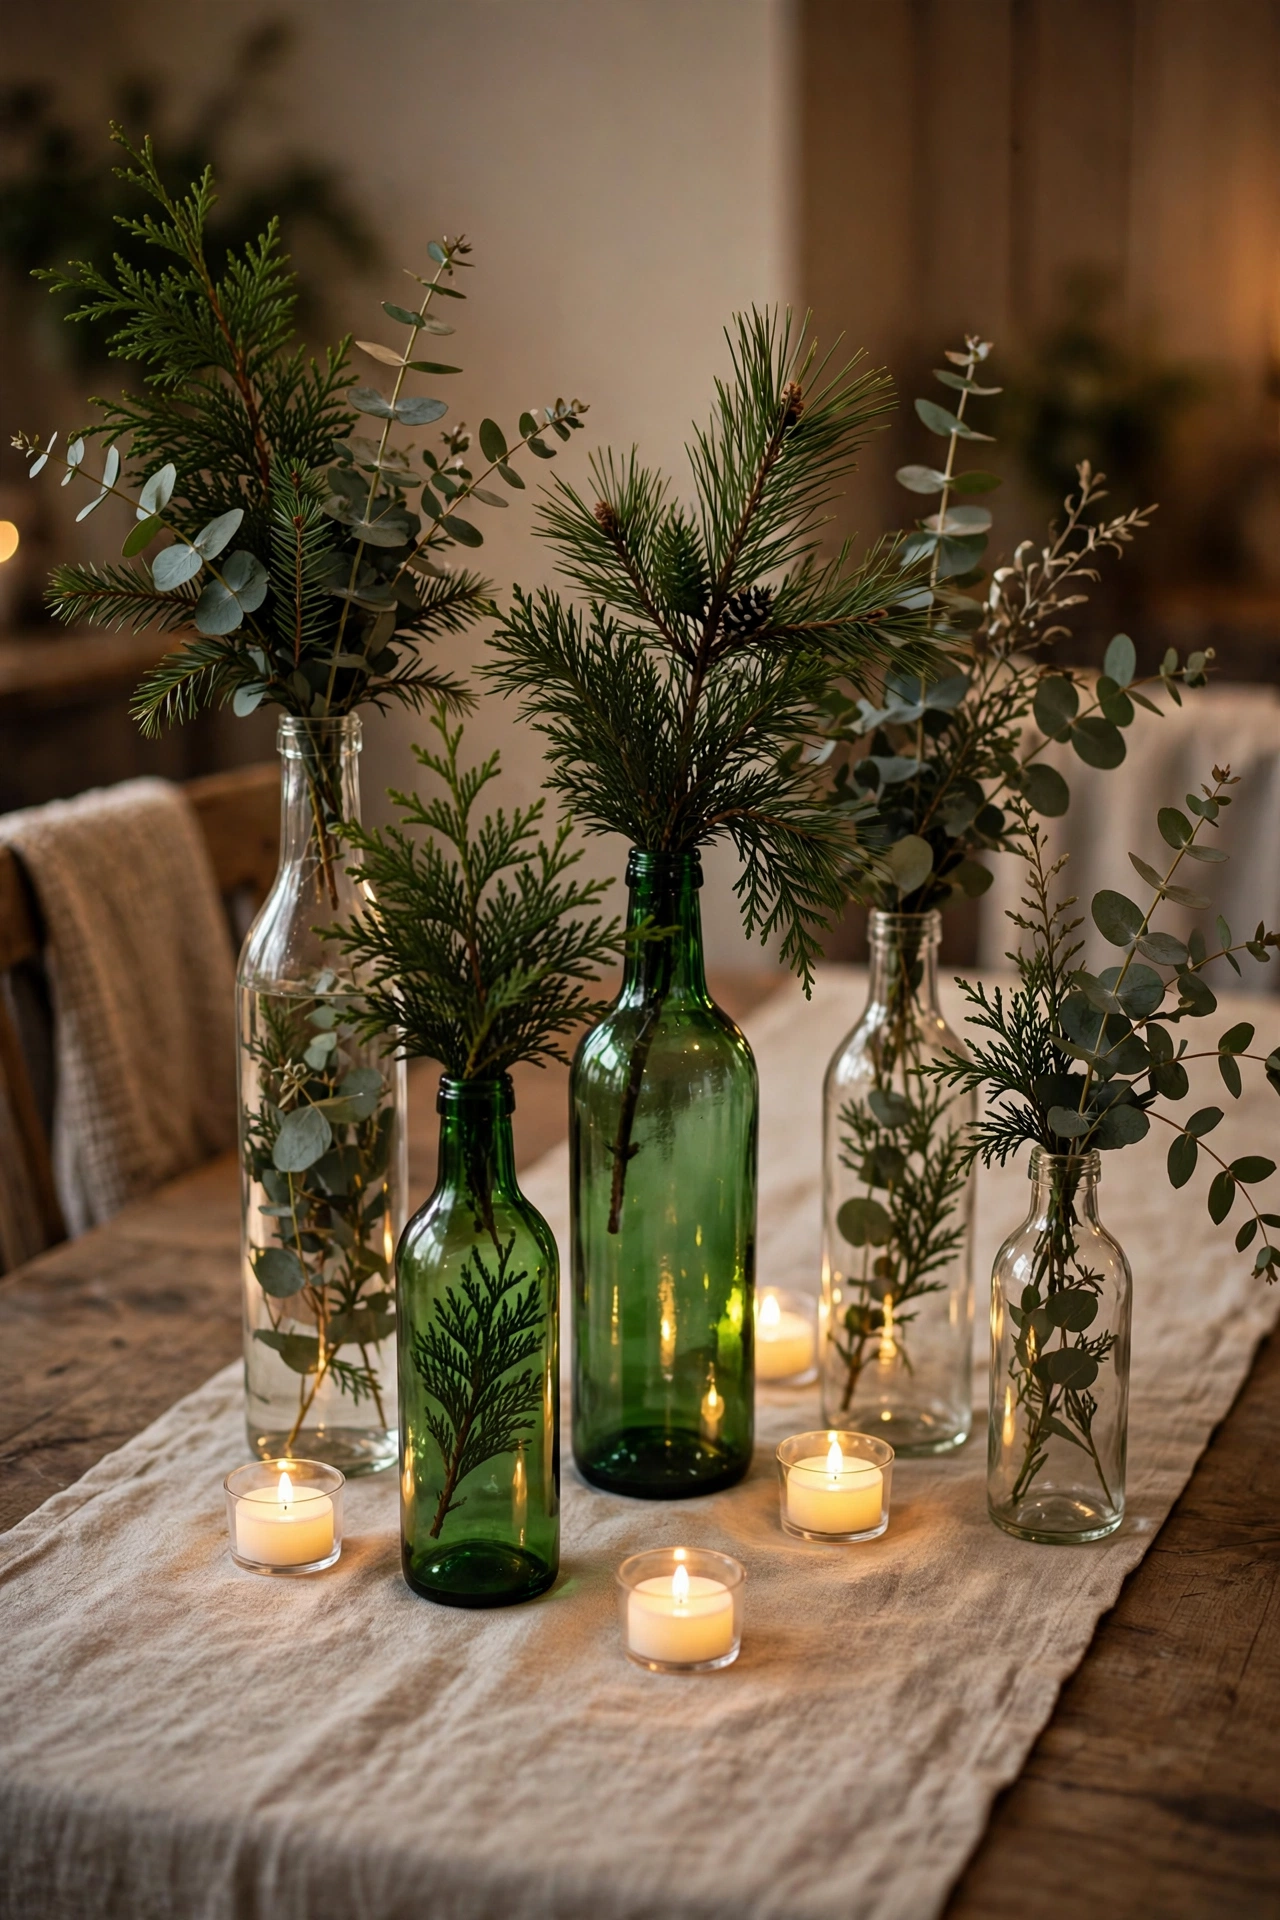
Save pretty glass bottles and turn them into an effortless evergreen centerpiece. Fill each bottle with water, then arrange clippings of pine, cedar, fir, or eucalyptus inside, trimming the stems at different heights so the greenery feels loose, natural, and freshly gathered from the garden.
Group three to five bottles down the center of the table on a linen runner. Tuck battery tea lights or small ornaments between the bottles for sparkle, keeping any flames away entirely by choosing flameless candles for this fresh, fragrant arrangement.
Refresh the water every few days and replace tired clippings as needed. This centerpiece costs almost nothing, takes ten minutes, and brings the scent of a Christmas tree farm straight to your table.
25. Candy Cane Wreath
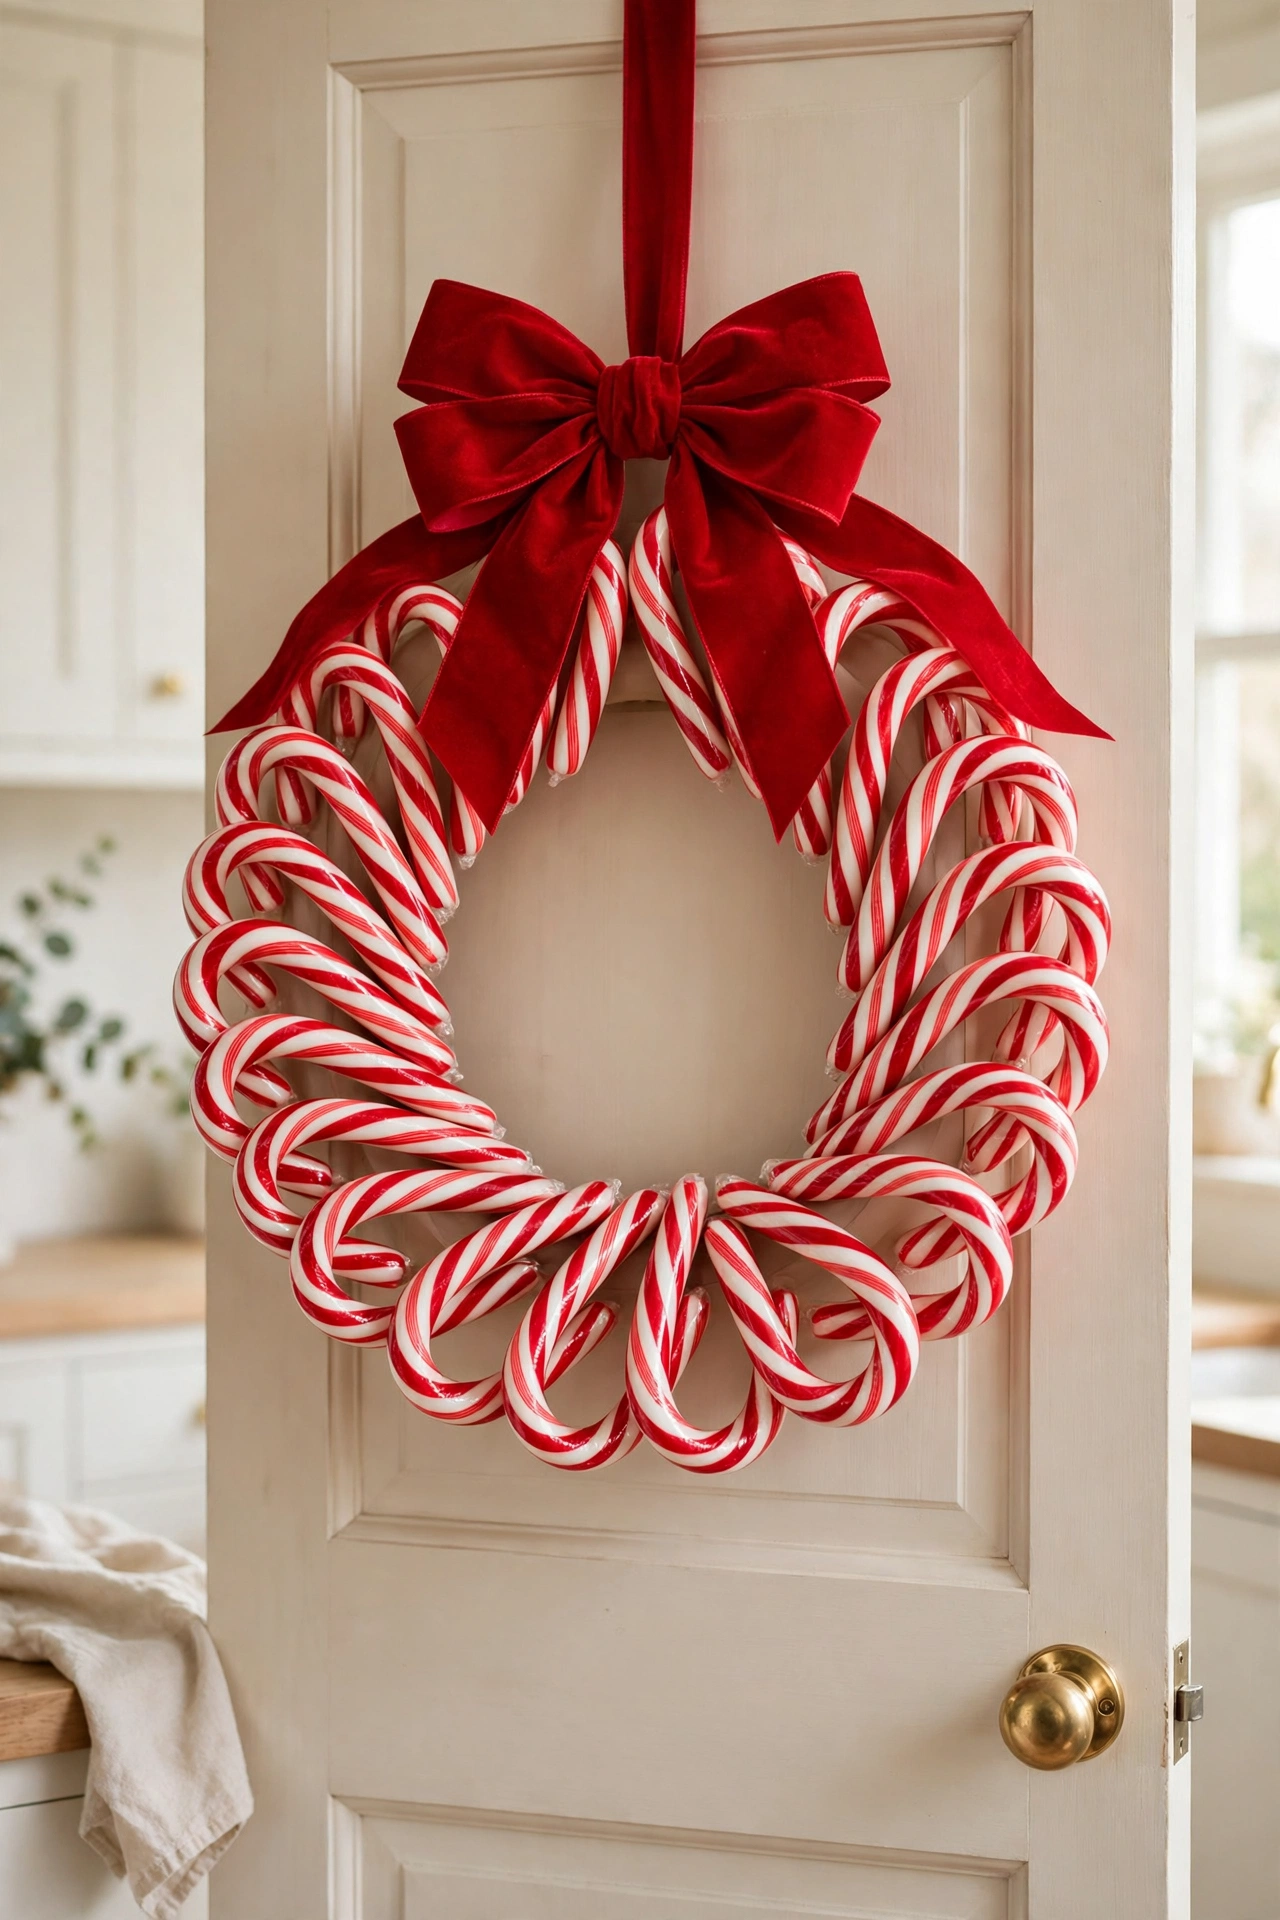
Two boxes of candy canes can become a striking wreath for a kitchen or interior door. Arrange the canes in pairs, hooks facing outward like heart shapes, and glue or tie the pairs side by side around a small ring or sturdy cardboard circle base.
Work on a flat surface and handle hot glue carefully, since candy wrappers melt near heat. A low-temperature glue gun or strong double-sided tape holds the canes neatly without damaging their stripes, and ribbon between pairs hides every join beautifully.
Finish with a big bow at the top and hang the wreath indoors, away from warm sunlight. For more welcoming inspiration, see our 30 Beautiful Christmas Door Decorating Ideas for 2026. Guests can even take a cane home.
26. Cardboard Tube Advent Calendar
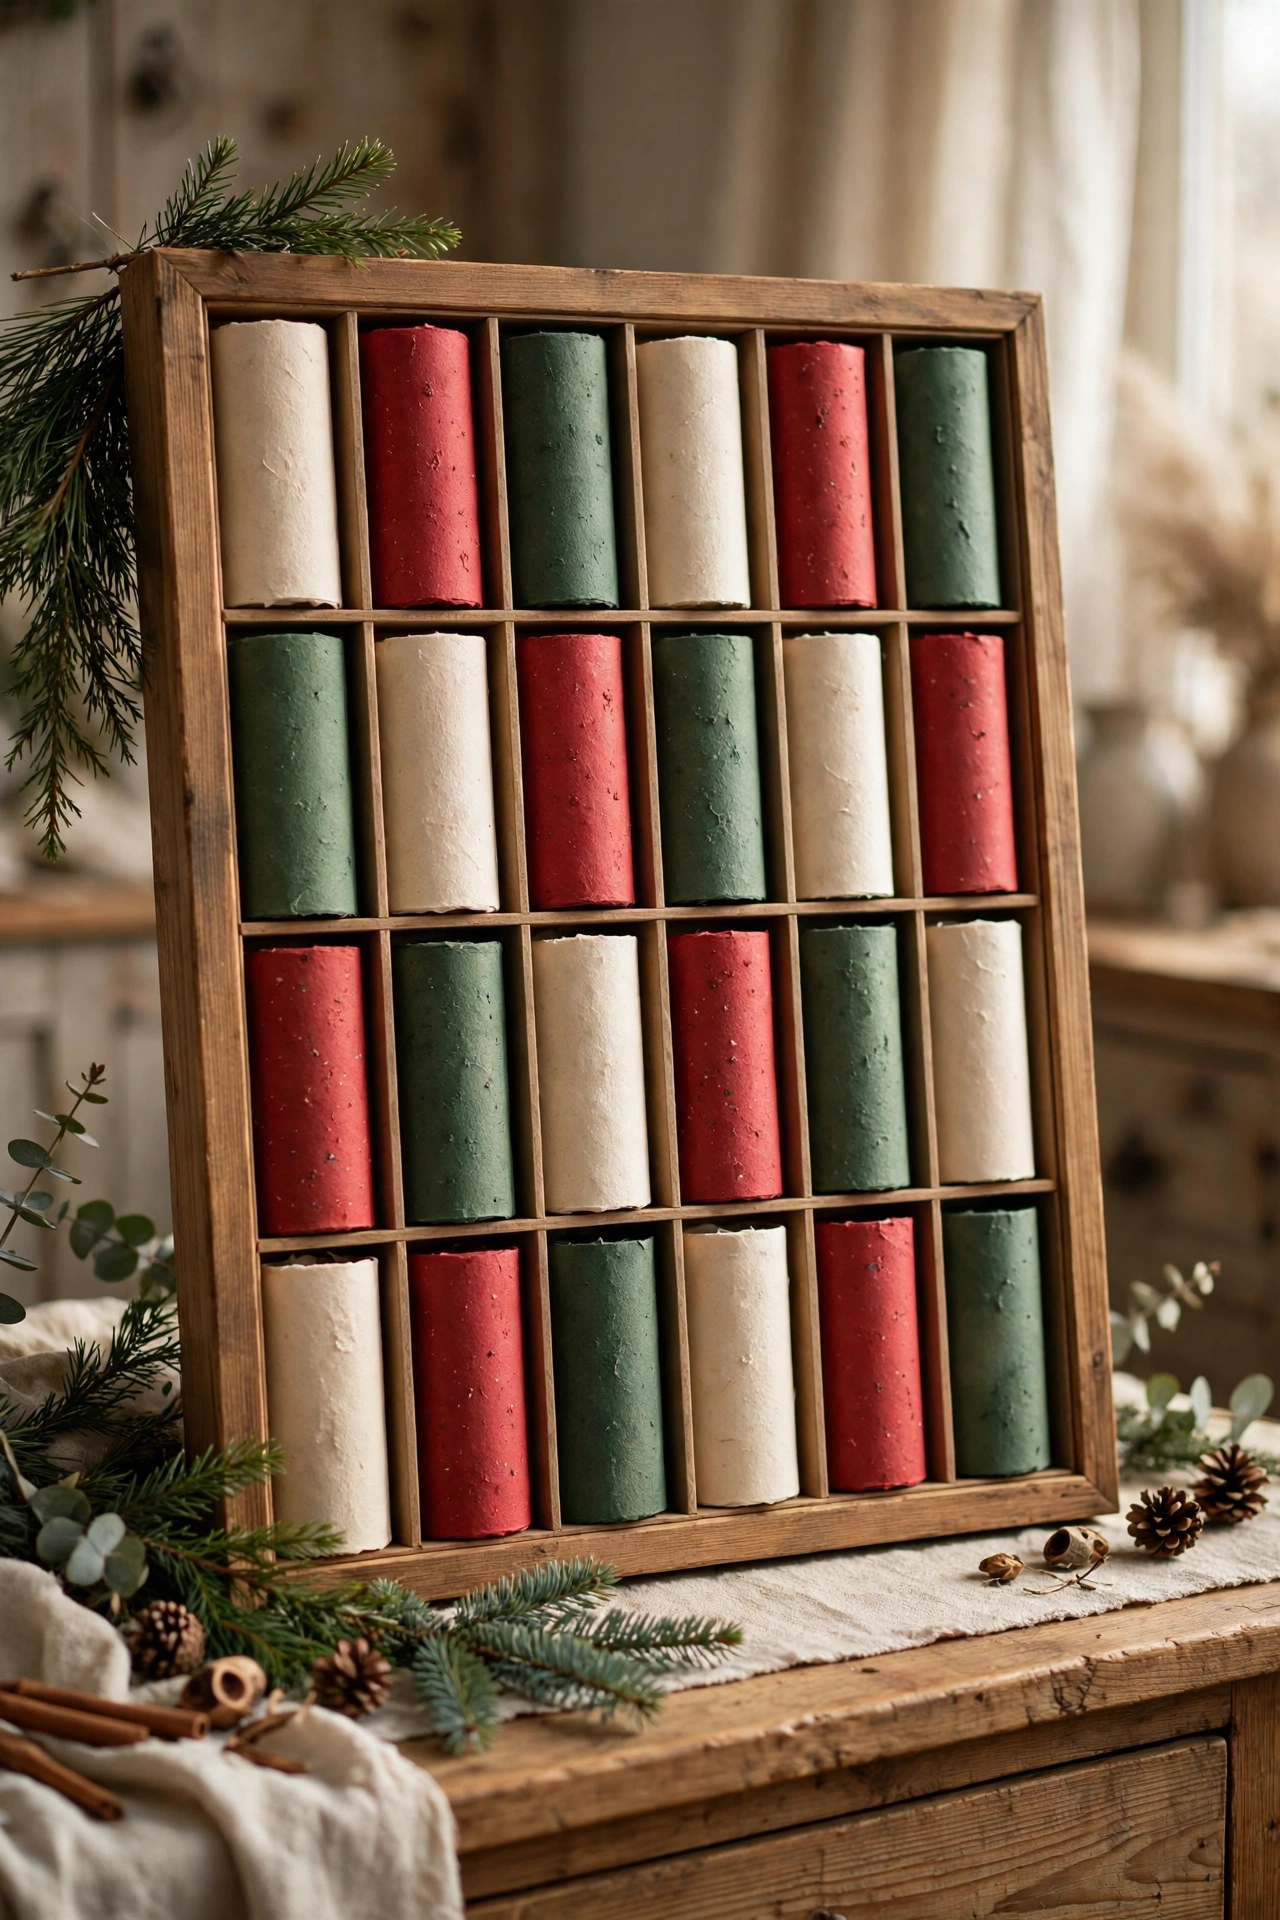
Turn saved cardboard tubes into a countdown calendar the whole family will use daily. Cut tubes into short rings or use whole tubes cut in half, then glue twenty-four of them upright onto a sturdy board or inside a shallow box frame in neat rows.
Cover each opening with a circle of tissue paper or festive paper, secured with a rubber band or glue around the rim, and hide a small treat, note, or activity idea inside. Adults can number the covers, keeping the design clean and purely decorative on the outside.
Set the calendar where children can reach one tube each morning. Breaking the paper seal becomes a small daily ceremony, and the whole calendar refills easily again next December.
27. Orange Pomander Balls
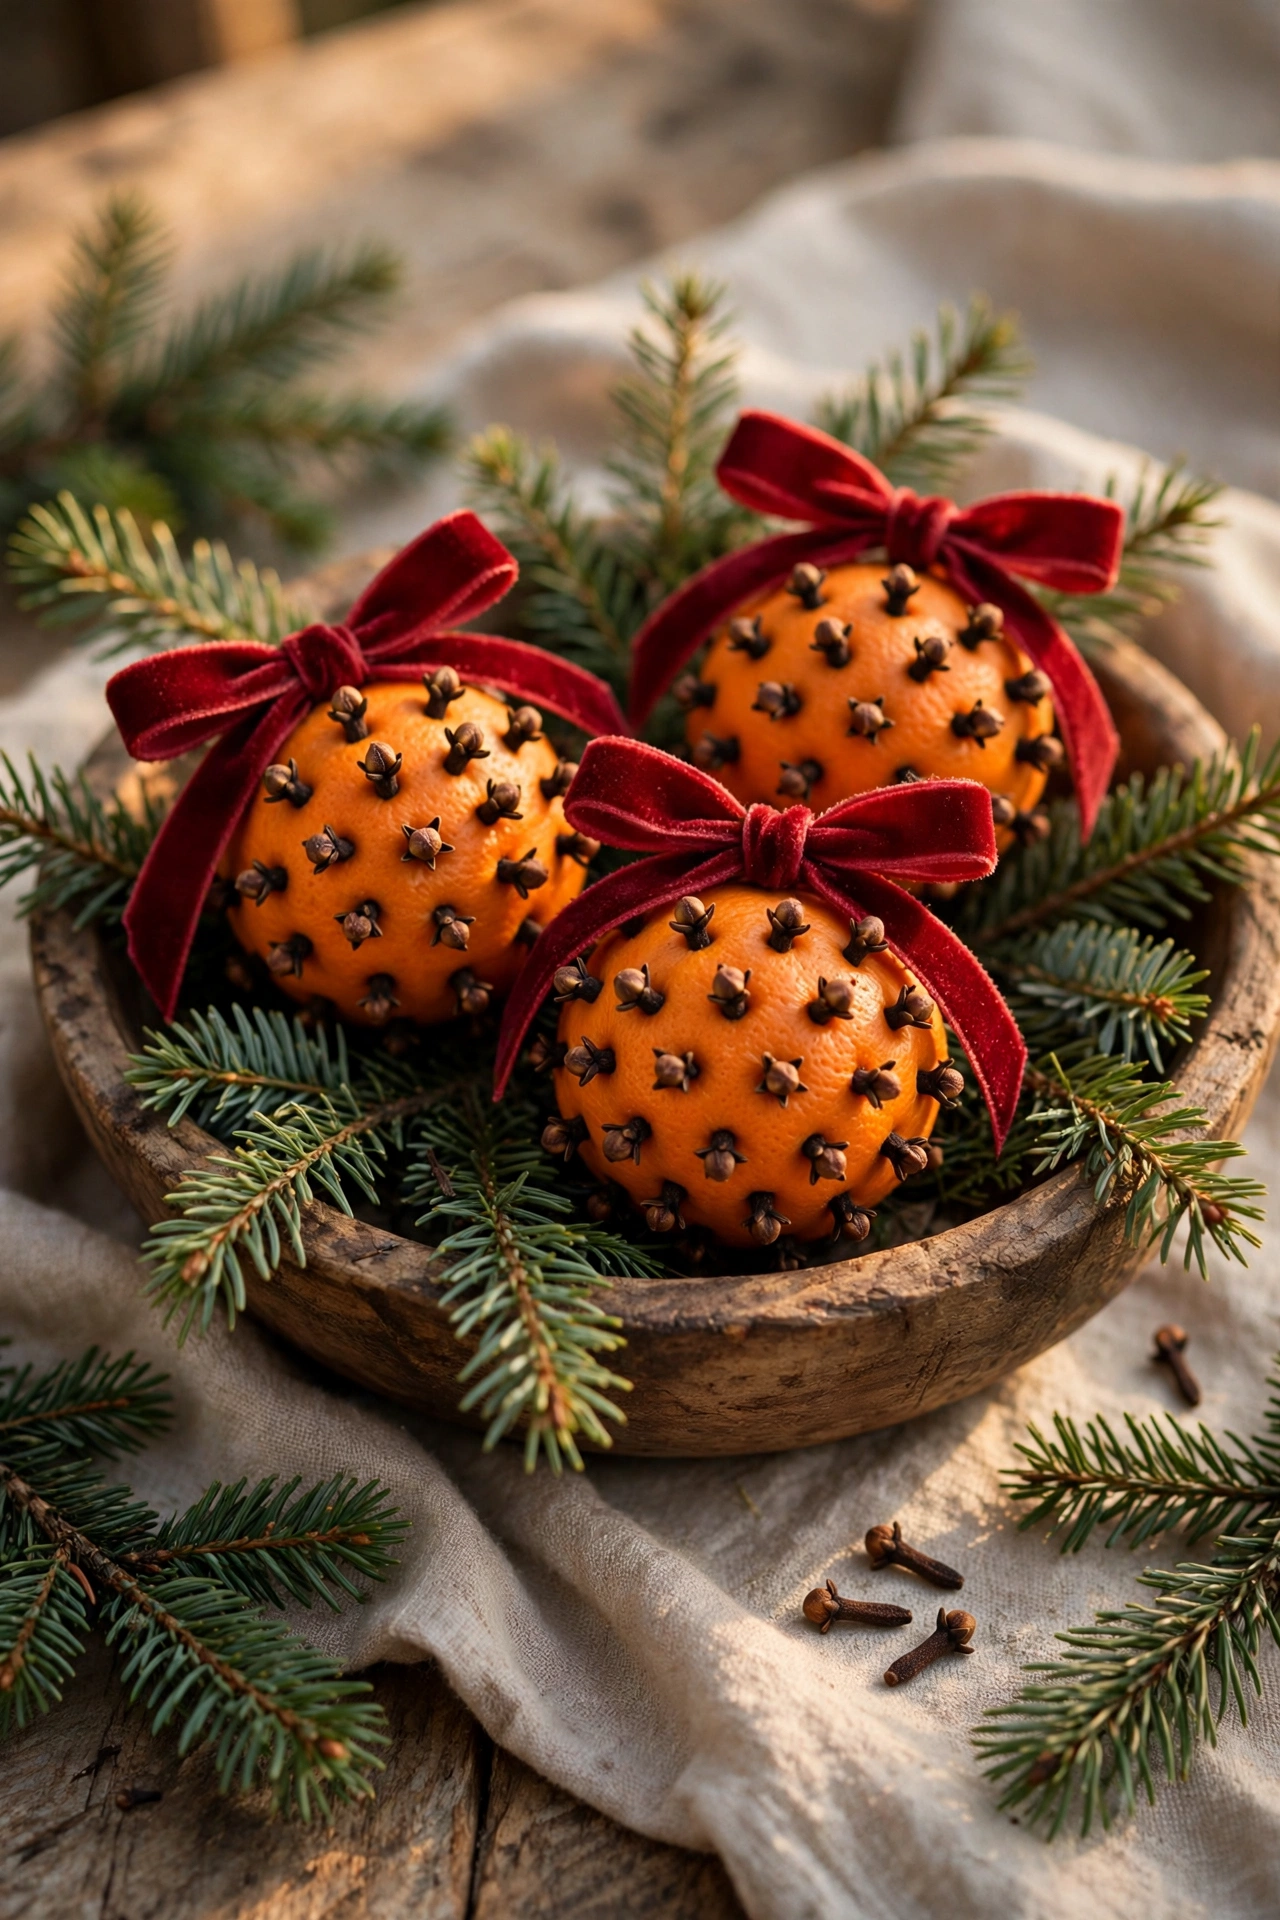
Pomander balls have scented homes for centuries, and they could not be simpler to make. Take a firm orange, wrap a ribbon crosswise around it to mark sections, then press whole cloves into the peel in neat rows or a simple swirling pattern across the surface.
Push cloves in with a fingertip or use a toothpick to start each hole if the peel feels tough. Work over a bowl to catch loose cloves, and take breaks, since pressing many cloves can make fingertips sore during a long, fragrant crafting session.
Hang finished pomanders in a closet, tie them to a wreath, or pile them in a bowl. Their spicy citrus scent lasts for weeks and deepens beautifully as the orange slowly dries.
28. Elegant Paper Chain Garland
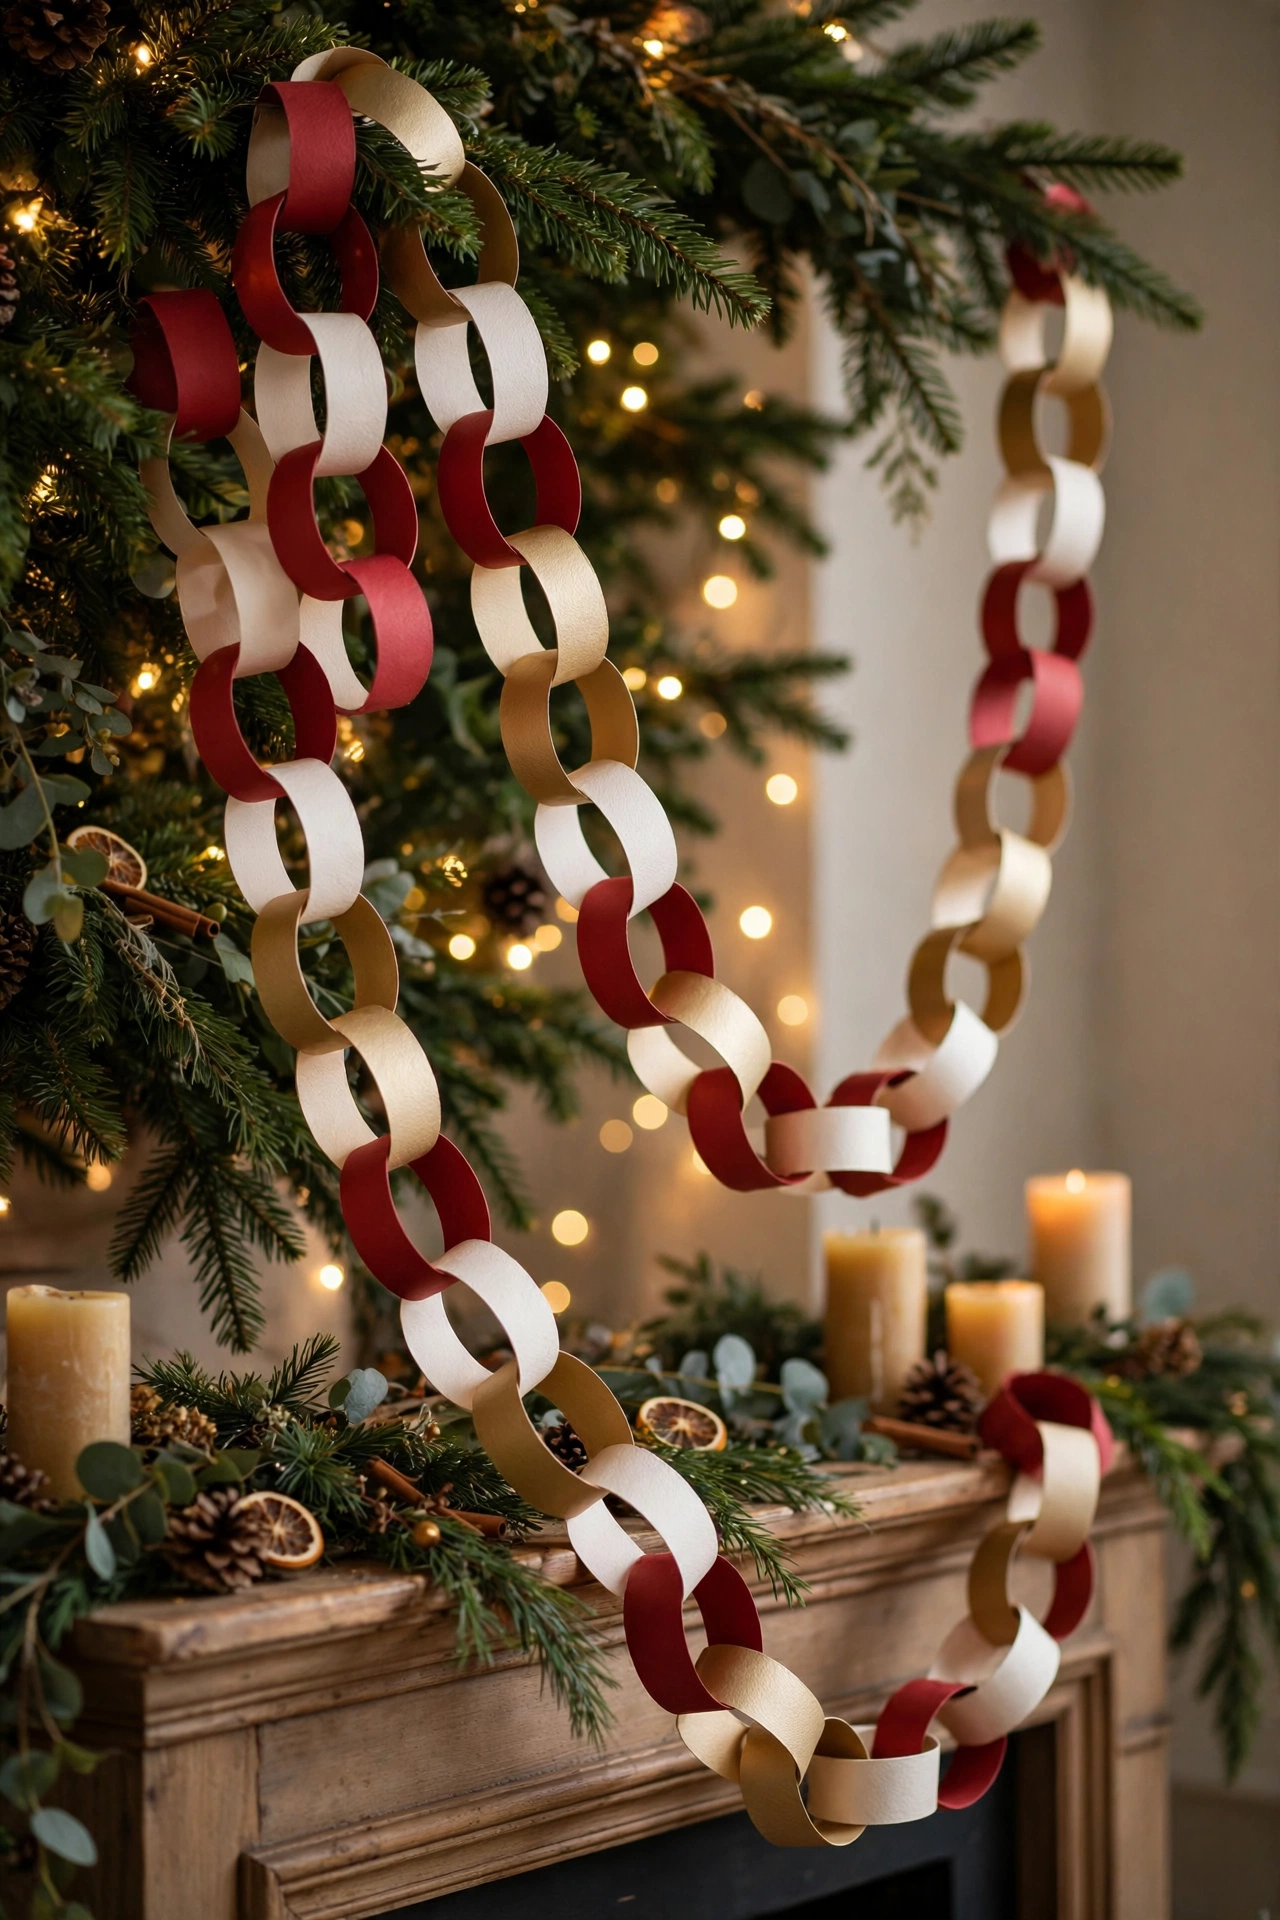
The humble paper chain becomes elegant when you choose beautiful paper. Cut strips from matte cardstock, wrapping paper offcuts, or old book pages in a coordinated palette of deep red, cream, and gold, keeping every strip the same width for a tailored, polished finish.
Loop the first strip into a ring and glue or staple it closed, then thread each new strip through the last ring before closing it. A glue stick keeps the look clean for paper, while small staples are faster and sturdier for chains that children are making themselves.
Drape the finished chain on the tree, across a mantel, or down a staircase. Long, graceful loops in rich colors prove that the simplest childhood craft can still look completely grown-up.
Conclusion
Twenty-eight projects later, the best part of handmade Christmas decorating is how little it asks of you: simple materials, short steps, and ideas that welcome beginners and children alike. Start with one ornament or garland, enjoy the process as much as the result, and let your collection of homemade pieces grow a little more each year.
When you are ready to carry the handmade feeling outside, revisit our 30 Beautiful Christmas Door Decorating Ideas for 2026, light the way with our 28 Outdoor Christmas Decoration Ideas for a Magical Front Yard. Choose your first project today, warm up the glue gun safely, and make something worth keeping.
FAQs
What are the easiest DIY Christmas decorations for complete beginners?
Start with mason jar fairy light lanterns, ribbon scrap garlands, paper chains, and evergreen bottle centerpieces. Each one needs only a few supplies, involves no difficult technique, and looks good even on a first attempt. Salt dough ornaments are another friendly first project because the dough is forgiving and mistakes can simply be rolled out and cut again.
How can I make DIY Christmas decorations on a small budget?
Use what you already have: jars, cardboard, ribbon scraps, old sweaters, spare buttons, and clippings from your own yard. Pinecones, twigs, and evergreen branches are free in many neighborhoods, and basic supplies like twine, glue, and acrylic paint cover dozens of projects. Choose two or three projects that share materials so one small shopping list stretches across your whole decorating plan.
Are homemade Christmas decorations safe to use around children and pets?
They can be, with a few sensible choices. Always use battery-operated candles and fairy lights instead of real flames, let adults handle hot glue guns, scissors, and craft knives, and avoid tiny detachable parts on decorations within reach of toddlers. Hang delicate or heavy handmade pieces high, and choose soft projects like sock snowmen and felt garlands for low, touchable spots.
How do I store handmade Christmas decorations so they last?
Let painted and glued pieces cure fully before packing, then wrap fragile items individually in tissue and store them in sturdy boxes with lids. Keep natural decorations like dried orange garlands and pomanders in breathable containers in a cool, dry place, and check them before reusing. Photographing each finished project helps you remember what you made and how you styled it next year.


