25 DIY Christmas Ornaments for a Handmade Holiday Tree

A handmade holiday tree has a warmth no store-bought set can match. Every ornament carries a story: an afternoon at the kitchen table, a child’s careful glue work, a scent of cinnamon and orange that drifts through the room all season.
In this guide, you will find 25 DIY Christmas ornaments built from simple, affordable materials — sticks, slices, felt, clay, paper, and scraps you may already own. Each project is beginner-friendly, with clear steps and a finished look worth hanging front and center.
New to seasonal crafting? Start with our 28 Easy DIY Christmas Decorations to Make This Holiday Season for confidence, then pick five or six favorites here and make an afternoon of it.
25 DIY Christmas Ornaments for a Handmade Holiday Tree
1. Cinnamon Stick Star Ornaments
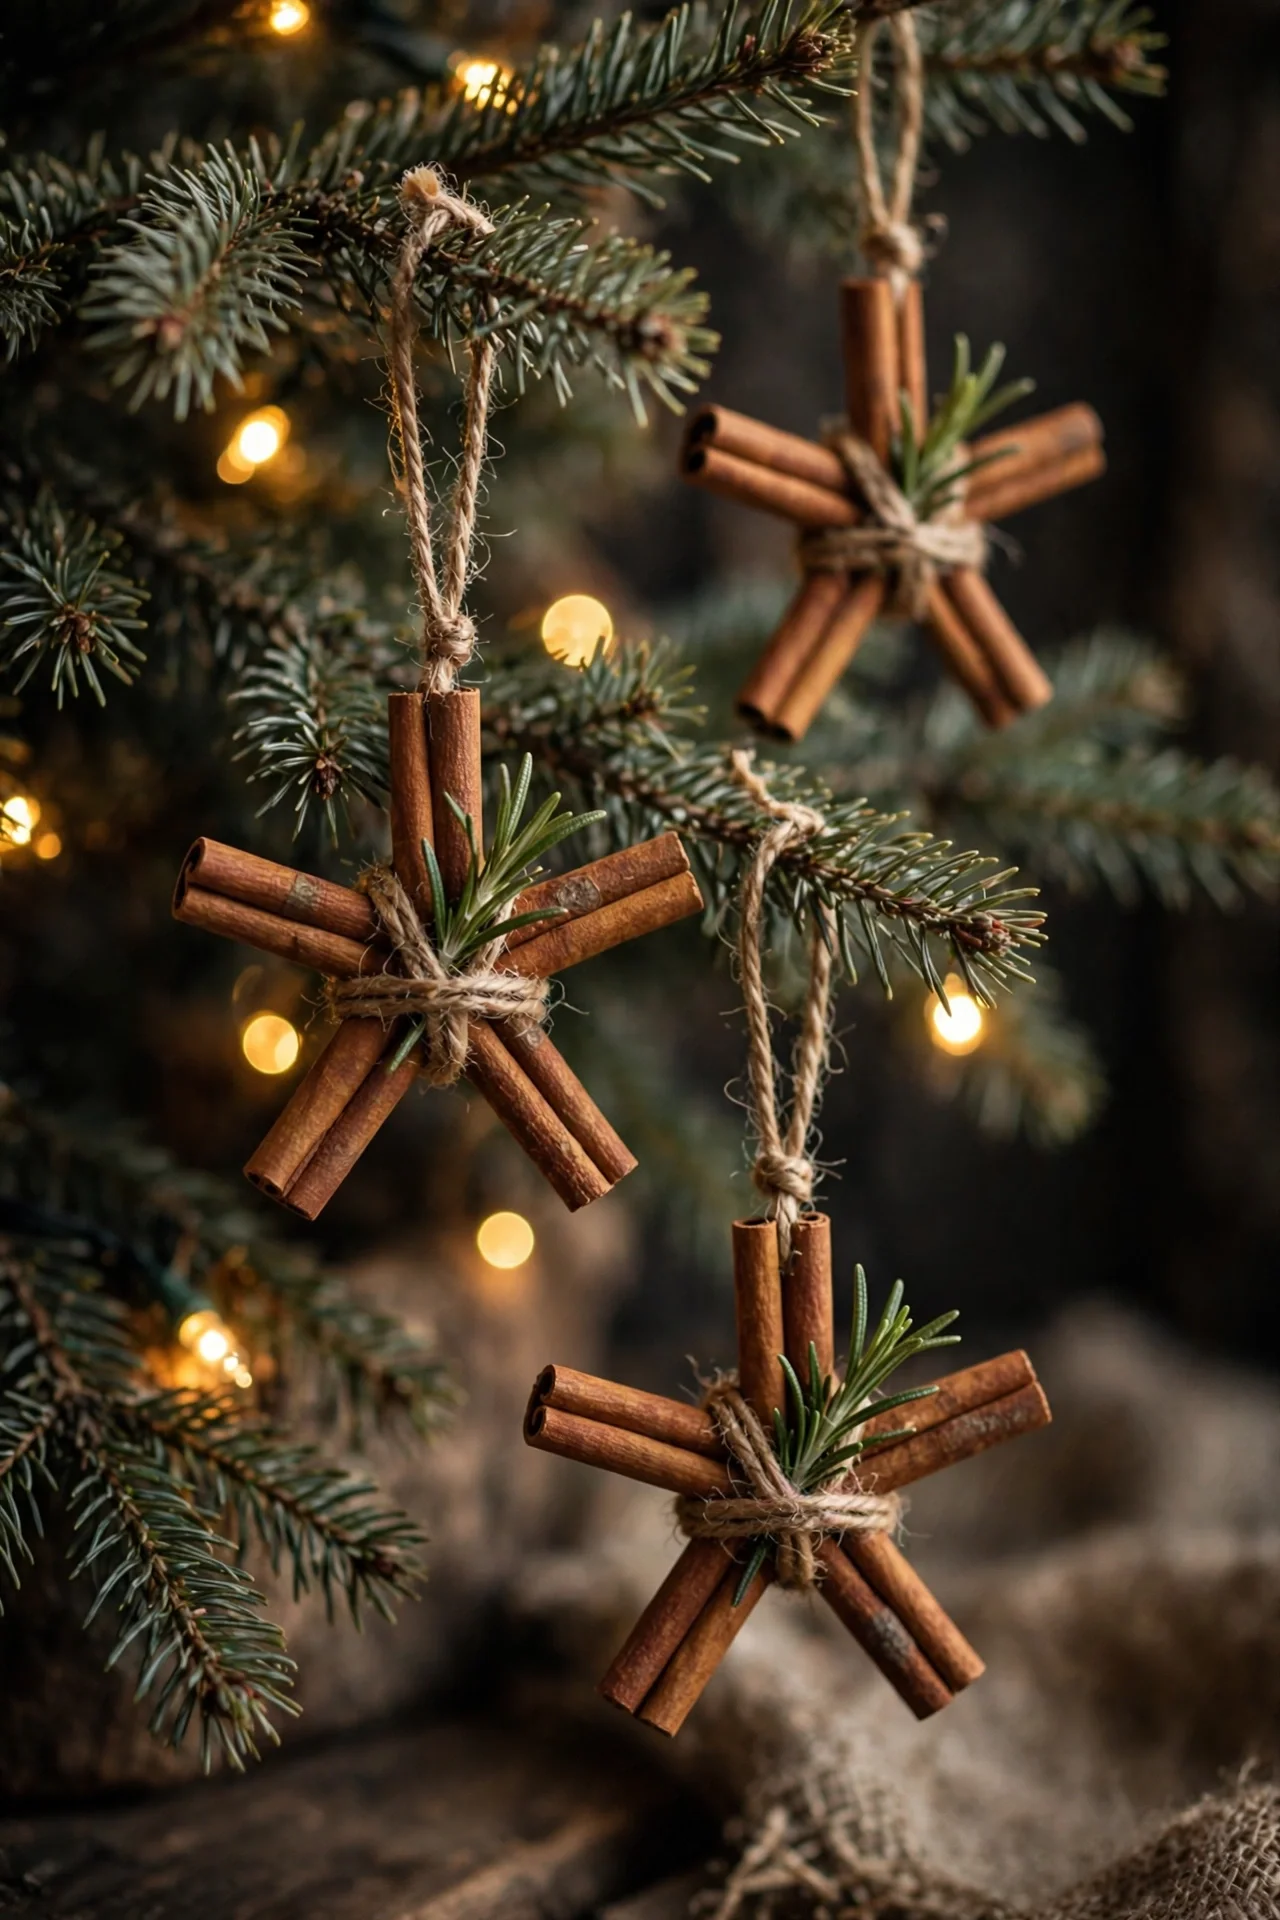
Cinnamon stick stars bring natural fragrance and rustic shape to the tree in one simple project. Their warm brown tones sit beautifully against deep green branches and golden lights.
Glue five sticks of equal length into a star using small dabs of hot glue at each point. Work on parchment paper so the star lifts cleanly, and let each joint cool fully before moving it.
Tie a loop of twine through one point for hanging, then tuck a tiny sprig of rosemary or a single star anise into the center for detail. A light dusting of gold glitter on the edges adds glow without hiding the bark texture.
Keep hot glue away from little fingers, and store the stars flat in a box so they stay fragrant for years.
2. Dried Orange Slice Ornaments
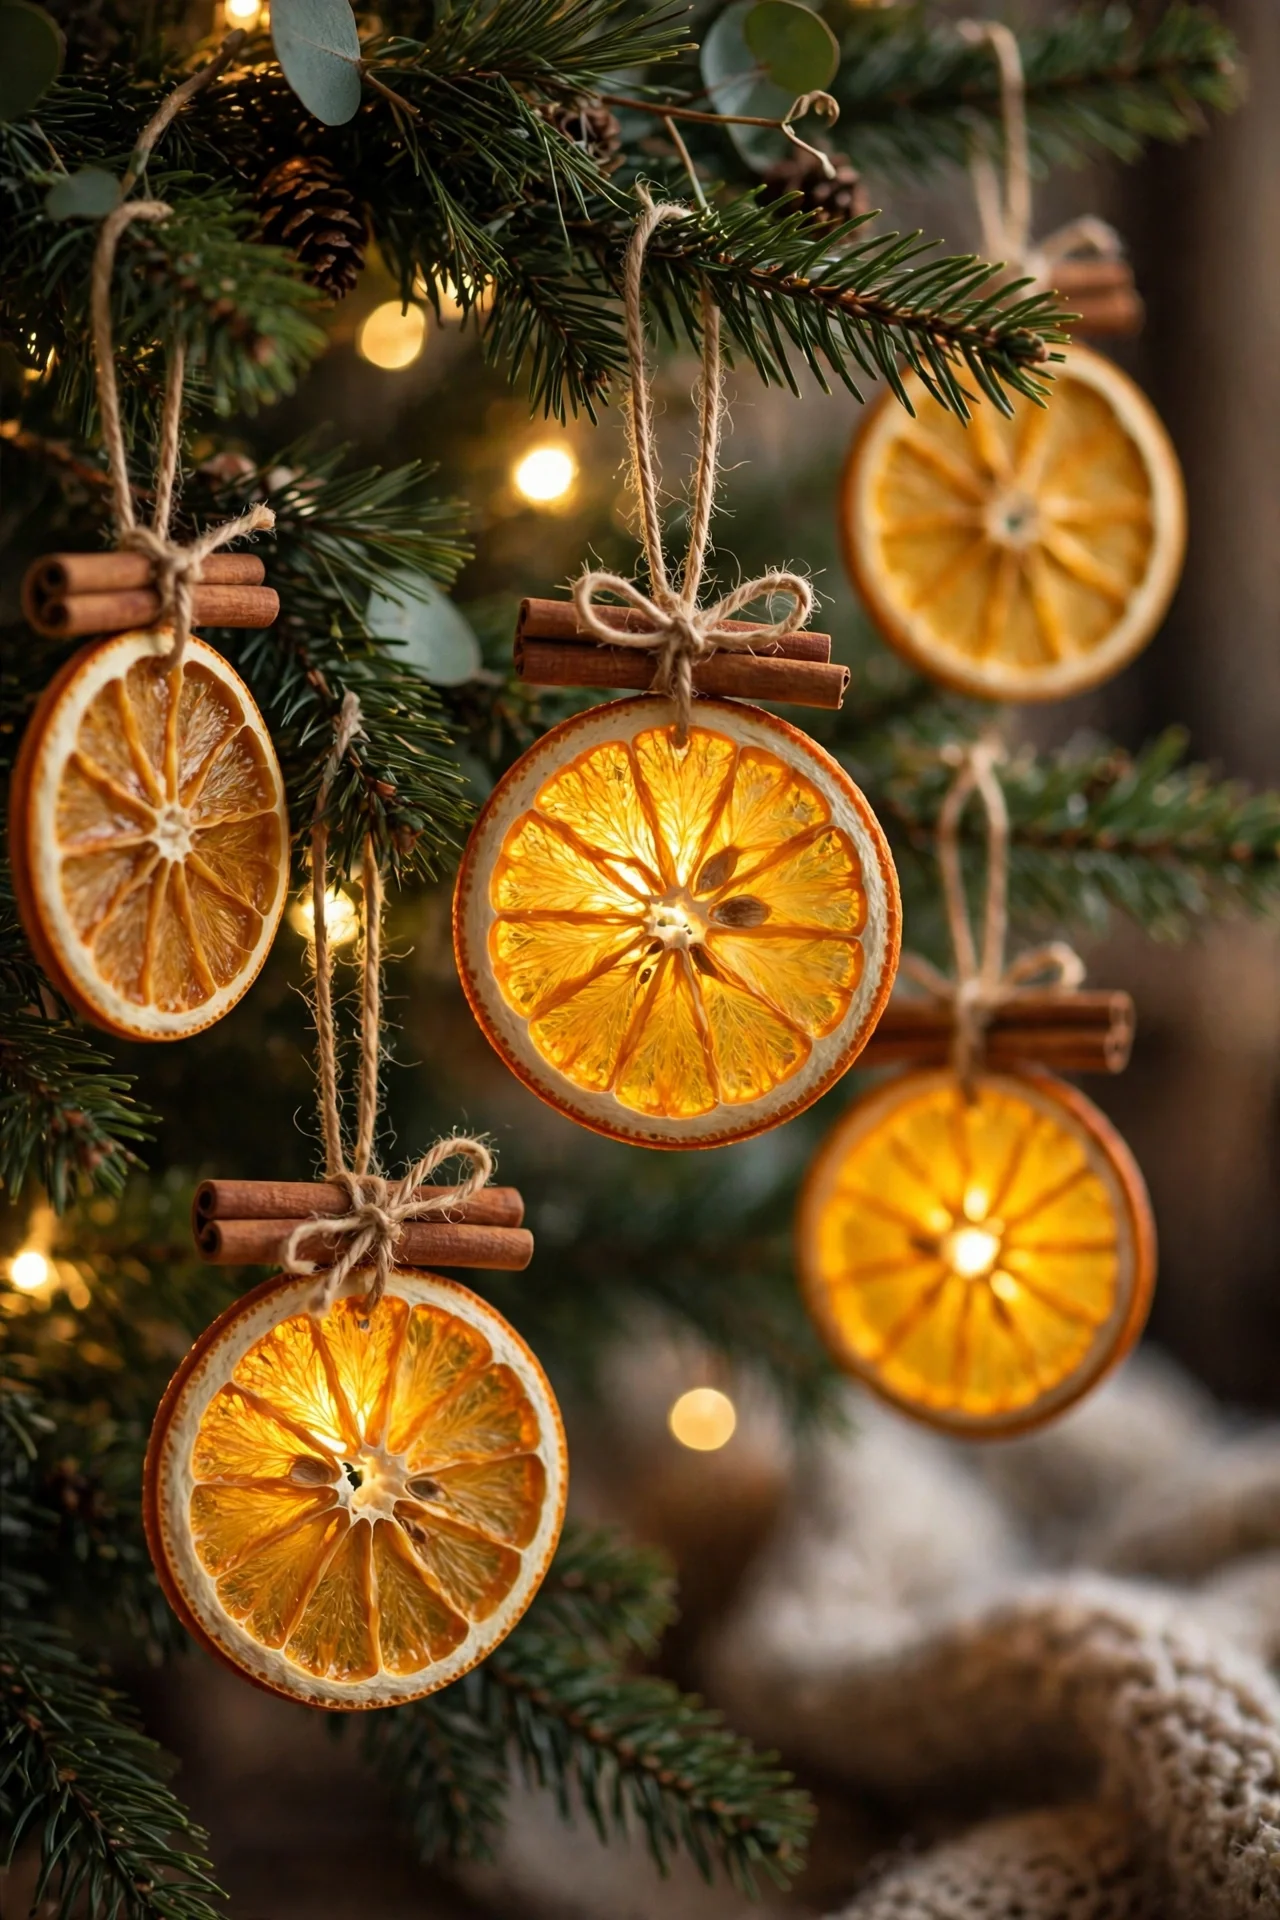
Dried orange slices glow like little stained-glass windows when tree lights shine through them. They are one of the oldest handmade decorations, and still one of the prettiest.
Slice oranges about a quarter inch thick, pat them dry, and bake them low and slow — around 200°F for two to three hours, flipping halfway — until they feel dry and slightly translucent. Cool them completely before crafting.
Thread twine or thin ribbon through the top of each slice, or poke a small hole near the rind first. Pair slices with a cinnamon stick or a few cranberries on the same loop for a classic combination.
Hang them near lights to show off the glow, and mix whole slices with half-moons for variety.
3. Glitter-Dipped Pinecone Ornaments
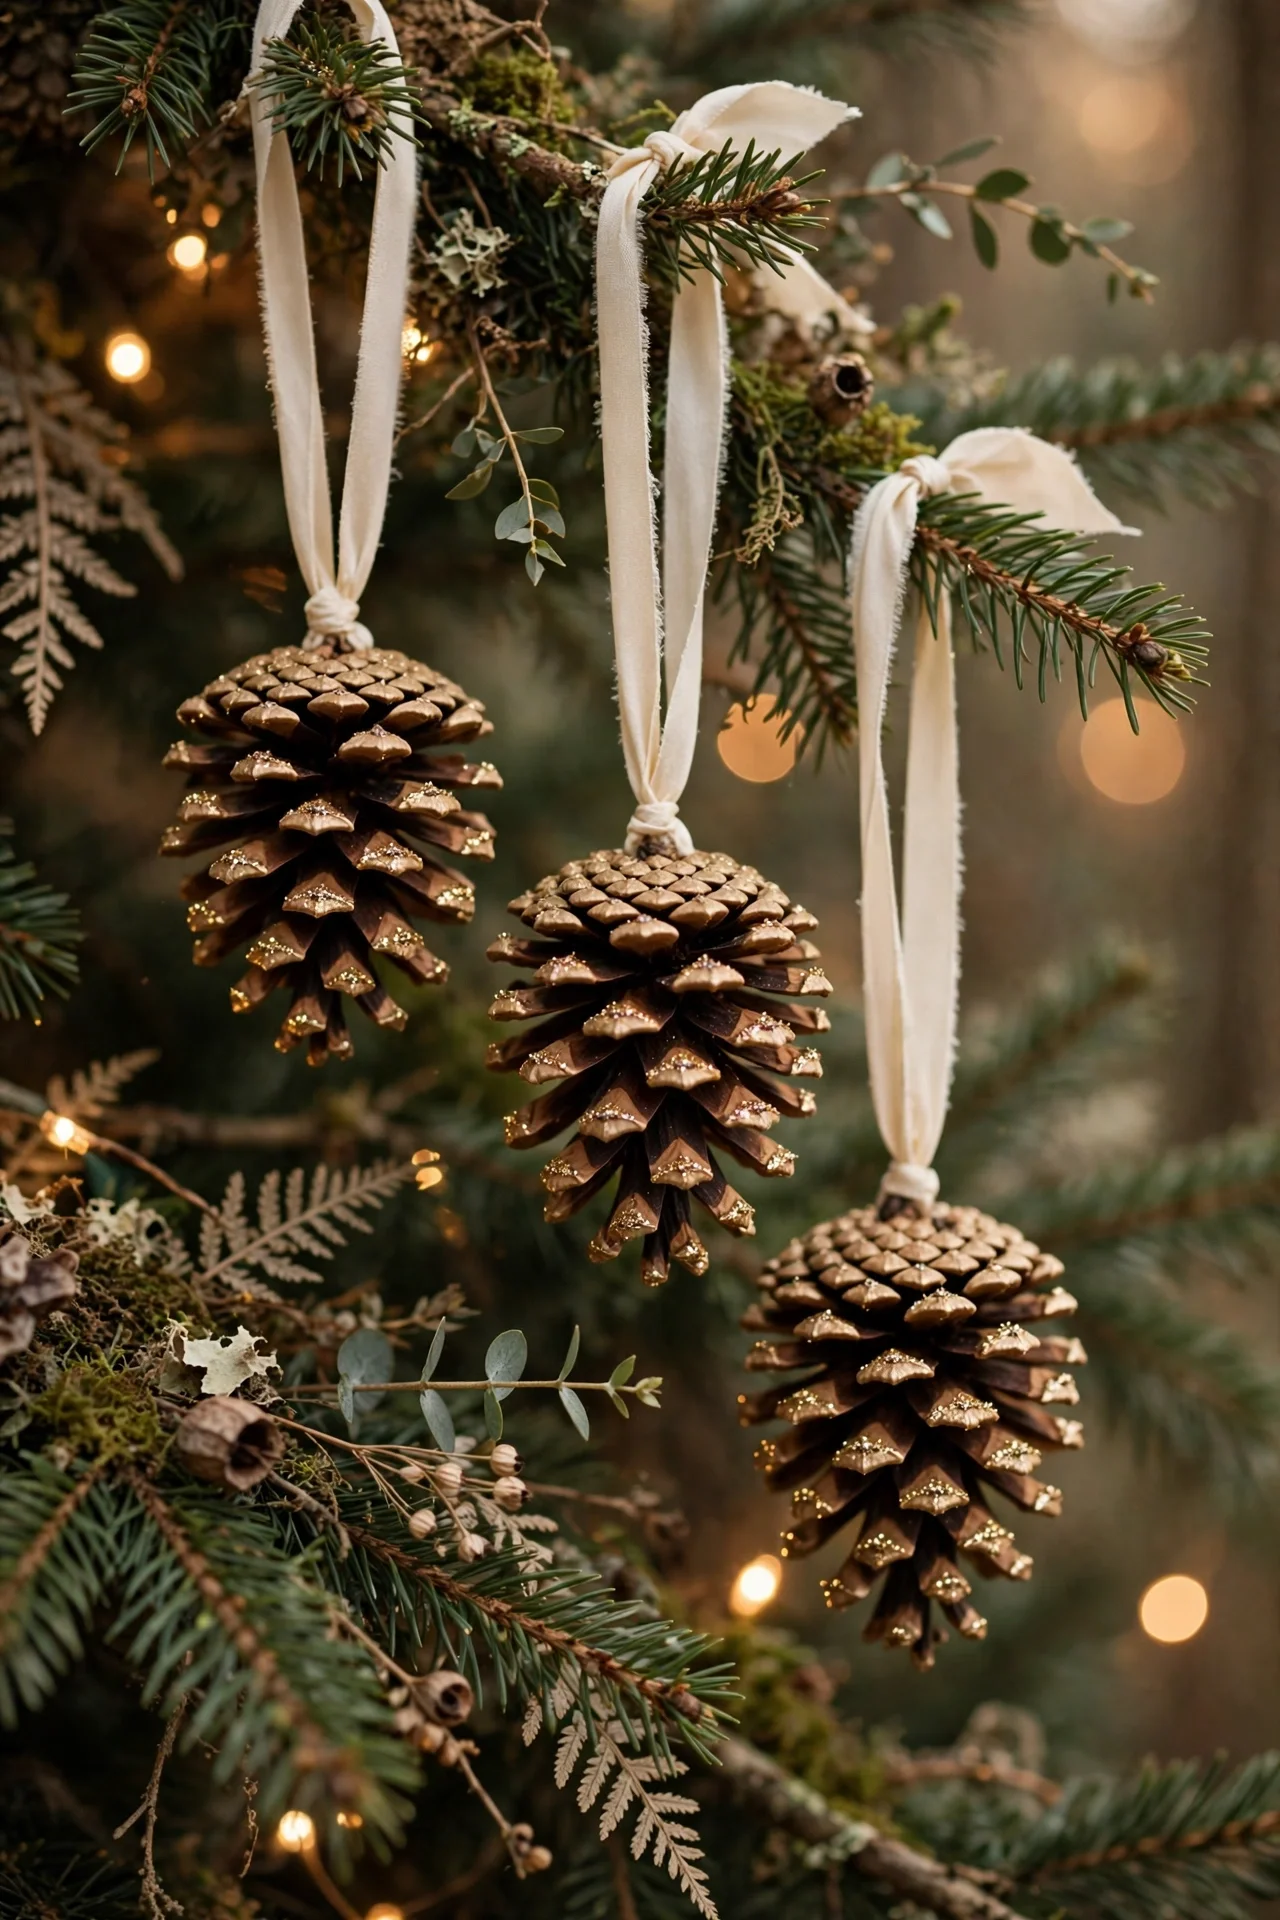
Pinecones become elegant ornaments with nothing more than glue, glitter, and a ribbon loop. Their natural scales catch sparkle beautifully, especially in gold, champagne, or frosty silver.
Start with clean, dry cones — brush off dirt and bake them briefly at a low temperature to open the scales and remove any moisture. Let them cool before you begin decorating.
Brush craft glue onto just the tips of the scales, then sprinkle glitter over a tray so the excess can be reused. This dipped effect looks refined and keeps loose glitter off the branches.
Screw a small eye pin into the top, or hot-glue a ribbon loop between the top scales. Hang the cones at different heights, and cluster two or three together for a fuller, woodland feel.
4. Clear Baubles Filled with Snow and Greenery

Clear fillable baubles let you build a tiny winter scene inside glass or shatterproof plastic. A pinch of faux snow and a sprig of greenery is all it takes for a polished result.
Remove the cap, add a spoonful of fake snow, then slide in a small cutting of faux cedar, a few red berries, or a miniature pinecone. Tweezers help you arrange the pieces exactly where you want them.
Replace the cap and tie a velvet or satin ribbon at the top. Group baubles in threes along a branch, mixing greenery with one filled only with snow for contrast.
Choose plastic baubles if children or pets will be near the tree — they look the same and will not shatter if knocked down. These also make thoughtful, inexpensive gifts.
5. Salt Dough Christmas Ornaments
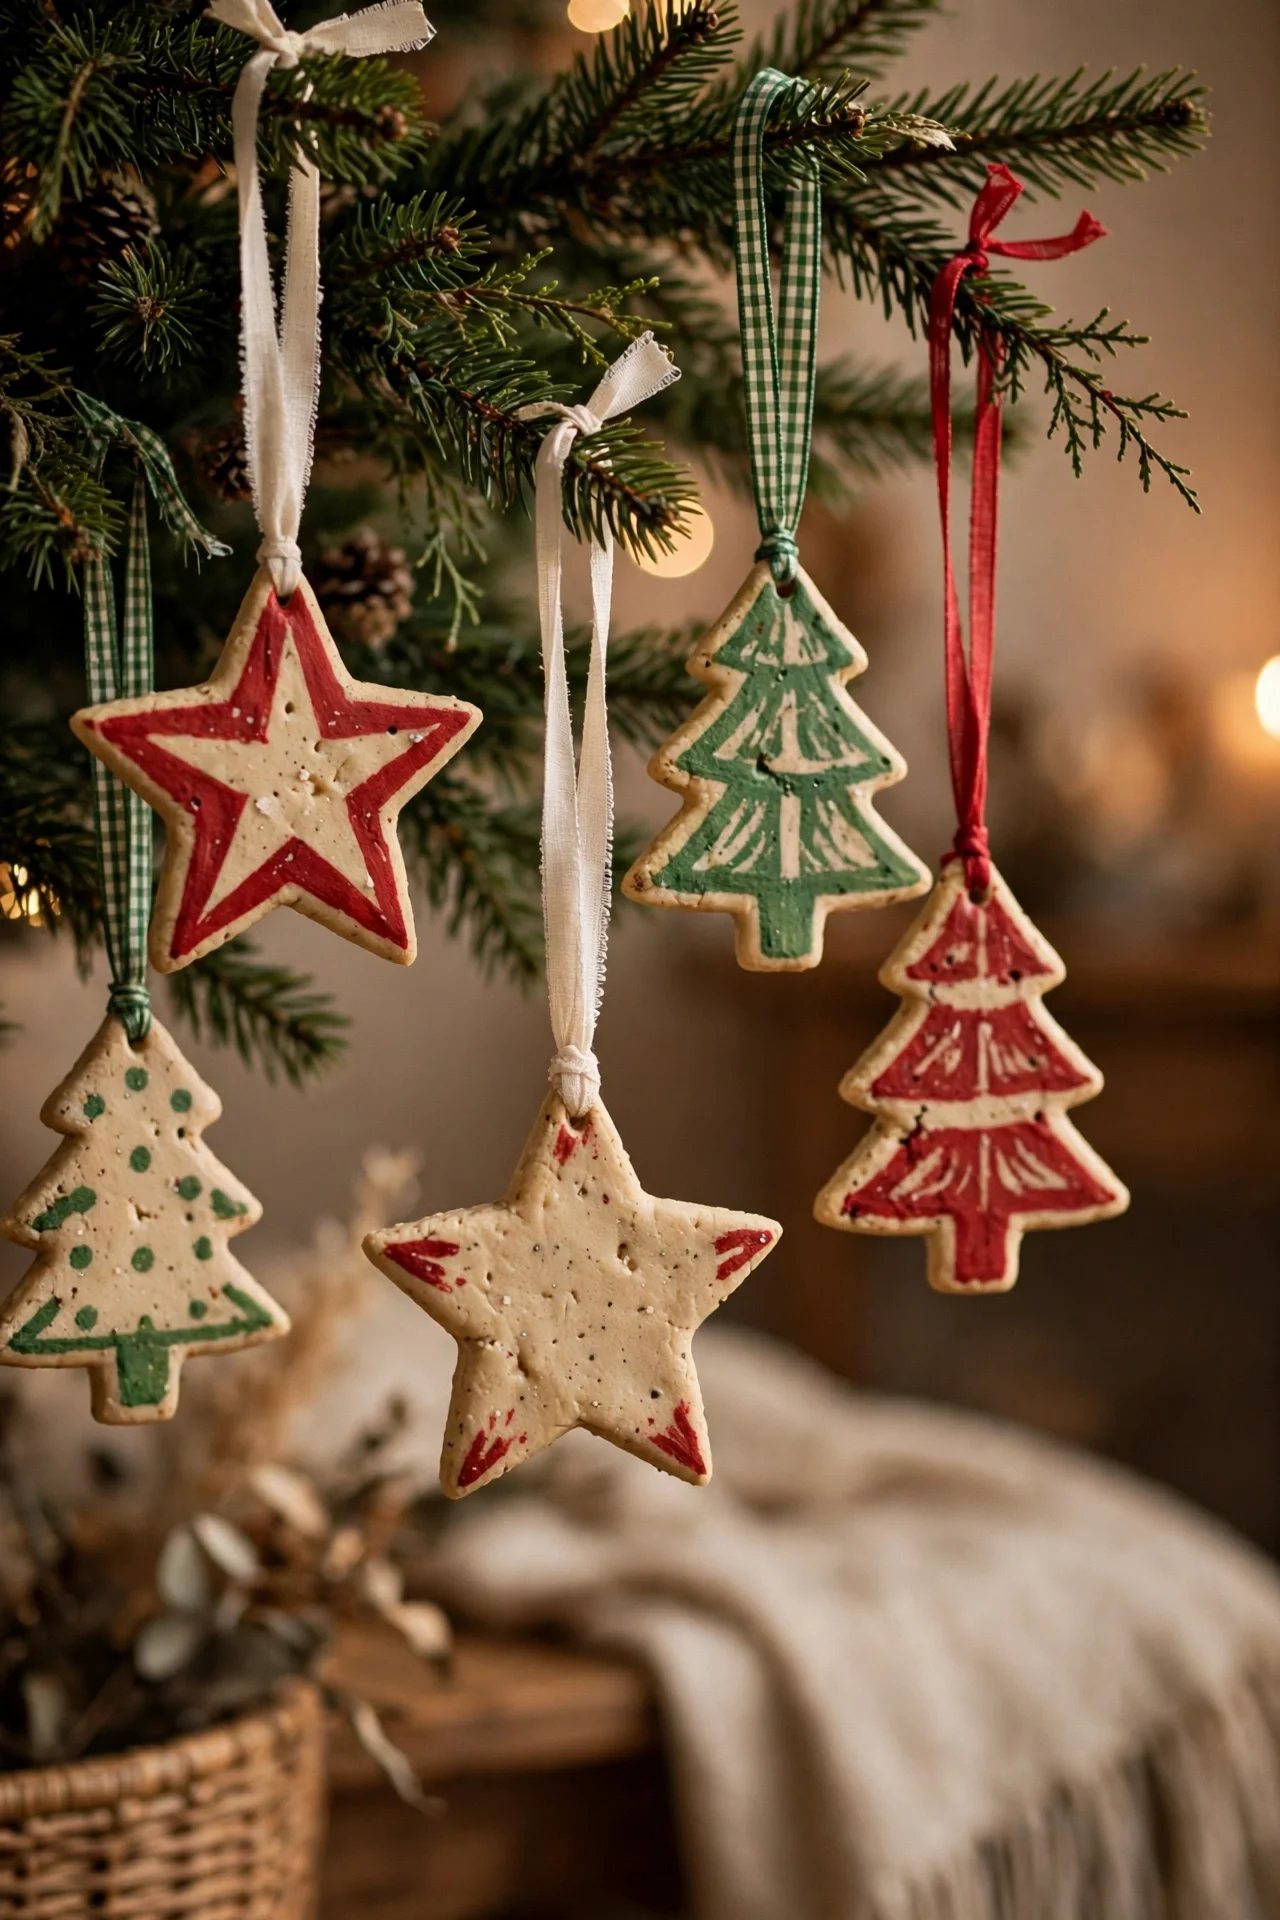
Salt dough ornaments are a beloved beginner craft: cheap, sturdy, and endlessly customizable. Mix two cups of flour, one cup of salt, and one cup of water into a smooth dough to begin.
Roll the dough about a quarter inch thick and cut shapes with cookie cutters — stars, trees, hearts, and snowflakes all work well. Use a straw to punch a hanging hole, then bake low until hard and dry.
Once cool, paint the shapes with acrylics in classic reds, greens, and creams, or leave them natural and stamp a simple pattern with the end of a paintbrush. Seal with clear varnish.
Thread ribbon through the holes and hang them low on the tree. Keep the finished ornaments dry, since humidity softens the dough over time.
6. Felt Christmas Tree Ornaments
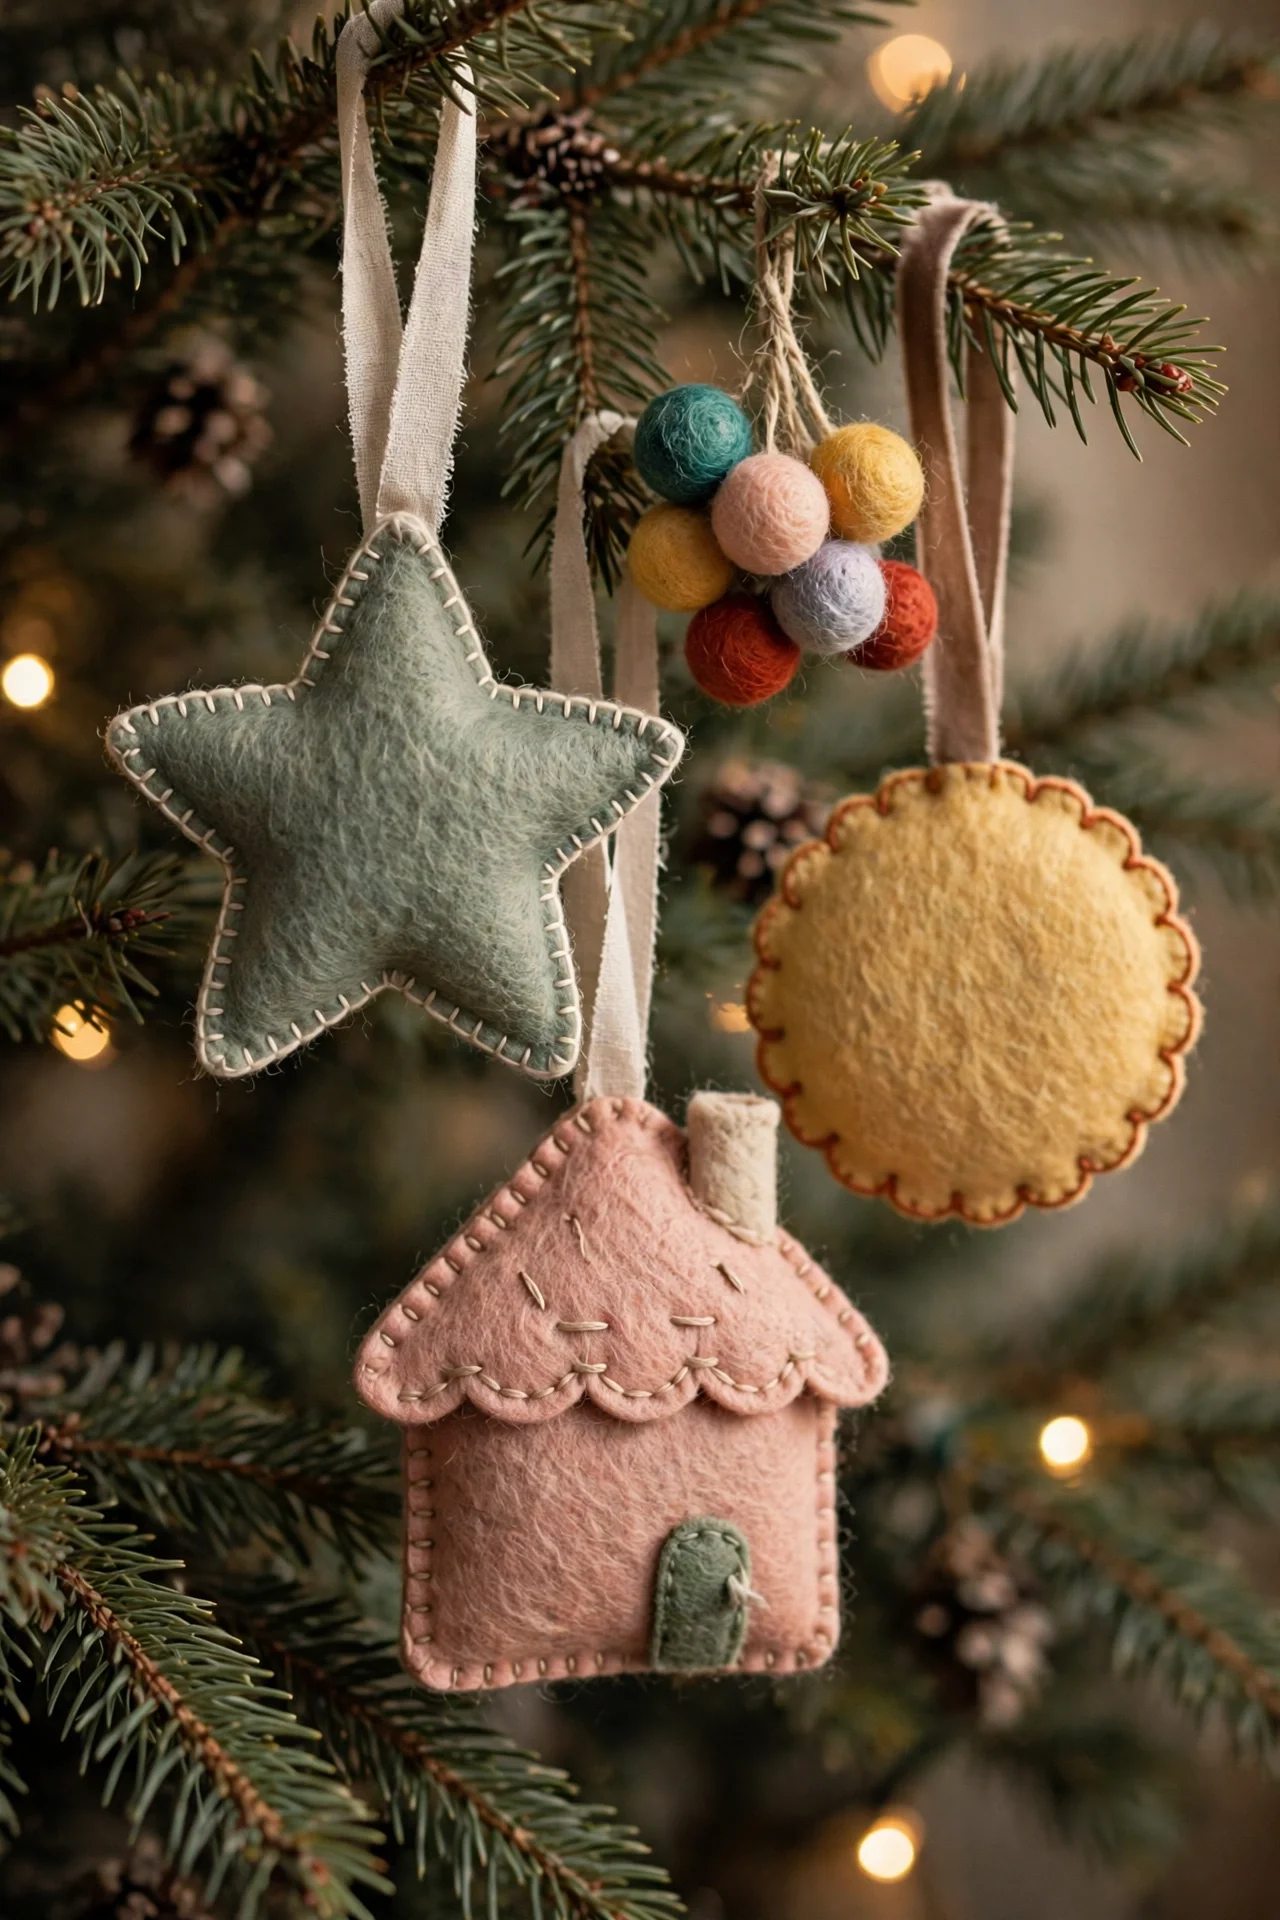
Soft felt trees are gentle, colorful, and completely unbreakable — perfect for homes with toddlers or curious cats. Cut two matching tree shapes from green felt for each ornament.
Decorate the front piece before assembling: sew or glue on tiny felt circles as baubles, add a small star at the top, and stitch a simple trunk from brown felt at the base.
Place the two pieces together with a little polyester stuffing between them, then blanket-stitch around the edges with contrasting thread. Add a ribbon loop at the top before closing the final stitches.
Try a small forest of them in different greens, heights, and trims. They are light enough for the thinnest branches and soft enough to store loosely in a drawer without damage.
7. Yarn-Wrapped Star Ornaments
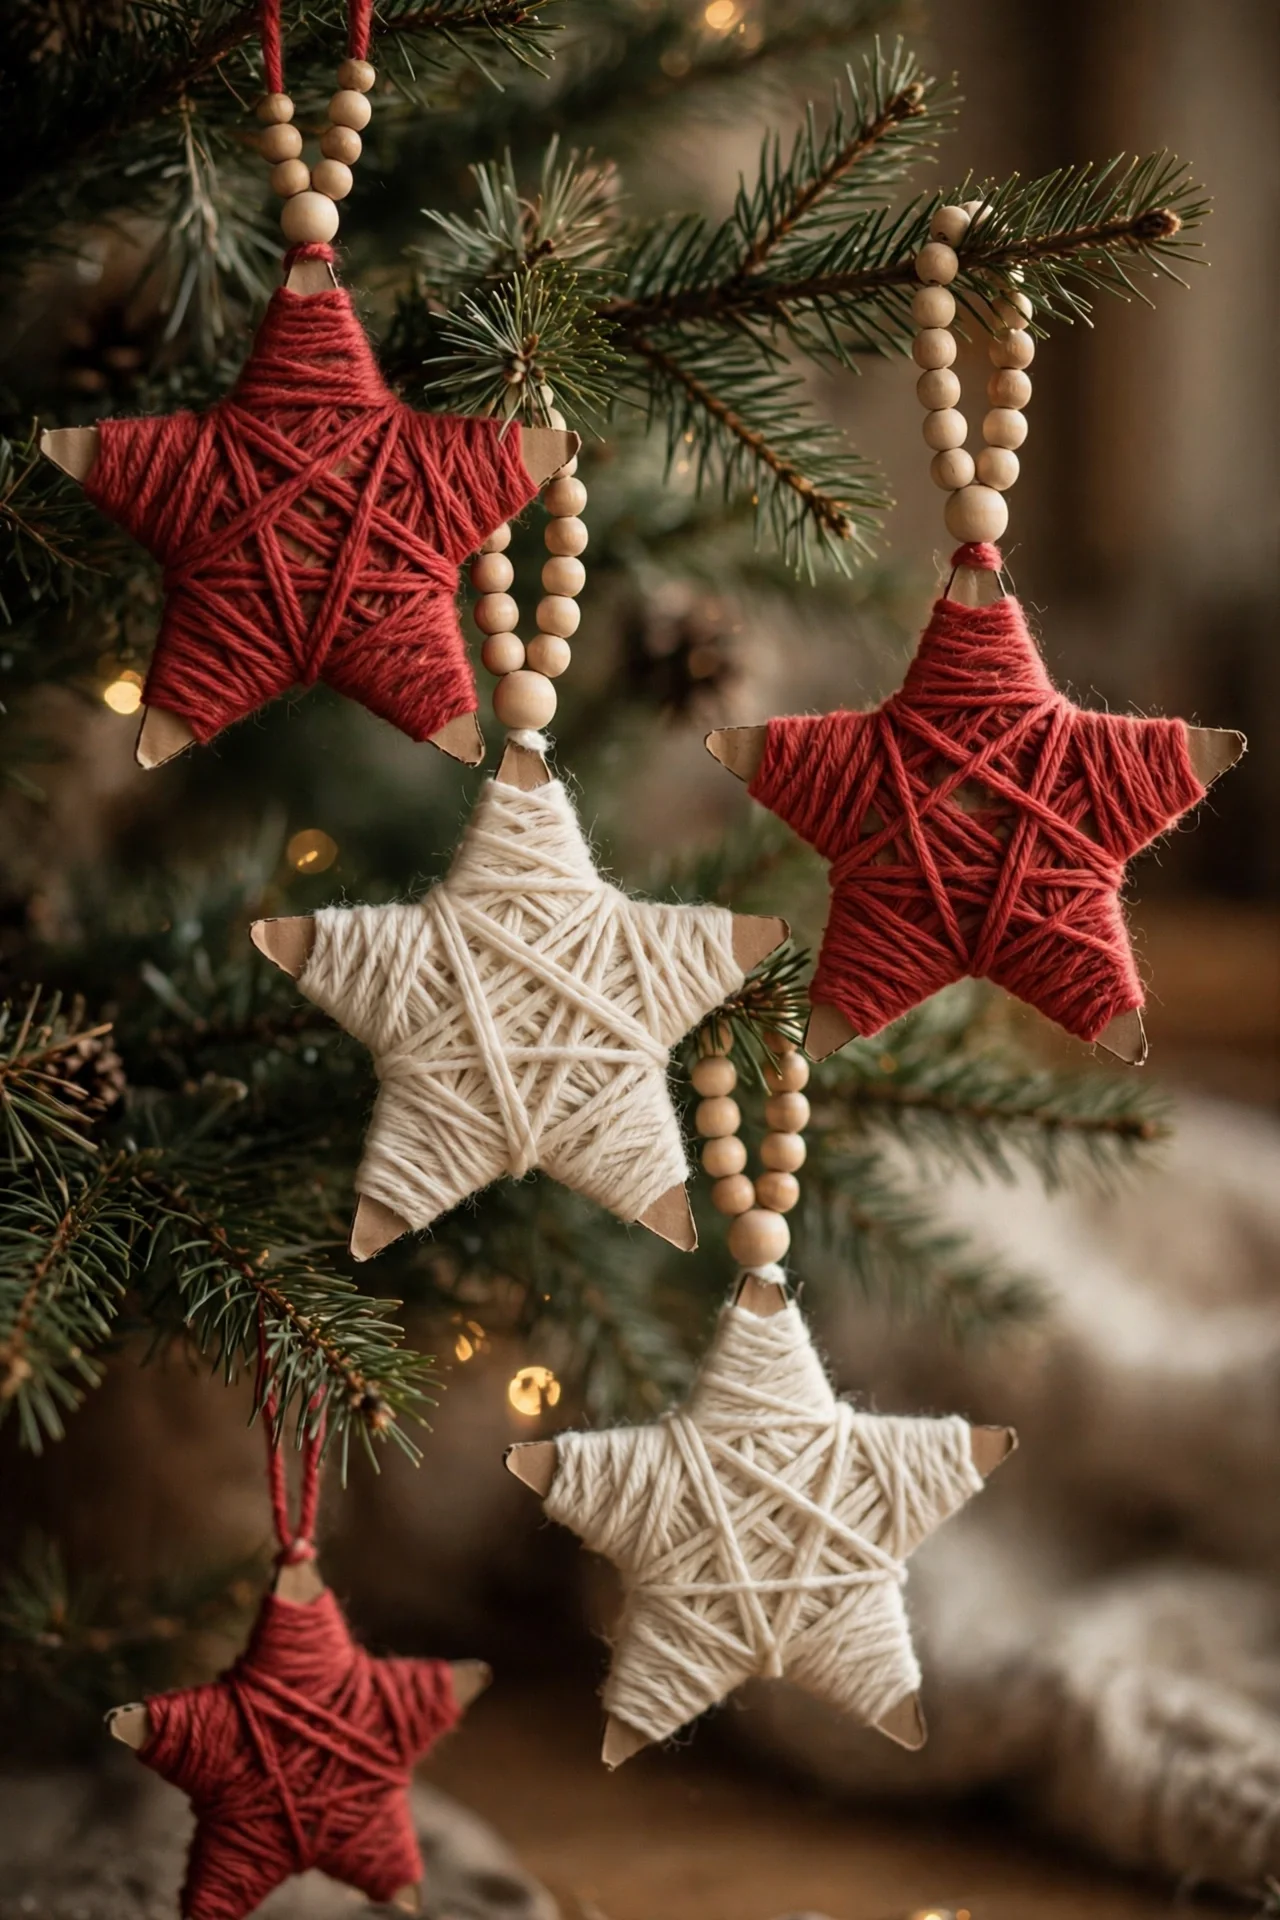
Yarn-wrapped stars turn cardboard scraps into cozy, textured ornaments. Cut a sturdy five-pointed star from thick cardboard — cereal boxes layered and glued together work well.
Wrap yarn tightly around the star, crossing the center often and tucking the ends at the back with a dot of glue. Solid colors look modern, while two yarns alternated create a candy-stripe effect.
Leave the points slightly loose or wrap them fully for two different looks. A small wooden bead threaded onto the hanging loop adds a simple finishing touch.
These stars are nearly free to make and lovely in bulk. Hang a whole constellation near the top of the tree, and save the cardboard templates to remake them with children next year.
8. Painted Wood Slice Ornaments
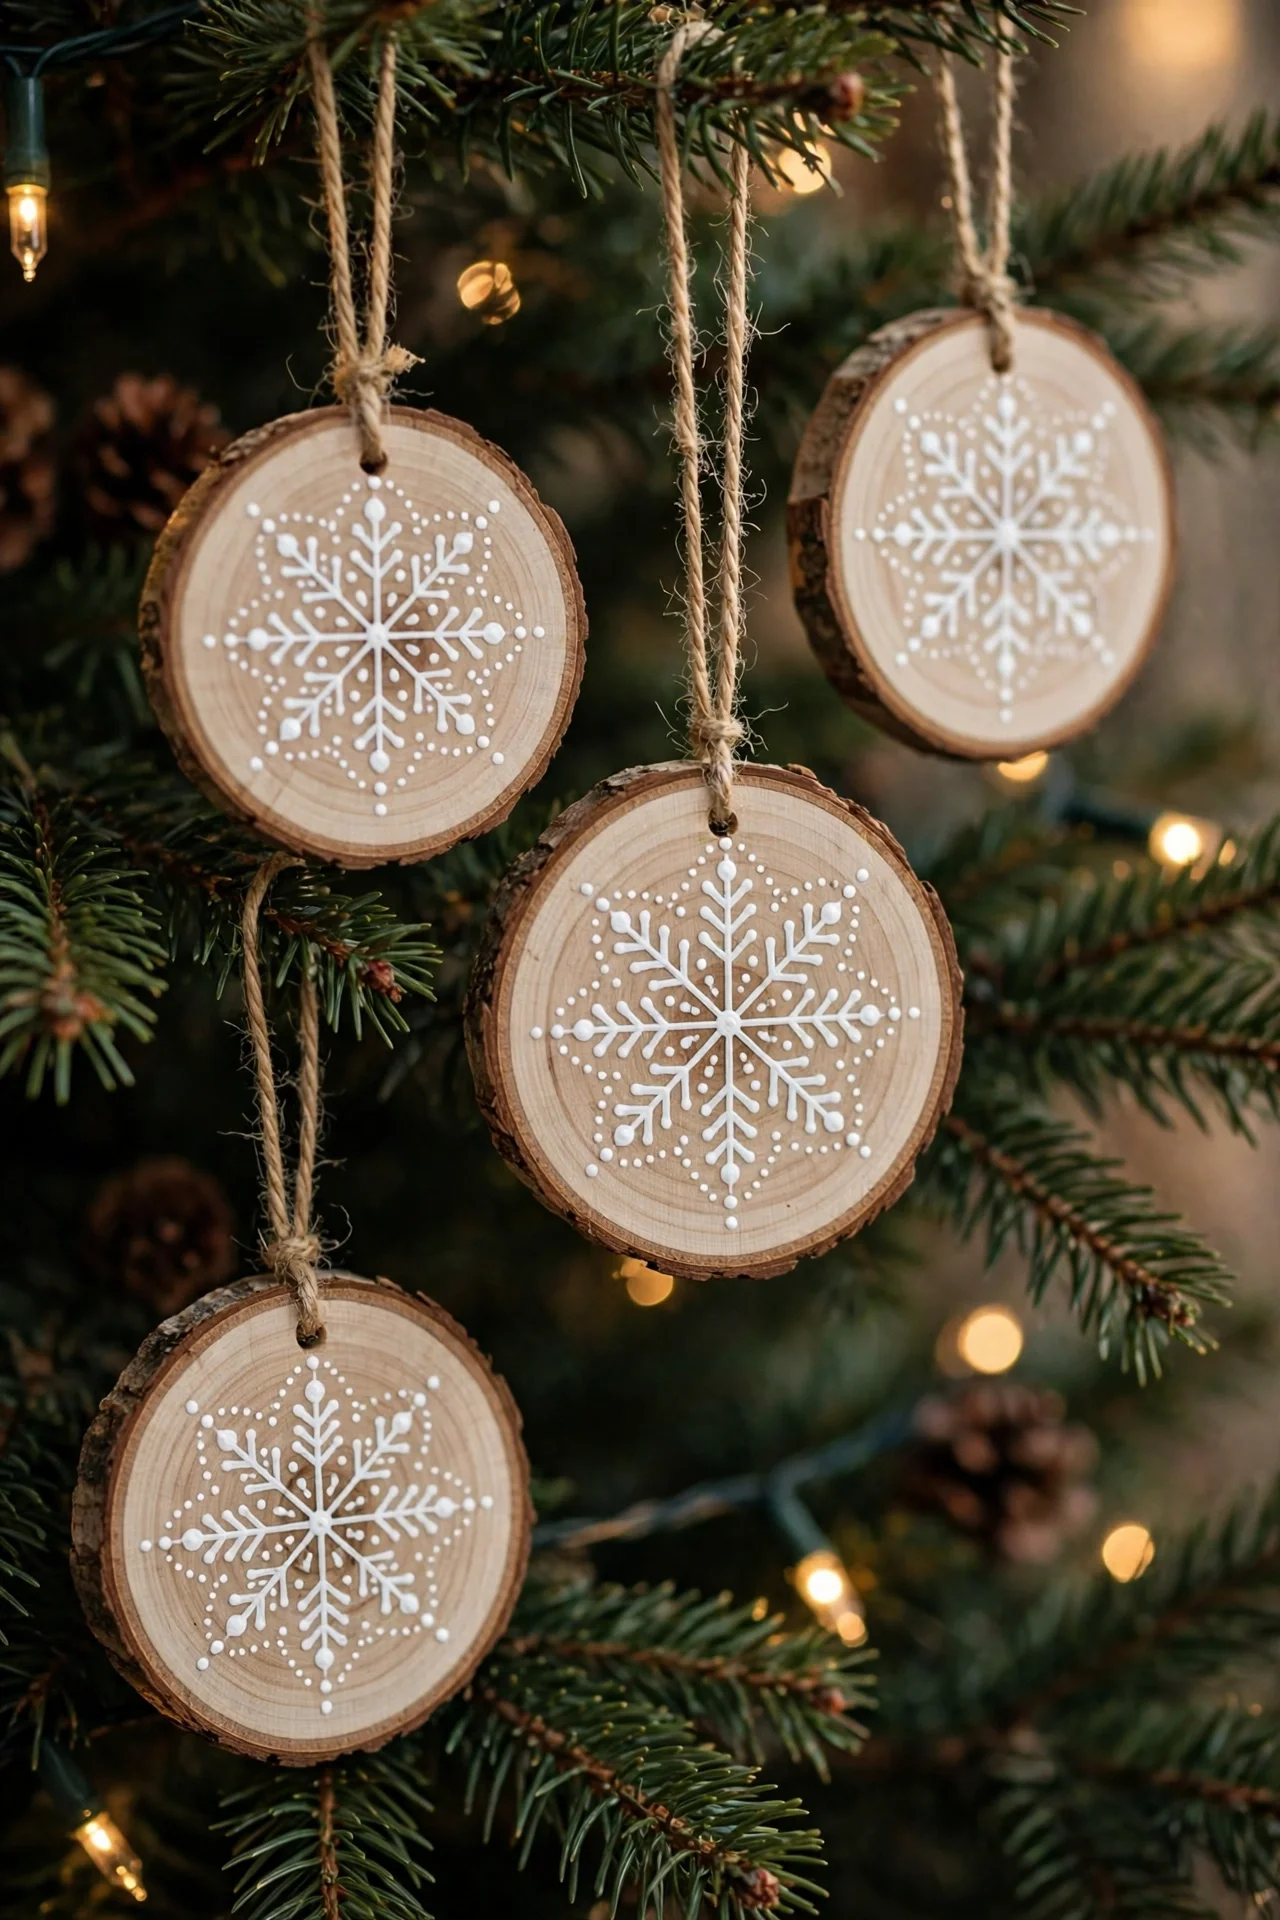
Wood slices bring a cabin-warm base for simple painted designs. Buy pre-cut, sanded slices with the bark edge left on, or cut your own from a fallen branch and let them dry.
Paint a soft background in cream, sage, or classic red, then add a simple motif: a white snowflake, dotted pattern, tiny tree silhouette, or polka dots made with a cotton swab. Keep designs graphic and simple rather than detailed.
Drill a small hole at the top, thread twine through, and add one wooden bead for a finished look. A coat of matte sealer protects the paint and deepens the wood tones.
Mix painted slices with plain ones for rhythm around the tree. Because they are flat and sturdy, they also travel well as mailed gifts and stocking stuffers.
9. Wine Cork Reindeer Ornaments
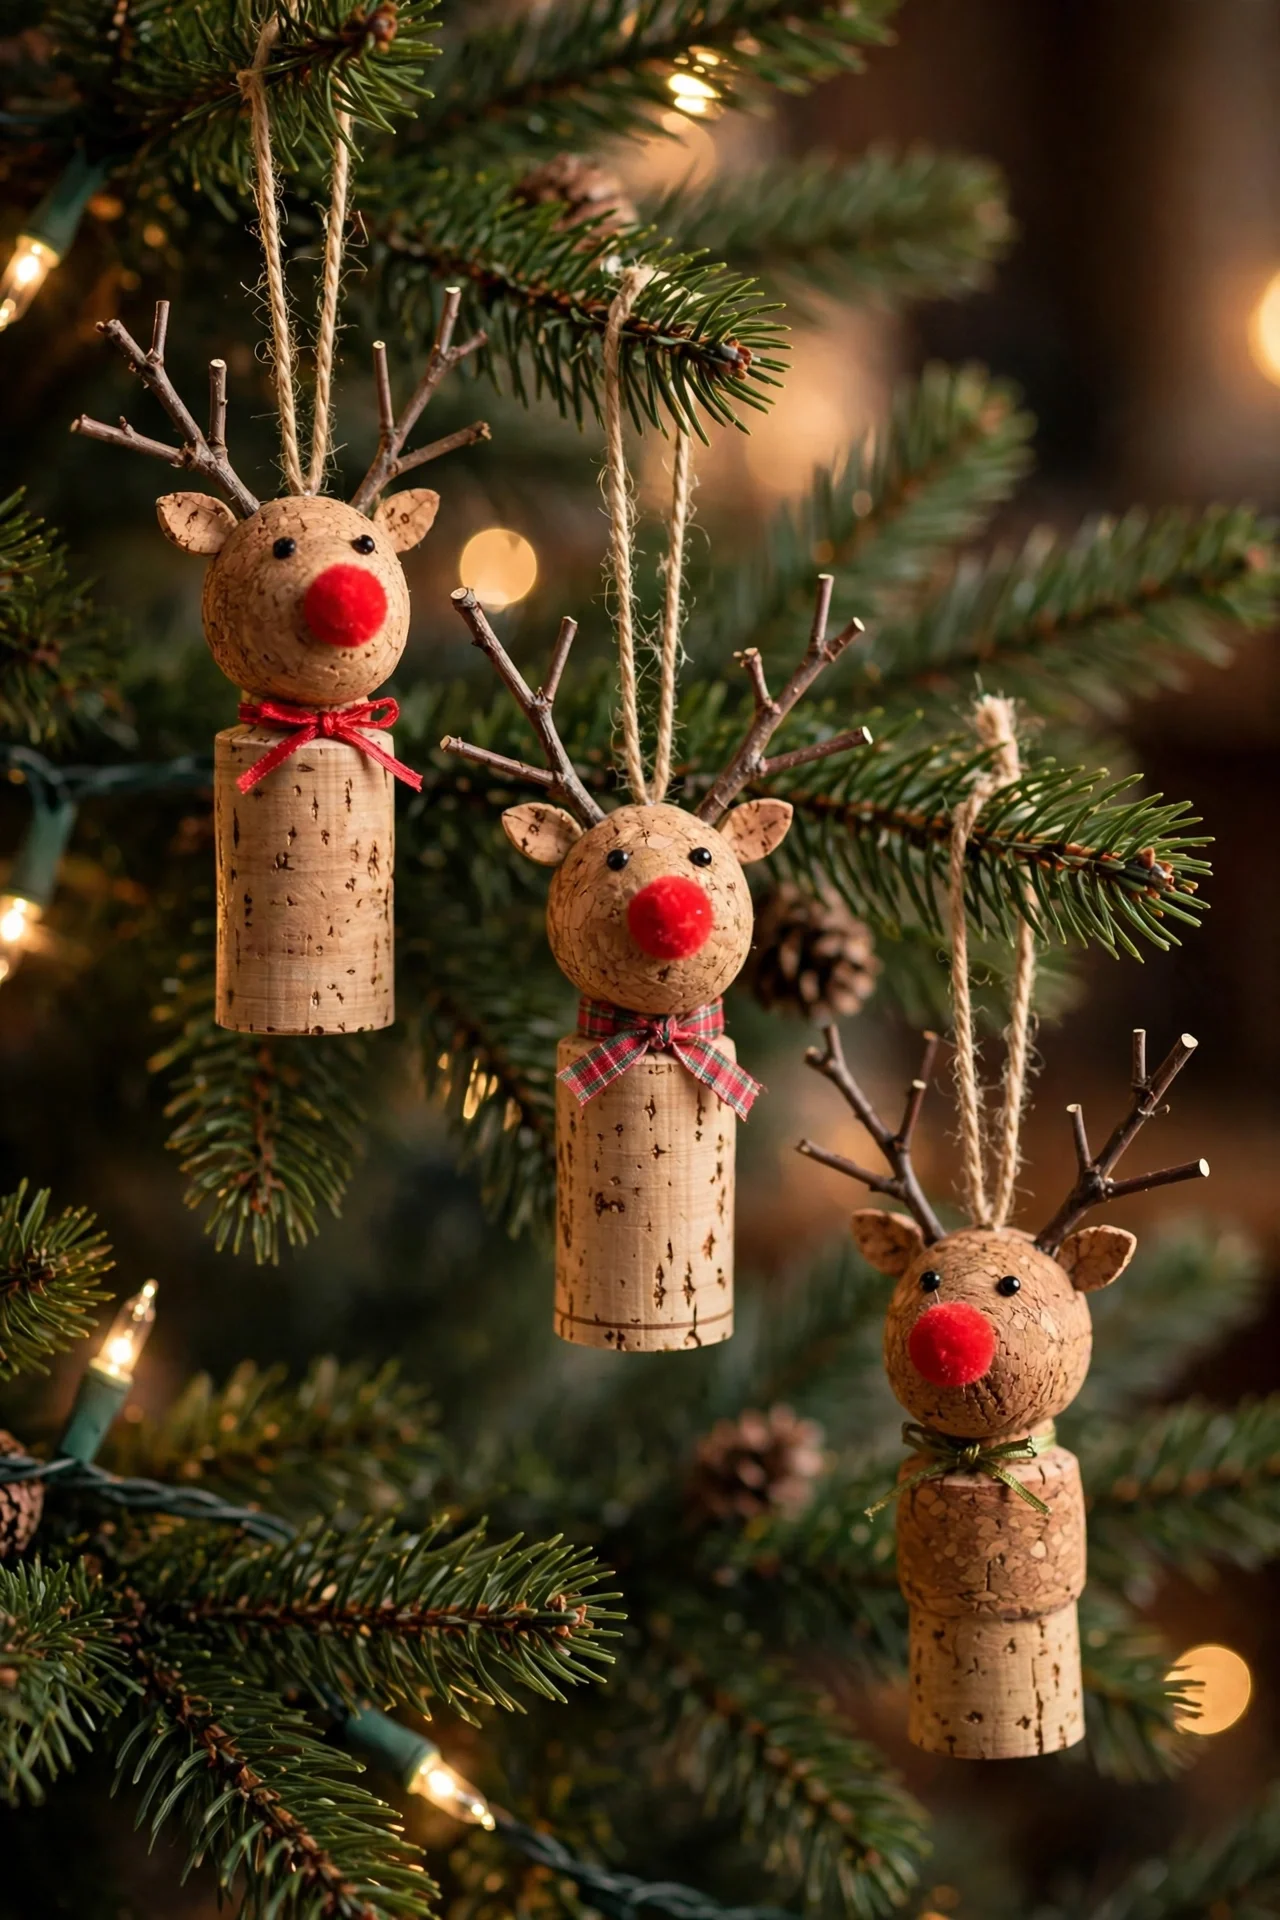
Wine cork reindeer are playful, quick, and a charming way to use saved corks. Each reindeer needs one cork for the body, small twigs for antlers, and a red bead or pom-pom for the nose.
Push two short twigs into the top of the cork at slight angles, or drill tiny starter holes first so the cork does not split. Glue on small black beads for eyes and the red nose at the front.
Add a tiny ribbon collar with a miniature bell, keeping small parts firmly glued and out of reach of toddlers who might pull them loose.
Screw a small eye pin into the top for hanging. A little herd of four or five reindeer gathered on one branch makes a delightful focal point that guests always notice.
10. Popsicle Stick Snowflake Ornaments
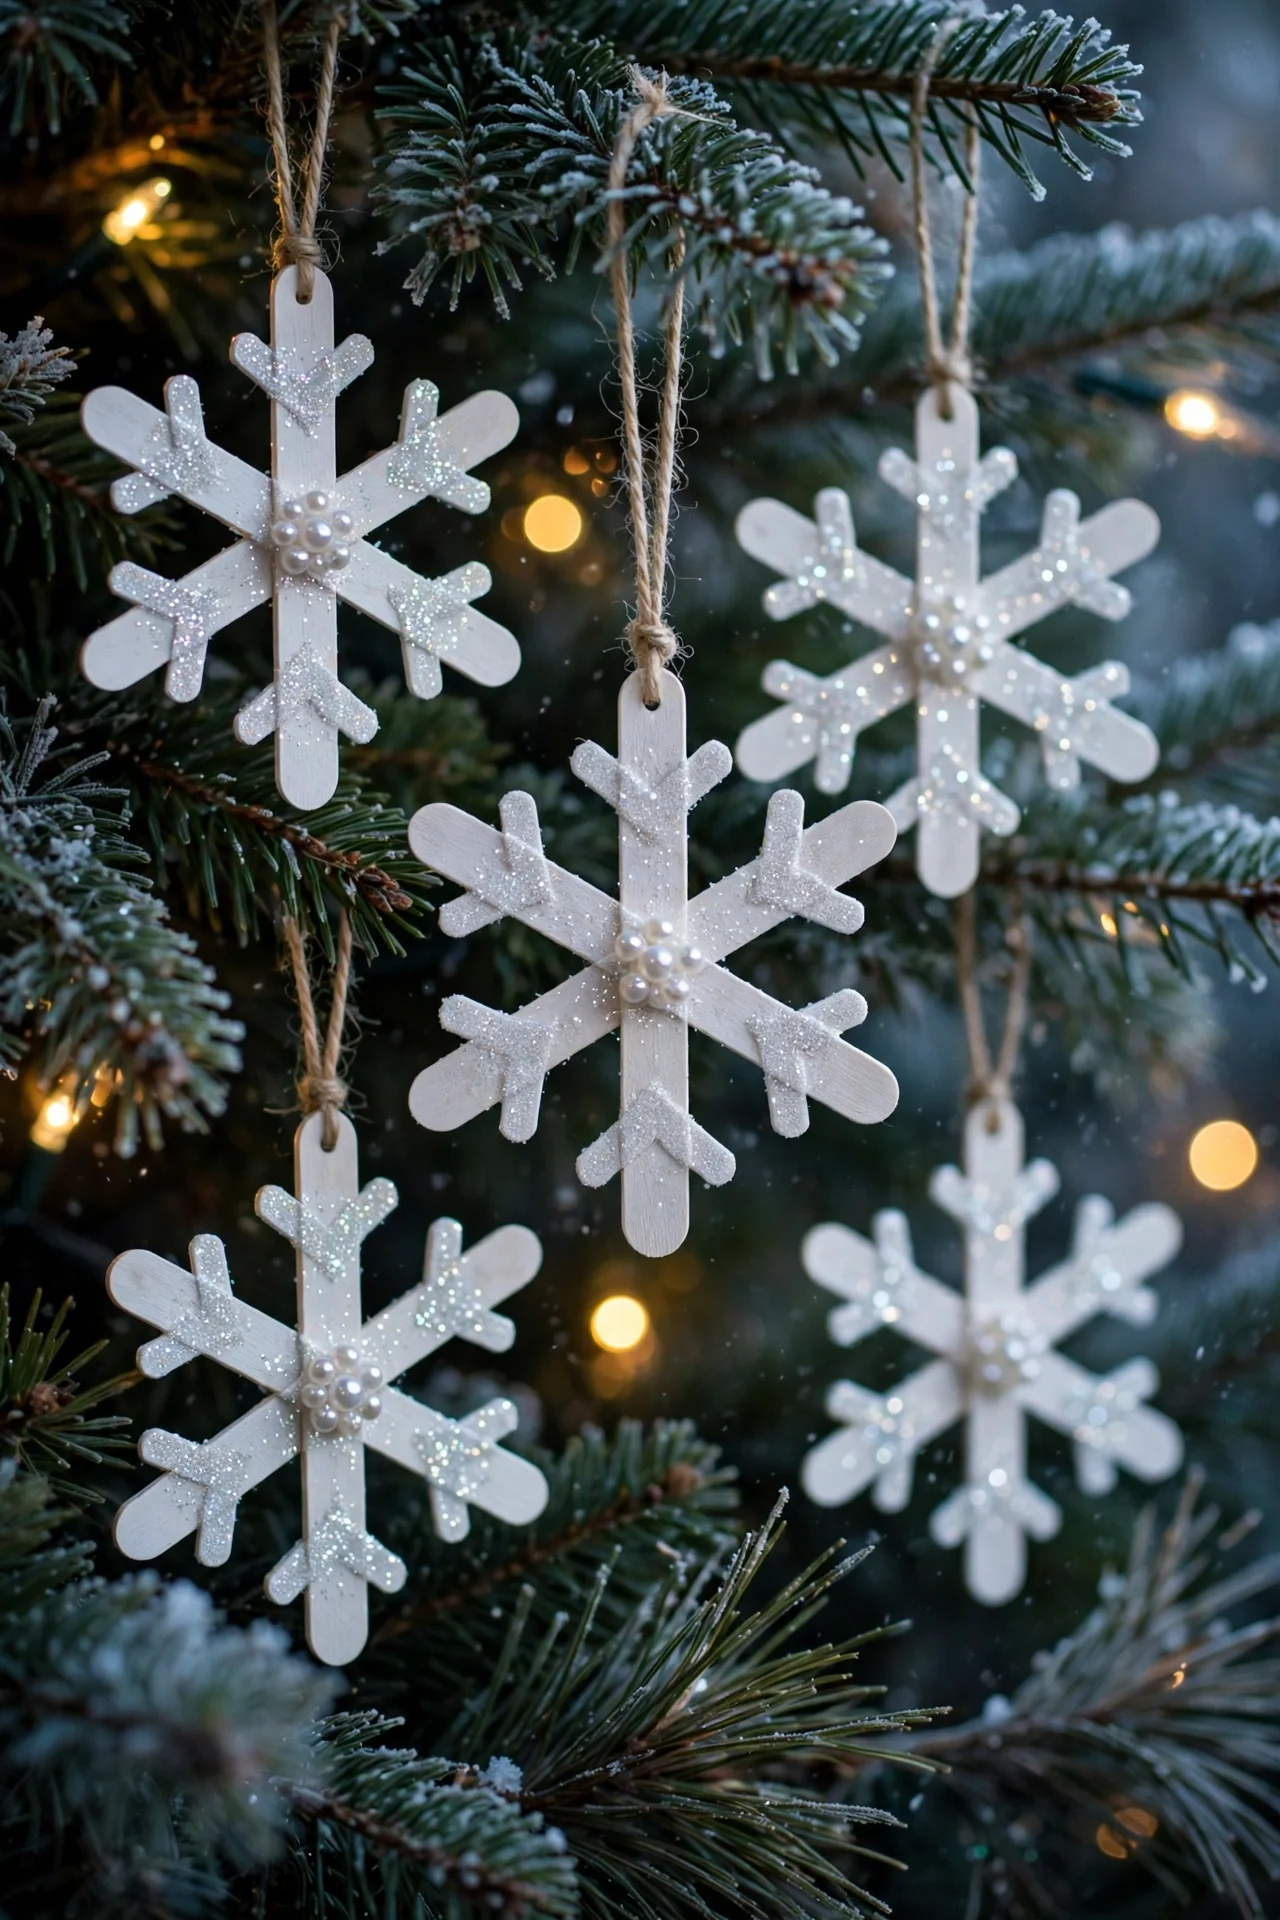
Craft sticks make surprisingly elegant snowflakes when they are layered and painted. Glue three sticks across each other at angles to form a six-pointed star, then add shorter pieces at the ends for detail.
Paint the finished snowflakes white, silver, or icy blue, and let them dry fully. A sprinkle of fine glitter while the paint is wet gives them a frosted sparkle that catches the lights.
Glue a small button, bead, or gem in the center to hide the joins and add polish. Attach a loop of thread or thin ribbon at one point for hanging.
These snowflakes are flat, light, and cheap enough to make by the dozen. Hang them against darker branches or in front of lights so the shapes and shadows both show.
11. Button Christmas Tree Ornaments
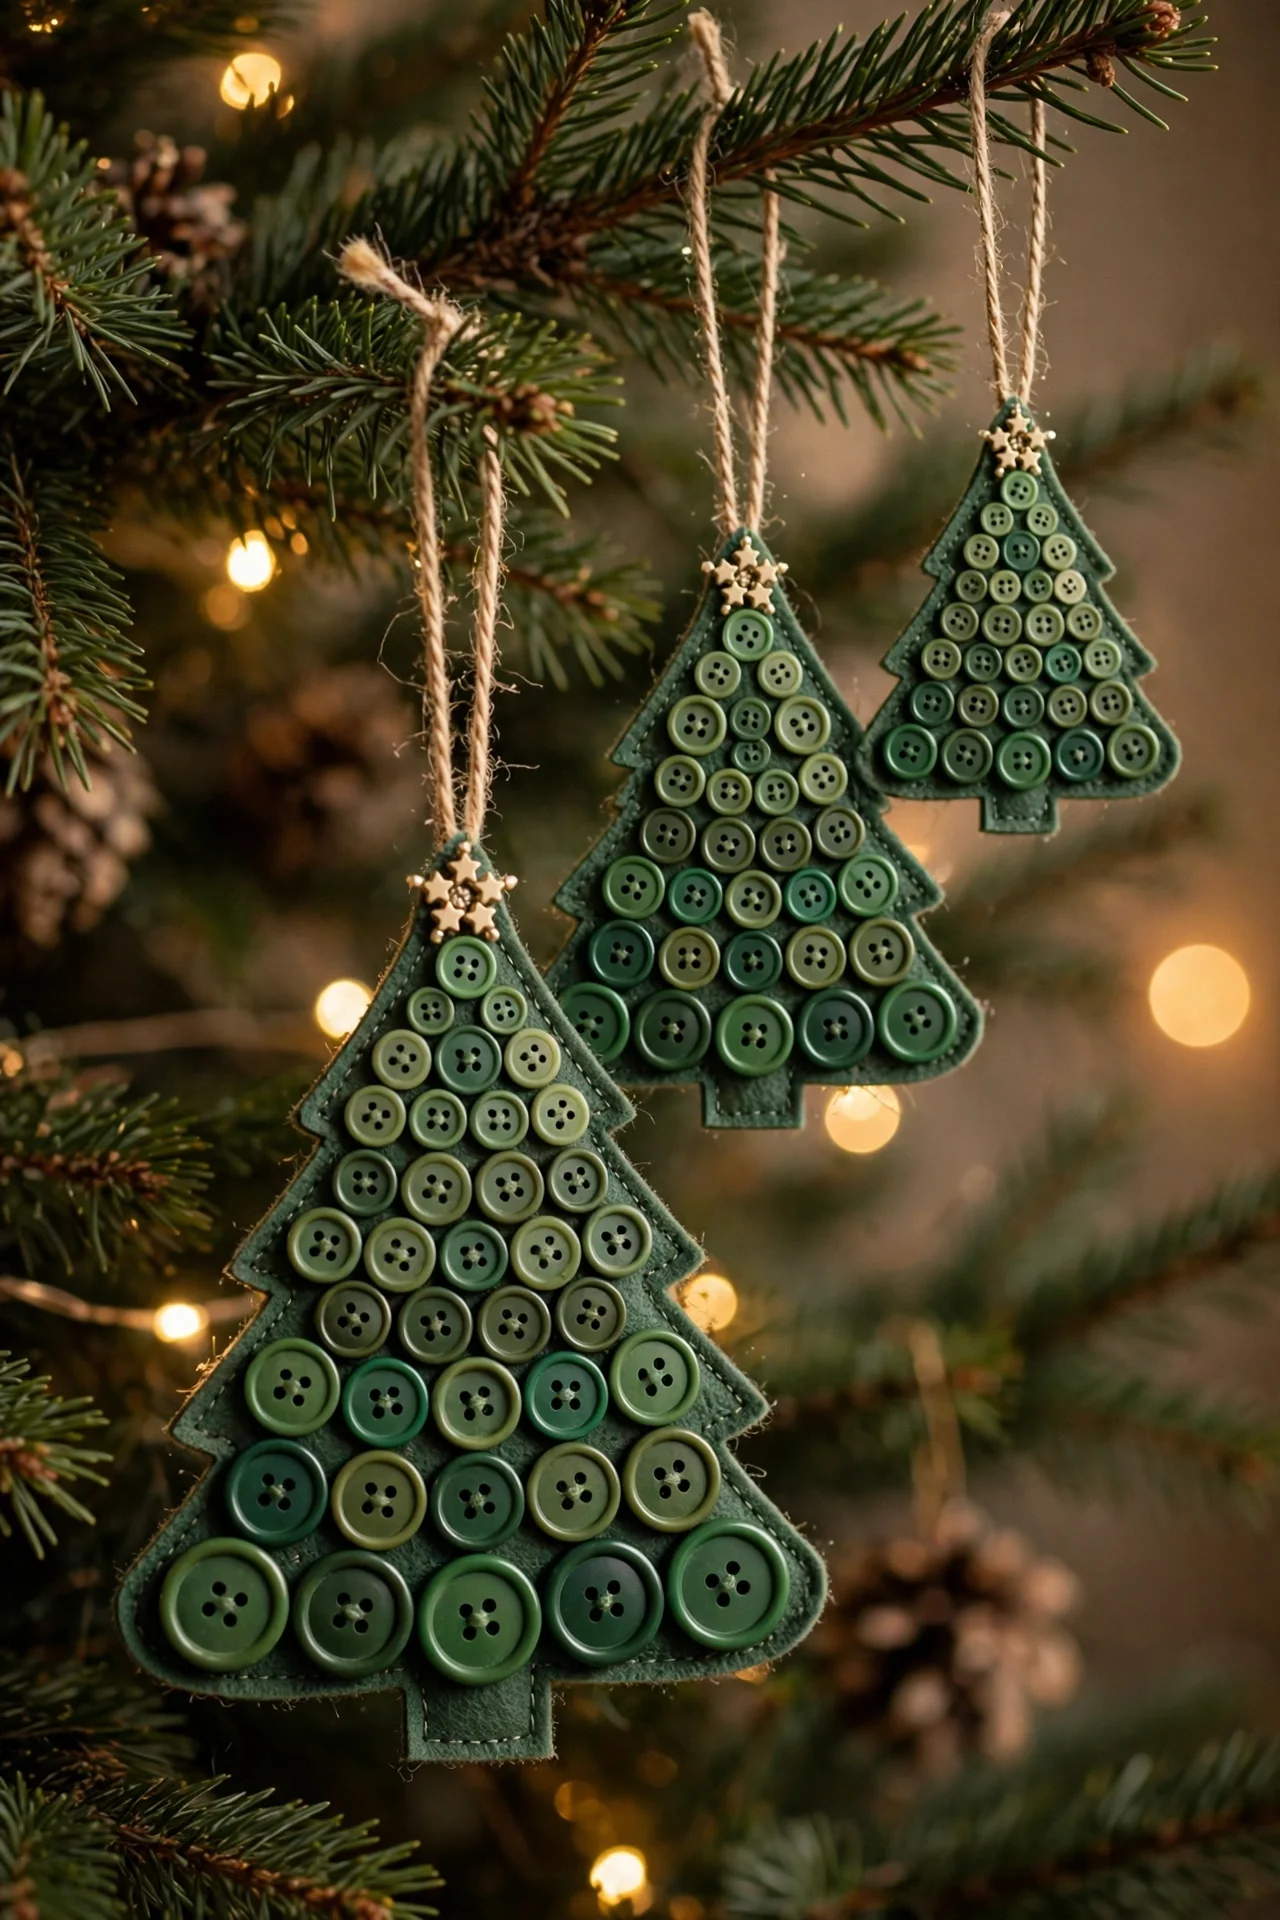
A flat button tree is a sweet way to use the spare buttons every sewing box collects. Choose green buttons in several sizes and shades for a natural, varied look.
On a small piece of felt or sturdy card, arrange the buttons in a triangle: one small button at the top, then rows growing wider toward the bottom. Glue them in place once the layout pleases you.
Add a tiny brown rectangle of felt or a small button stack as the trunk, plus a star-shaped button or bead at the very top. Cut around the triangle, leaving a border.
Punch a hole above the star and thread ribbon through. These little trees are charming lined up along one branch, and they make an easy first sewing-box project for older children.
12. Paper Strip Bauble Ornaments
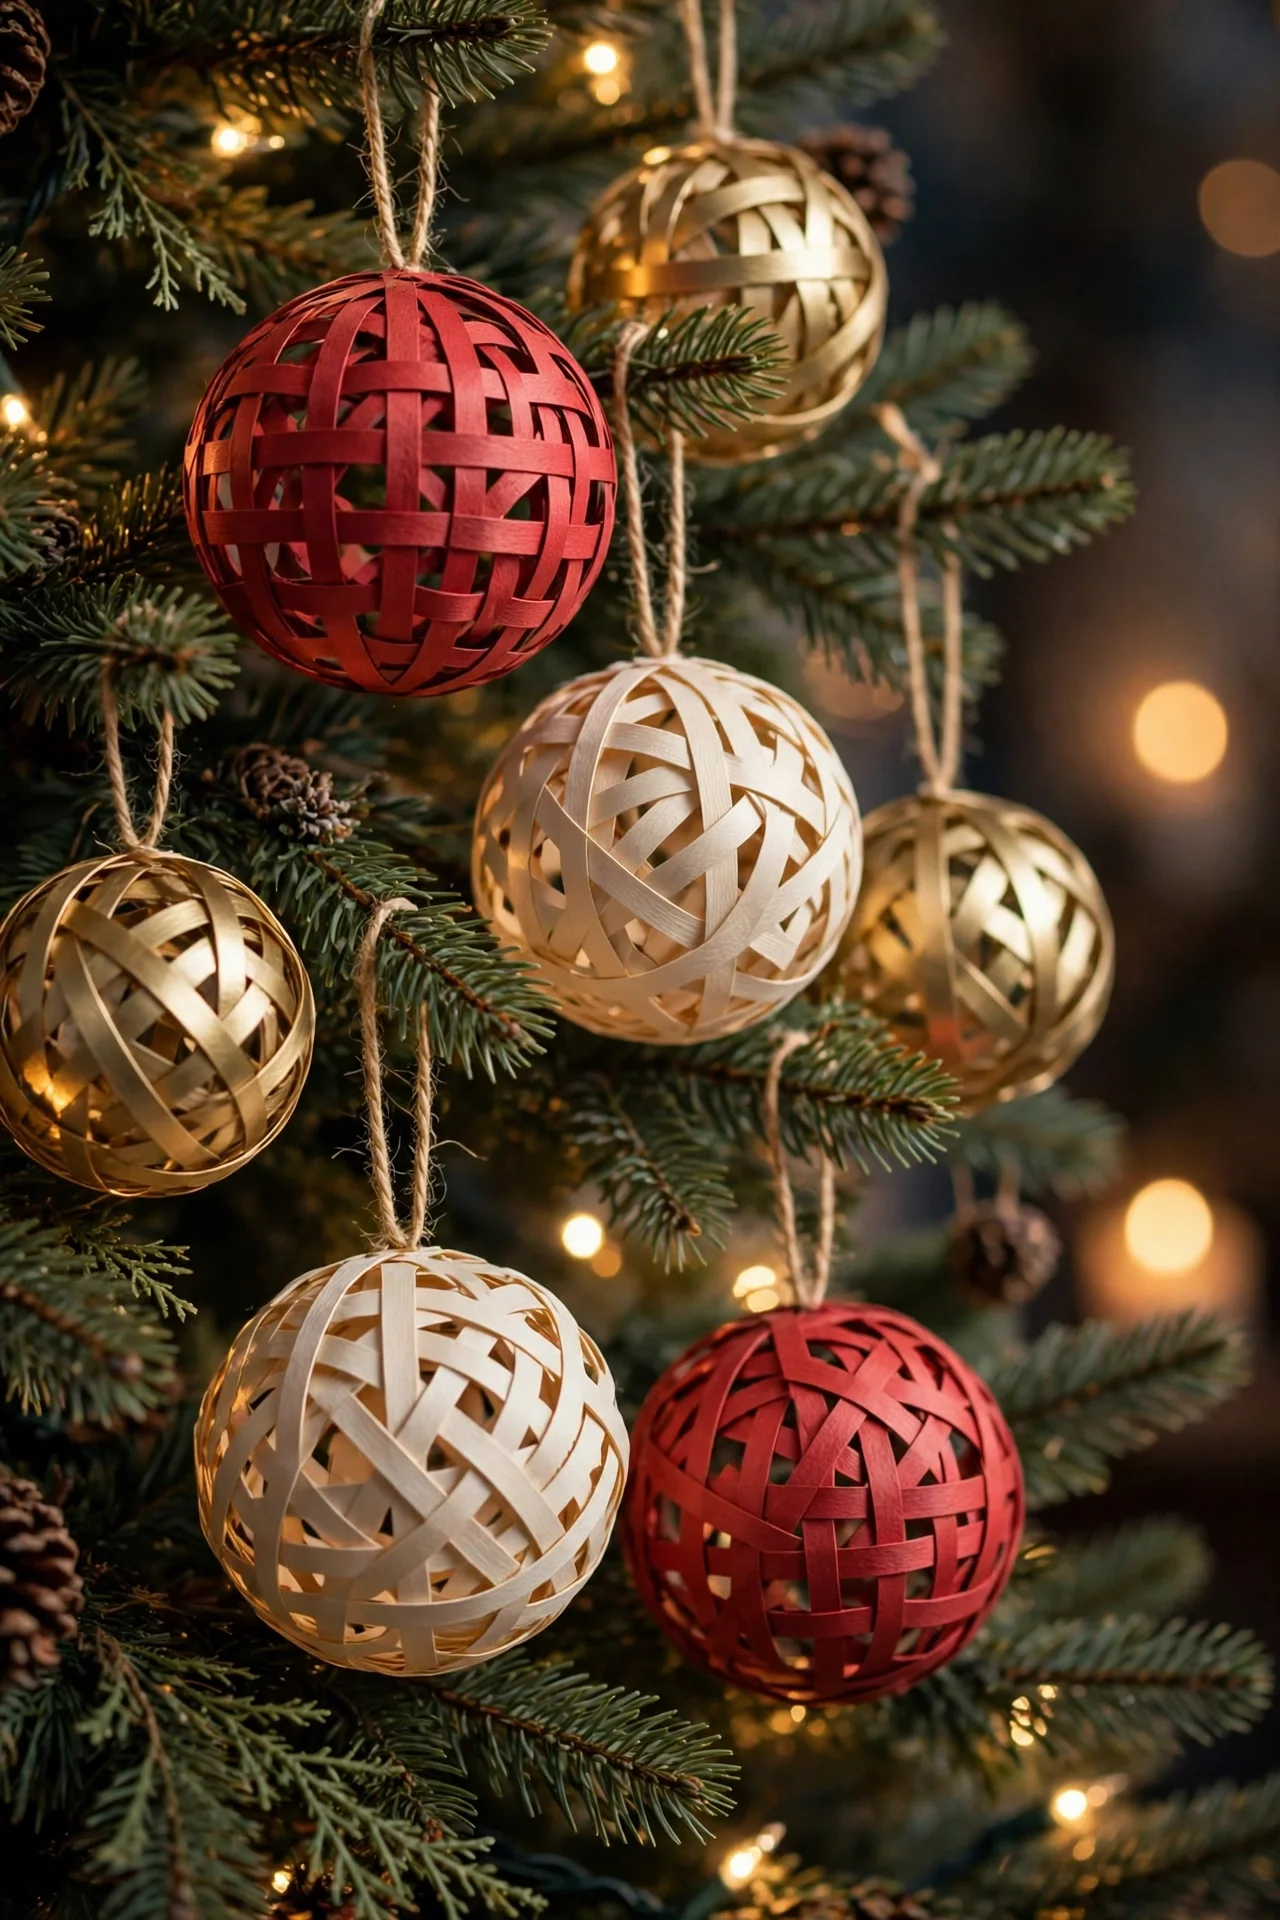
Paper strip baubles look intricate but take only minutes each. Cut cardstock into even strips — eight strips about half an inch wide and six inches long make a nice medium ornament.
Stack the strips, punch a hole at both ends, and fasten them with a brad at the top. Fan the strips into a sphere, then fasten the bottom ends with a second brad so the ball holds its shape.
Use patterned paper on one side for extra interest, or alternate red, cream, and gold strips within one bauble. A small bead above the top brad hides the hardware.
Tie thread through the top brad to hang. These baubles are feather-light, so they suit the highest, thinnest branches — and a whole set costs less than one store-bought ornament.
13. Mason Jar Lid Wreath Ornaments
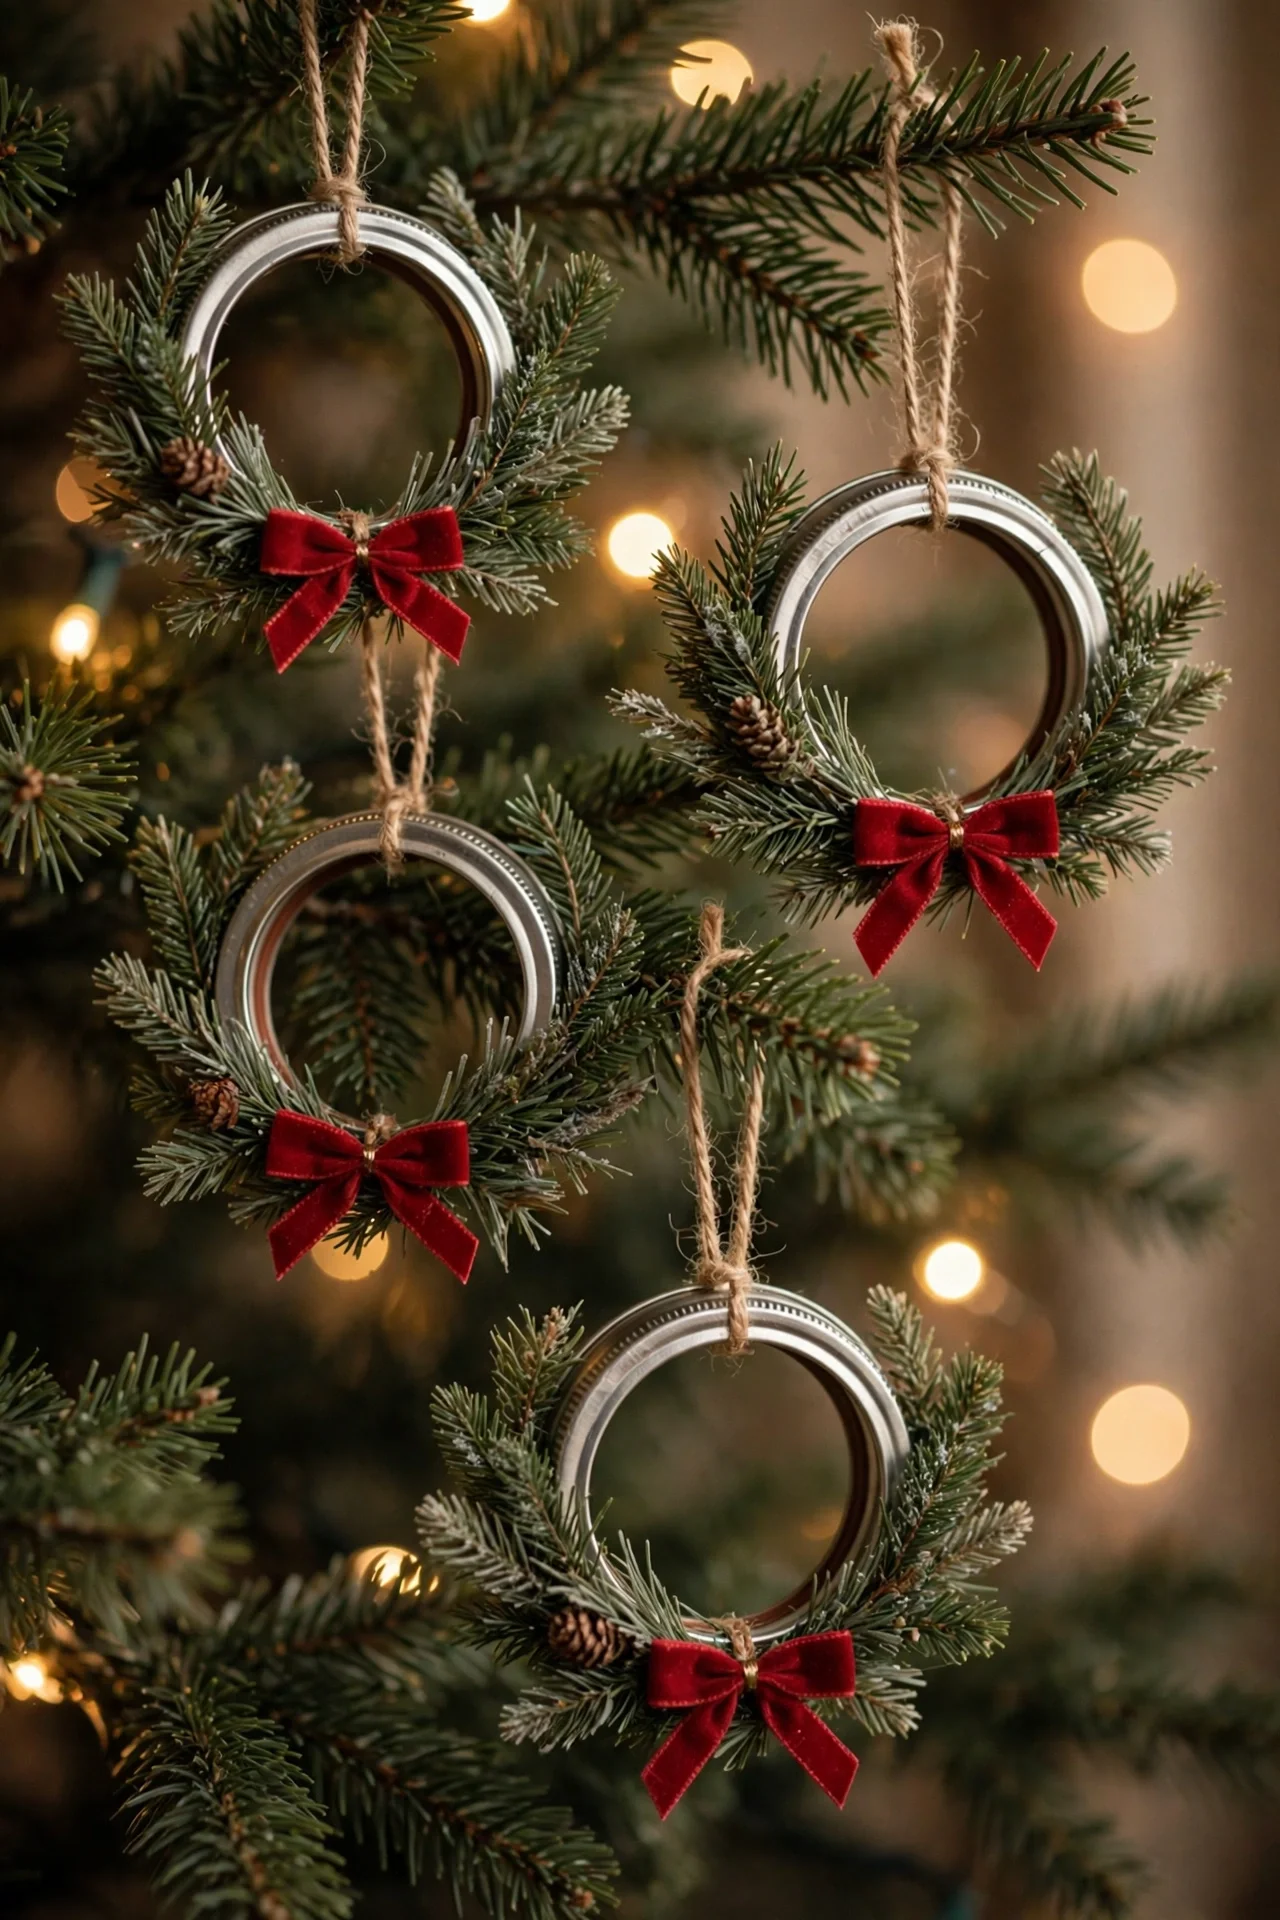
Mason jar lid rings become miniature wreaths with a wrap of greenery or ribbon. The metal ring gives you a perfect circle and a sturdy base that hangs straight every time.
Wrap the ring tightly with faux pine garland cut to length, gluing the ends at the top. Or wind it with red-and-cream yarn for a softer, knitted look that suits a cozy tree.
Add a small bow where the wrap meets, plus two or three tiny berries or a miniature pinecone for a focal point. Loop ribbon through the top and tie it off neatly.
Hung in a row, these little wreaths echo a full-size door wreath — for matching inspiration, browse our 30 Beautiful Christmas Door Decorating Ideas for 2026. They also dress up gift packages beautifully.
14. Acorn Bell Ornaments
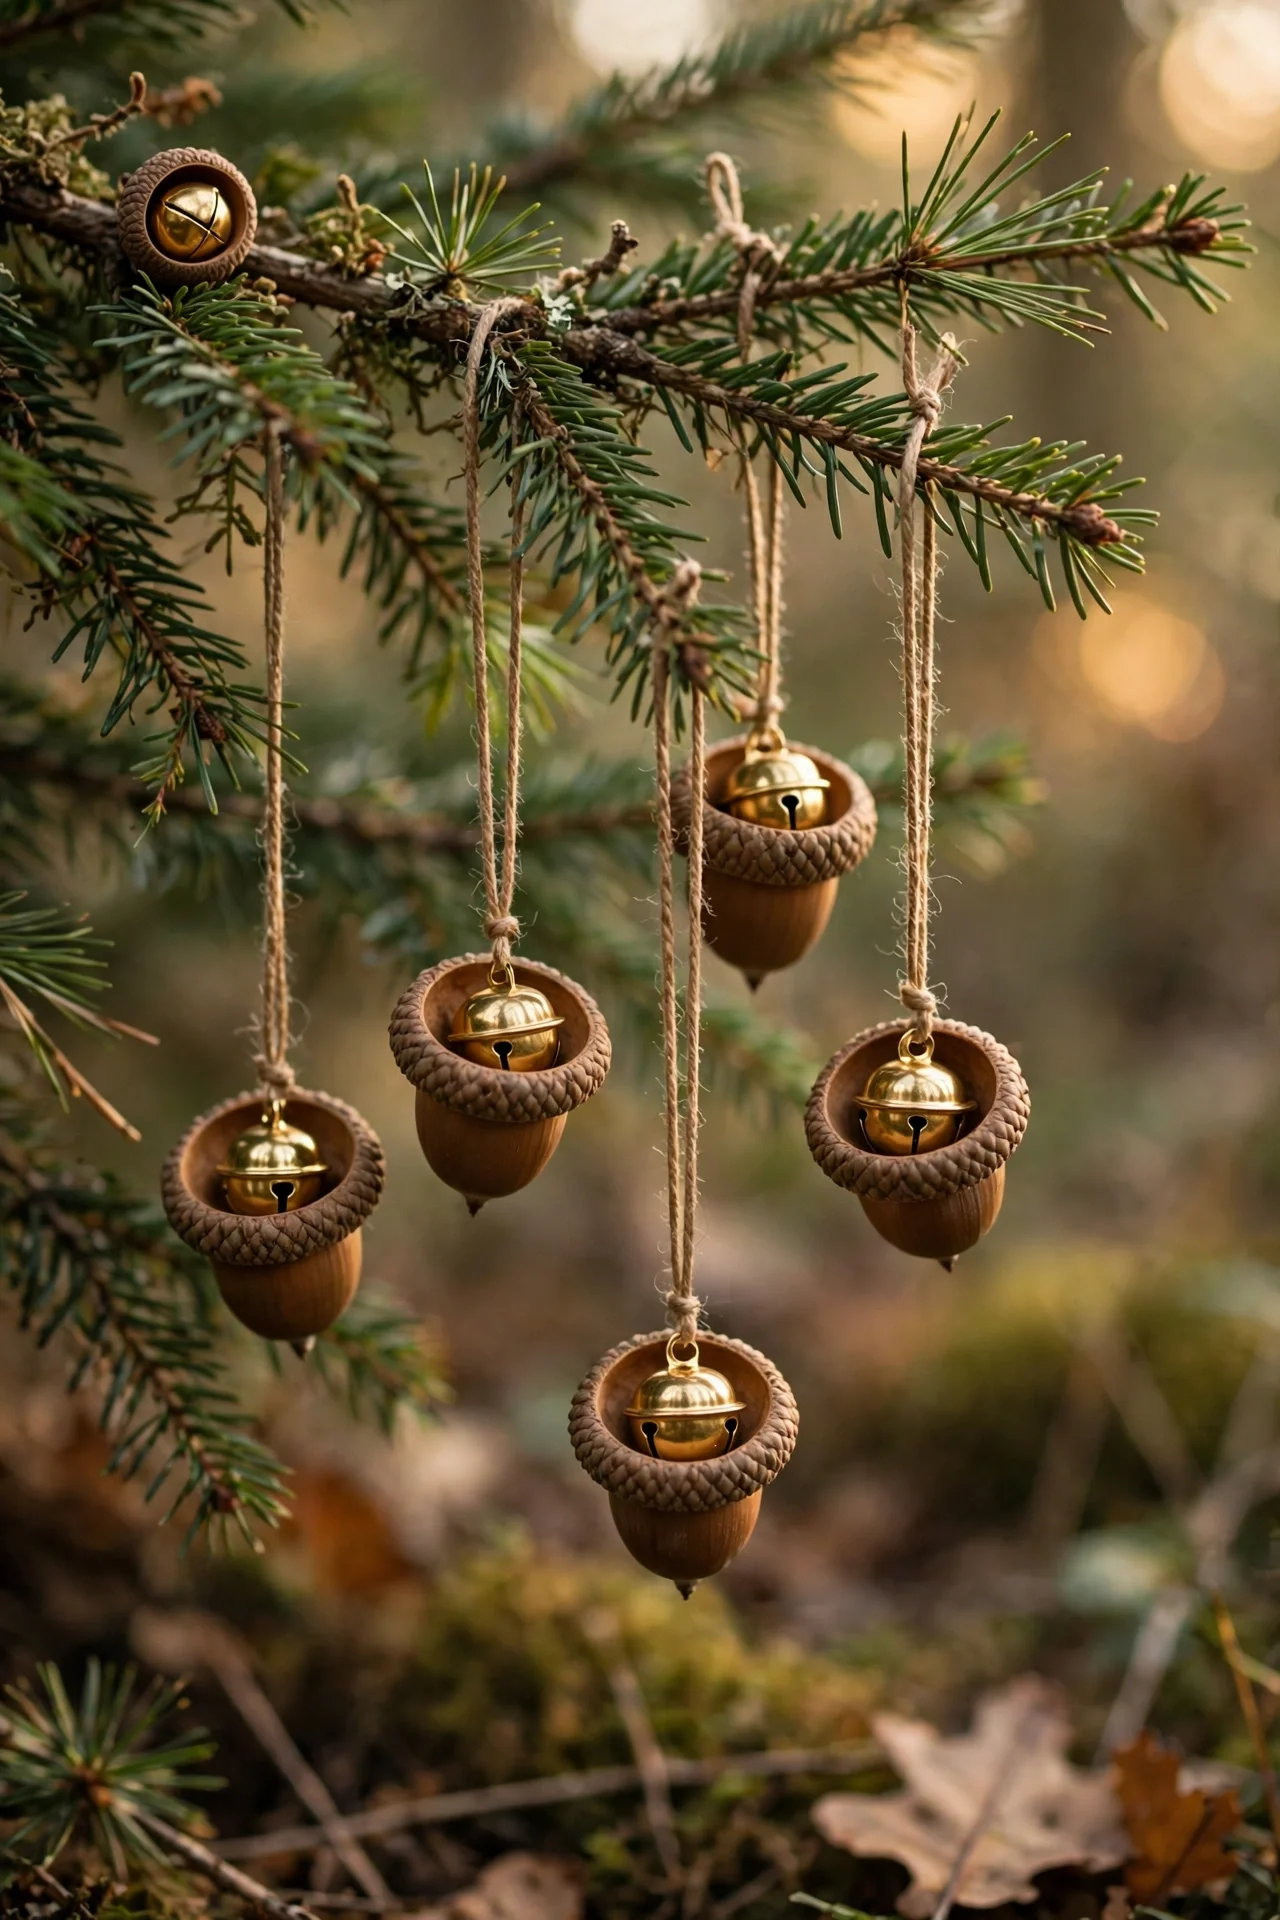
Acorn bells pair nature with a gentle jingle. Collect acorn caps in autumn, or buy them cleaned and dried, then match each cap with a small metal jingle bell that fits just inside.
Thread a needle with strong thread or thin cord, pass it through the bell’s loop, then through a tiny hole drilled or poked in the top of the cap. Knot it inside so the bell nestles into the cap like a real acorn.
Tie the cord into a hanging loop above the cap. A touch of gold paint on the cap’s rim adds a glint.
Cluster three bells at slightly different heights on one branch so they chime softly when the tree is brushed. Keep them away from very small children, since the bells are small parts.
15. Beaded Candy Cane Ornaments
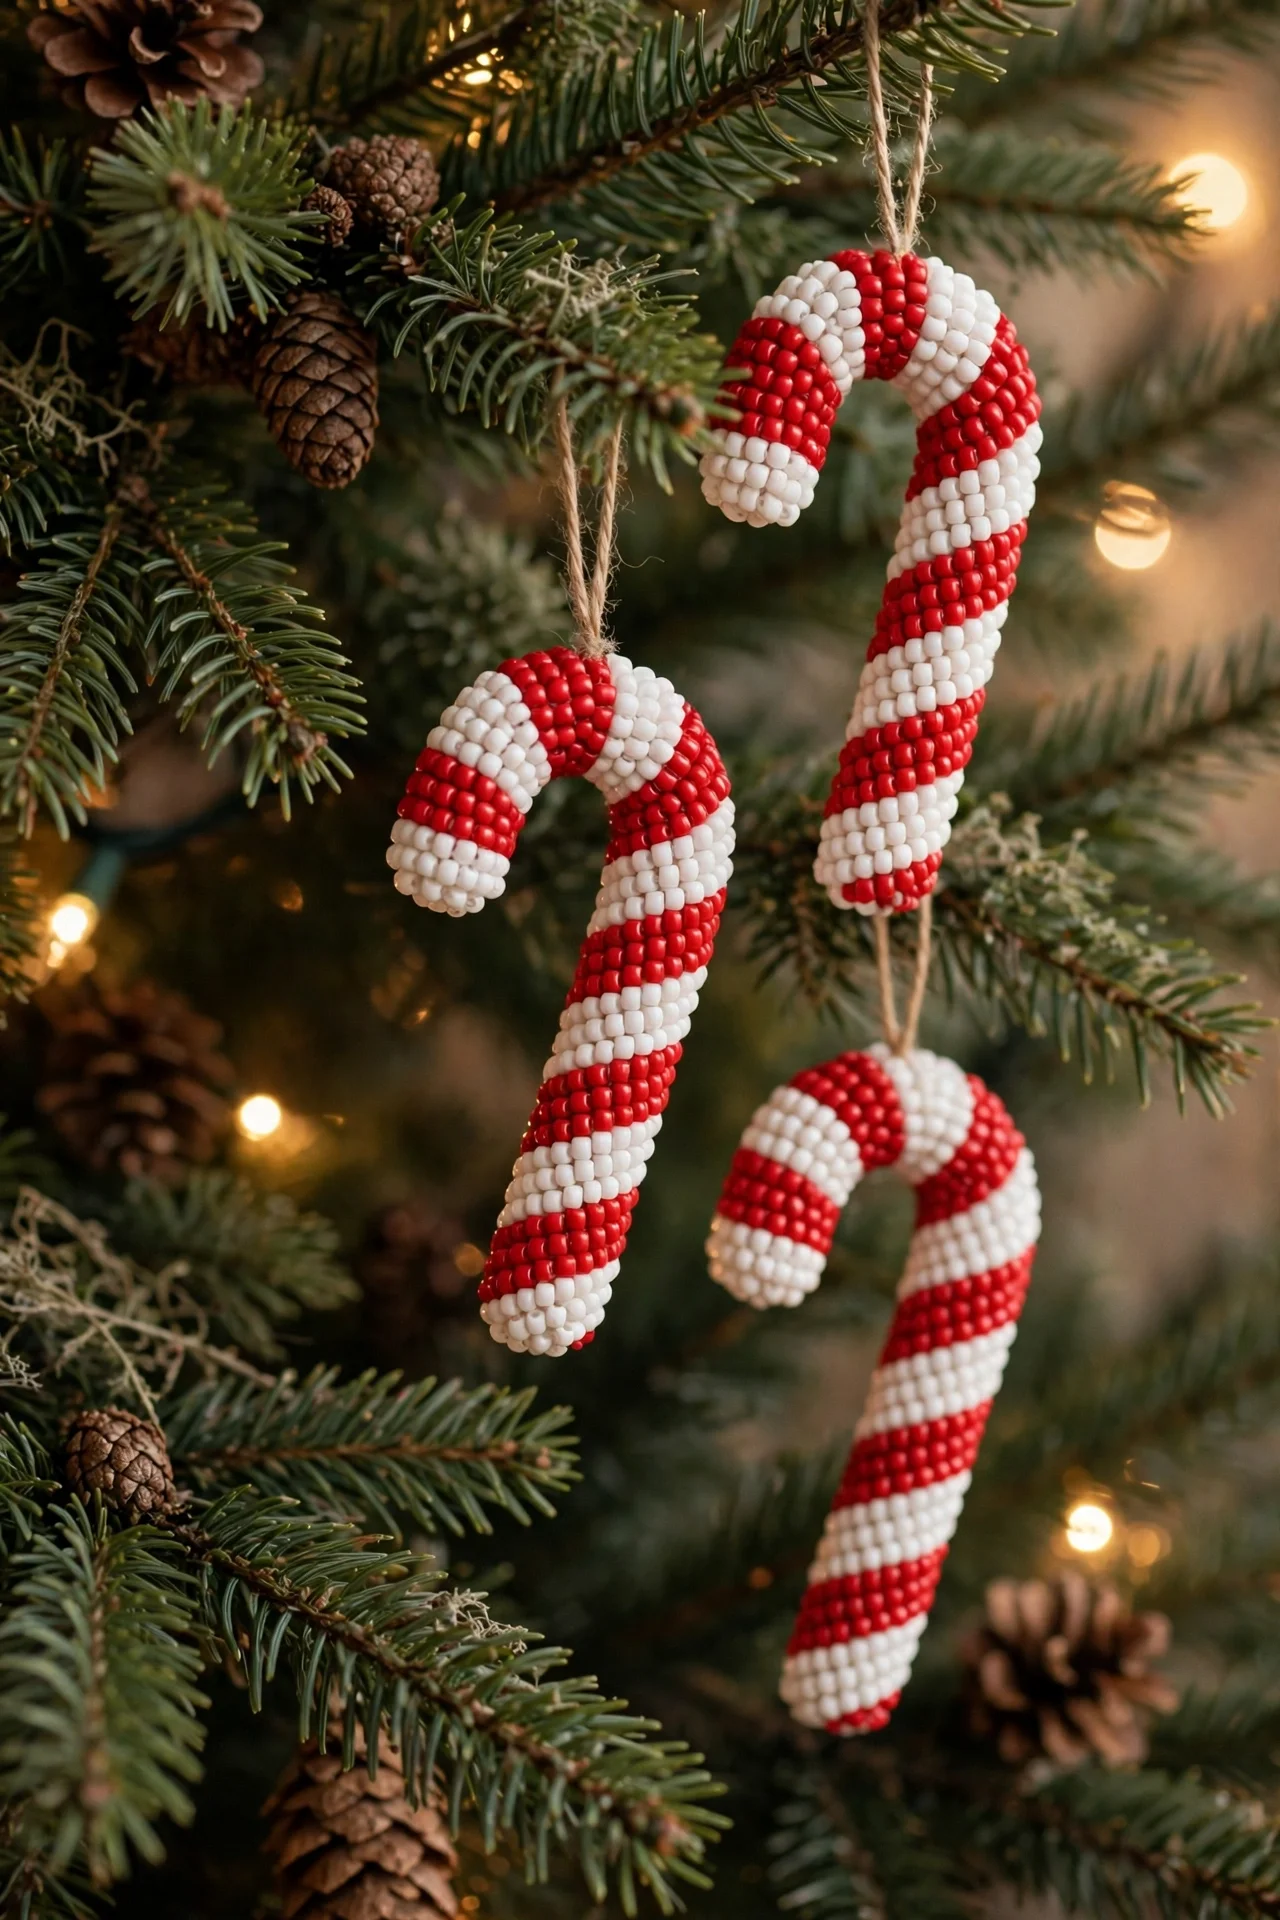
Beaded candy canes are a classic beginner craft with tidy, satisfying results. Bend a white pipe cleaner into a cane shape, then thread on red and white pony beads in alternating groups.
Three red, three white, repeated along the stem and curve, gives the familiar stripe. Leave a small tail of pipe cleaner at each end and fold it back over the last bead to lock everything in place.
These canes are sturdy, unbreakable, and light — ideal for little hands to make and hang themselves. Supervise young crafters, since loose beads are a choking hazard for children under three.
Hook the canes directly over branches, or tie several to a gift or a napkin ring. A dozen scattered through the tree adds cheerful rhythm in classic colors.
16. Air-Dry Clay Snowflake Ornaments
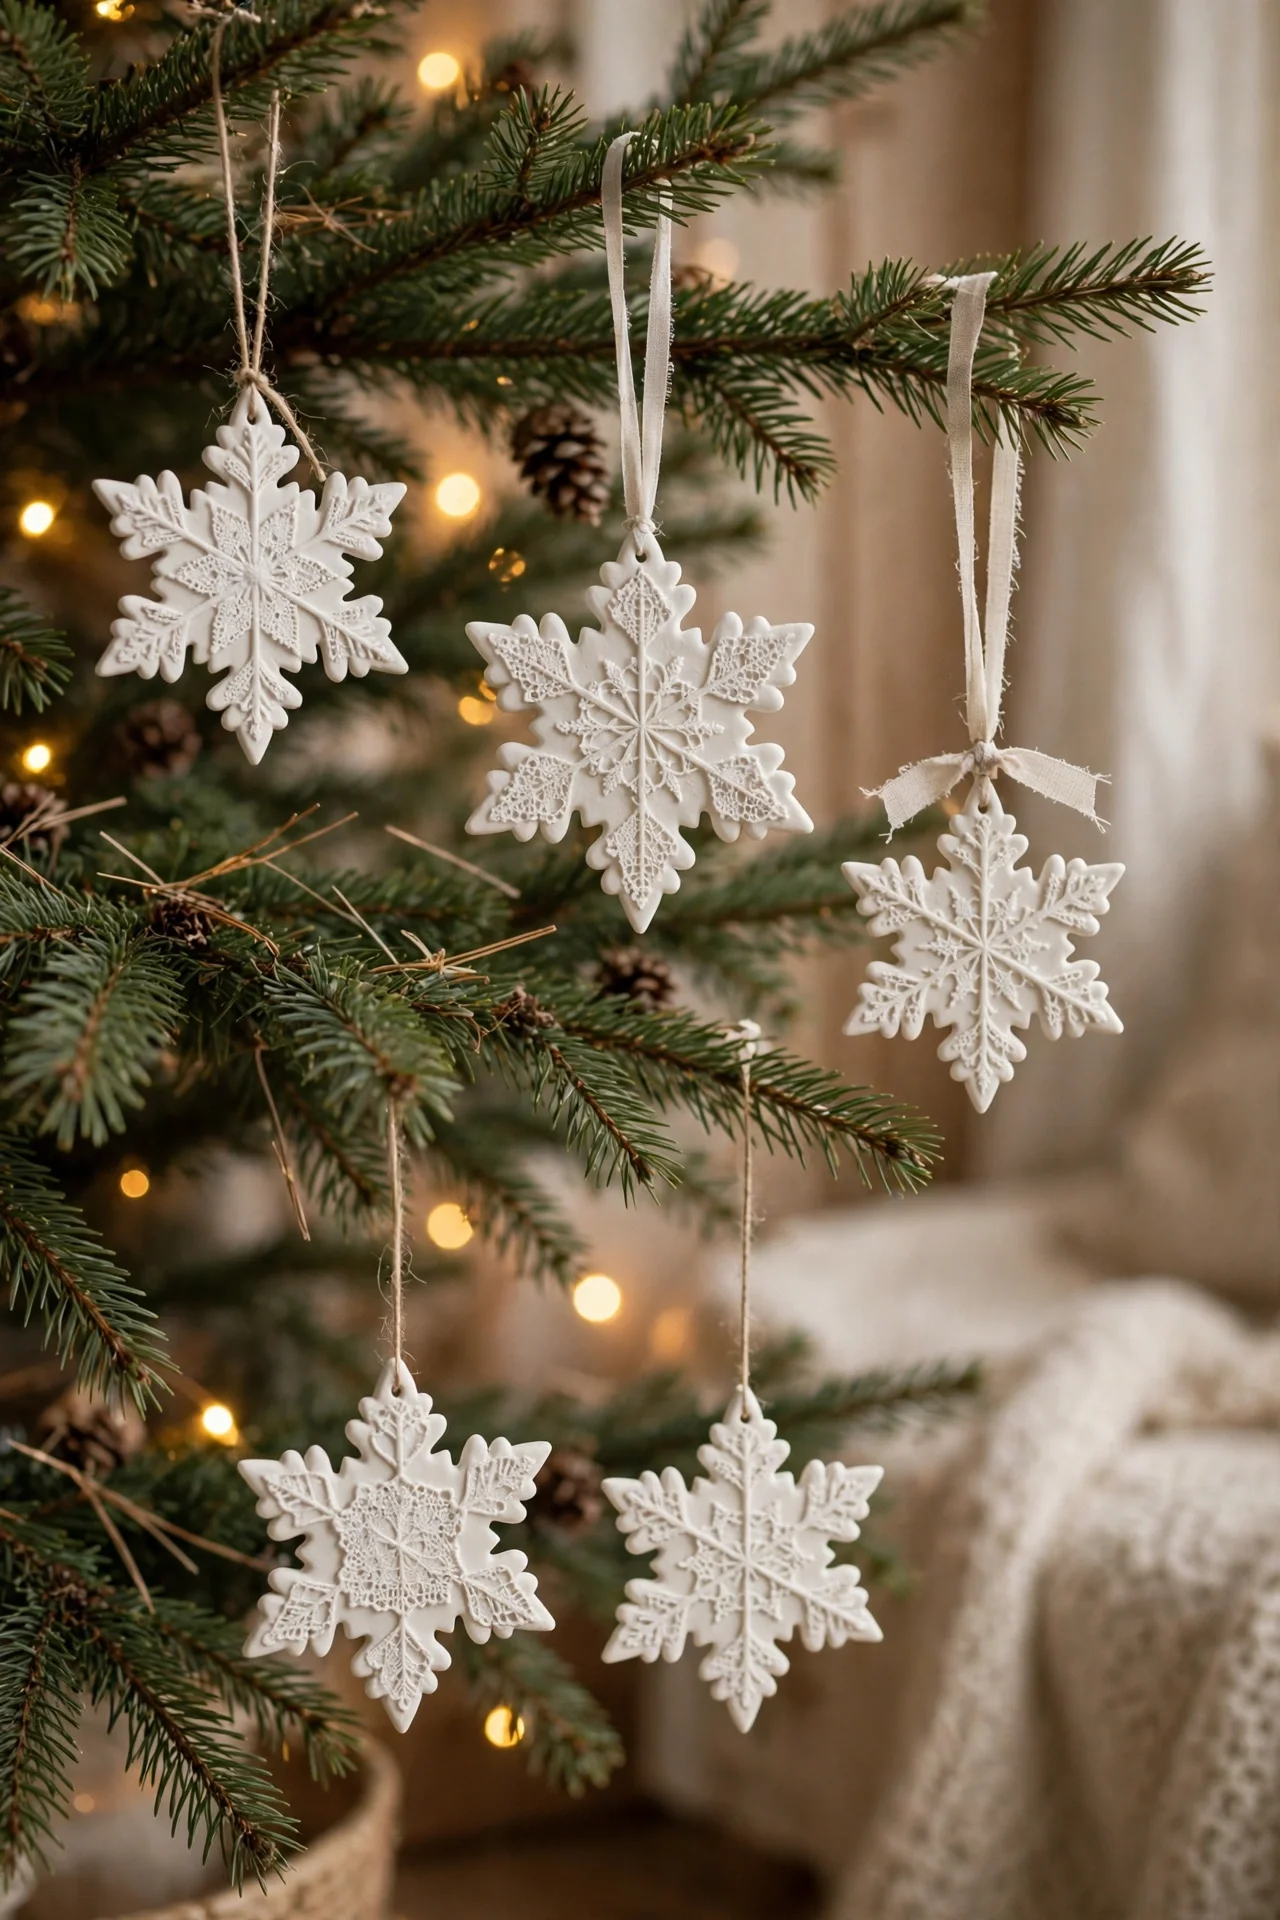
Air-dry clay makes porcelain-look snowflakes without a kiln. Roll white clay to about a quarter inch thick, then press a piece of lace or a doily gently into the surface for delicate texture.
Cut snowflake or star shapes with cookie cutters, and smooth the edges with a damp fingertip. Punch a hanging hole with a straw before setting the pieces aside to dry for a day or two.
Once fully dry, leave them matte white for a Scandinavian feel, or brush the raised pattern lightly with silver or pearl paint. A clear matte sealer keeps them from absorbing moisture.
Thread thin ribbon or white twine through the holes. These snowflakes look lovely grouped on one side of the tree, and they lie flat for easy storage between layers of tissue.
17. Scrap Fabric Rag Ball Ornaments
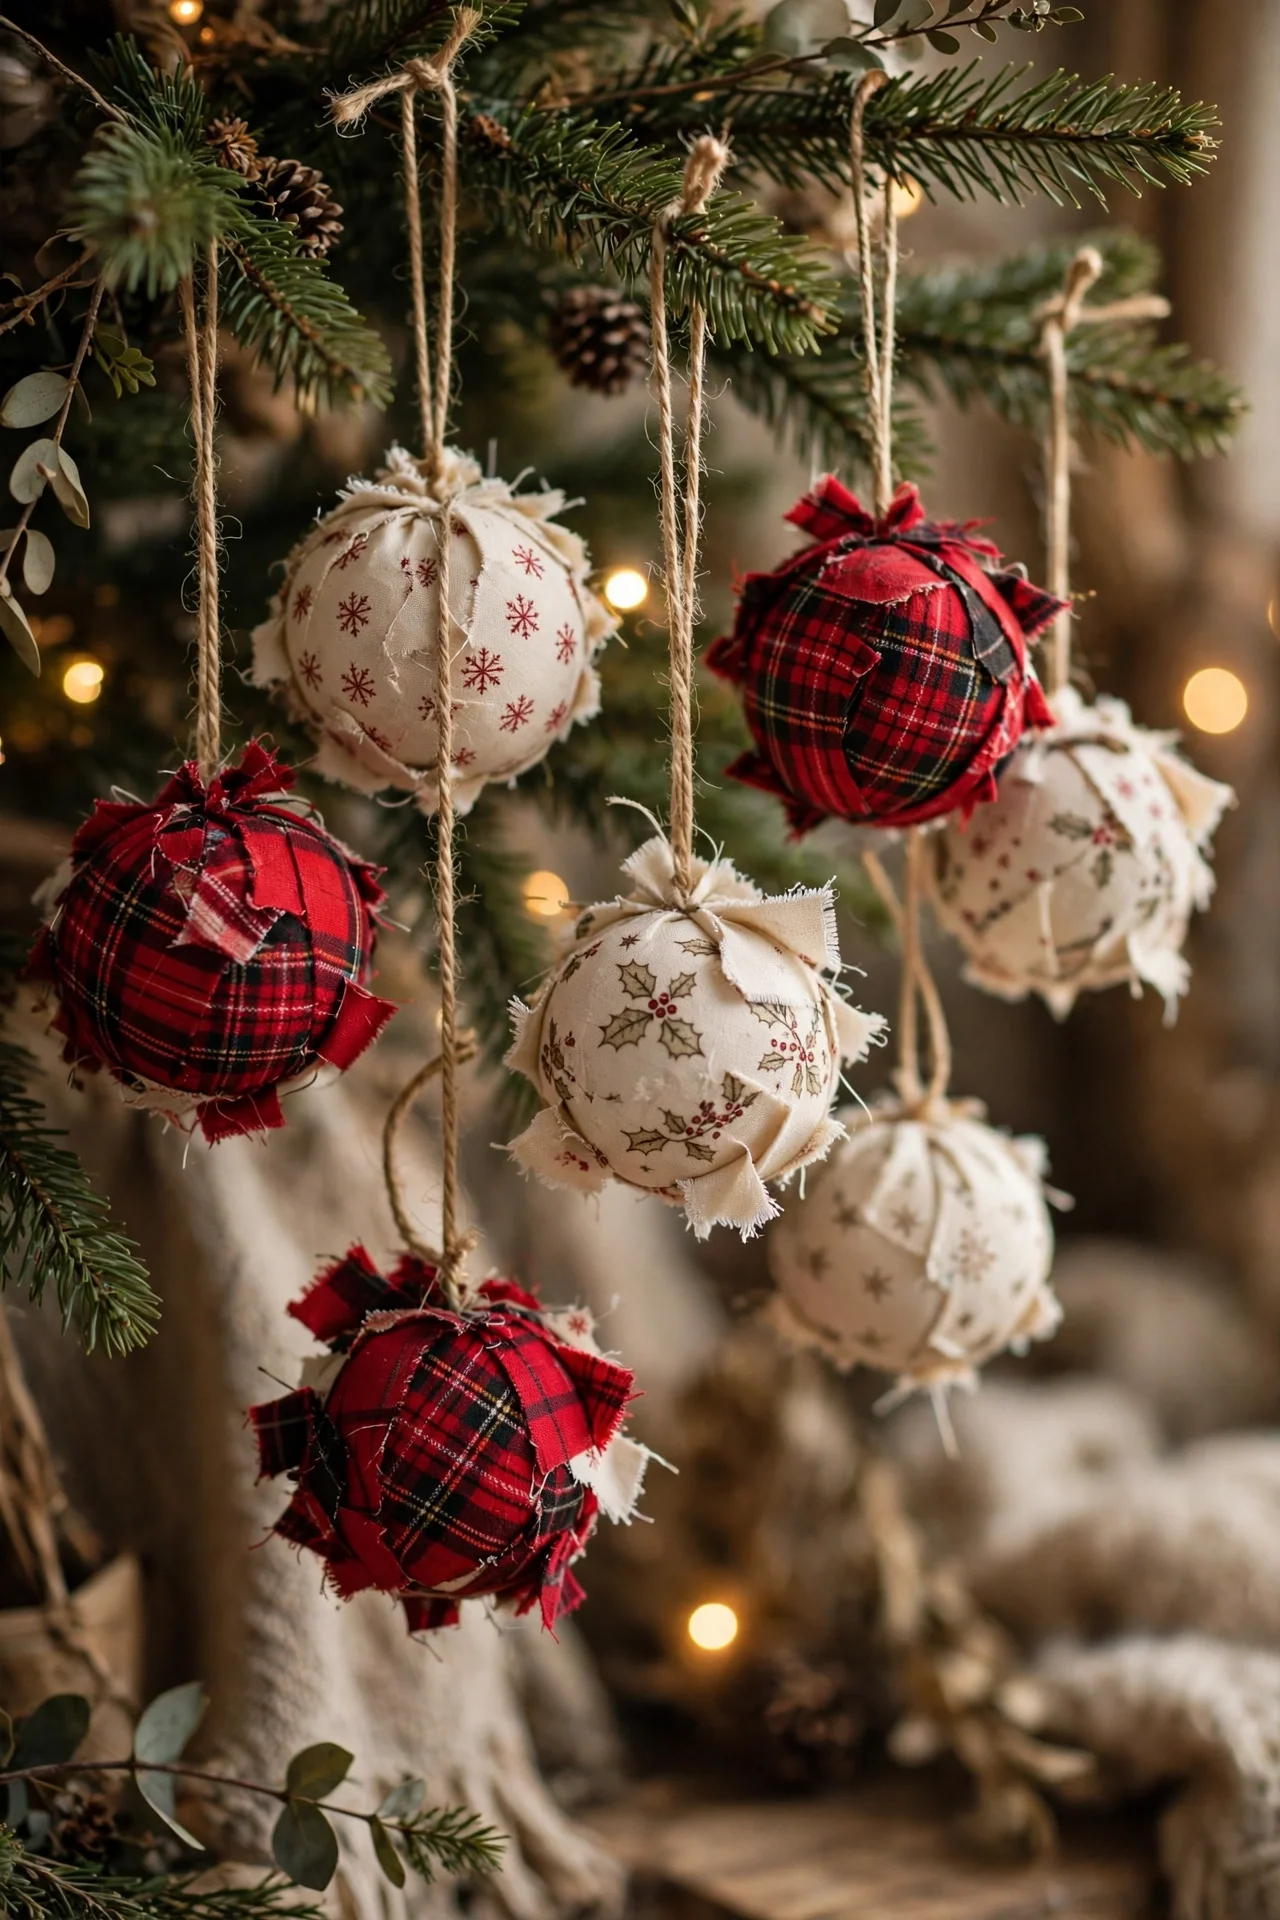
Rag balls turn fabric scraps and worn-out holiday linens into soft, country-style ornaments. Start with a foam or tightly wadded paper ball about three inches across as your base.
Cut fabric into strips about an inch wide. Wrap the strips around the ball, overlapping as you go, and secure the ends with small pins or dots of fabric glue until the base is fully covered.
Mix two or three prints — a plaid, a small floral, a plain muslin — across a set of balls for a collected, homemade look. Finish with a twine loop and a tiny bow at the top.
These ornaments are soft, silent, and safe around toddlers and pets. They also use up the prettiest scraps, so nothing in the craft box goes to waste.
18. Mini Yarn Hat Ornaments

Mini yarn hats might be the most charming ornaments on this list. Cut a cardboard ring from a paper towel tube — about half an inch tall — to form the hat’s brim.
Cut yarn into lengths of roughly twelve inches. Fold each length in half, loop it through the ring, and pull the ends through the loop so the ring is covered all the way around with hanging strands.
Gather the strands at the top, tie them tightly with another piece of yarn, and trim the bundle into a neat pom-pom. Push the strands up through the ring so the brim shows and the hat holds its shape.
Leave one strand as the hanging loop. Red, cream, and forest green hats mixed together look adorable clustered on lower branches.
19. Glitter Glue Snowflake Ornaments
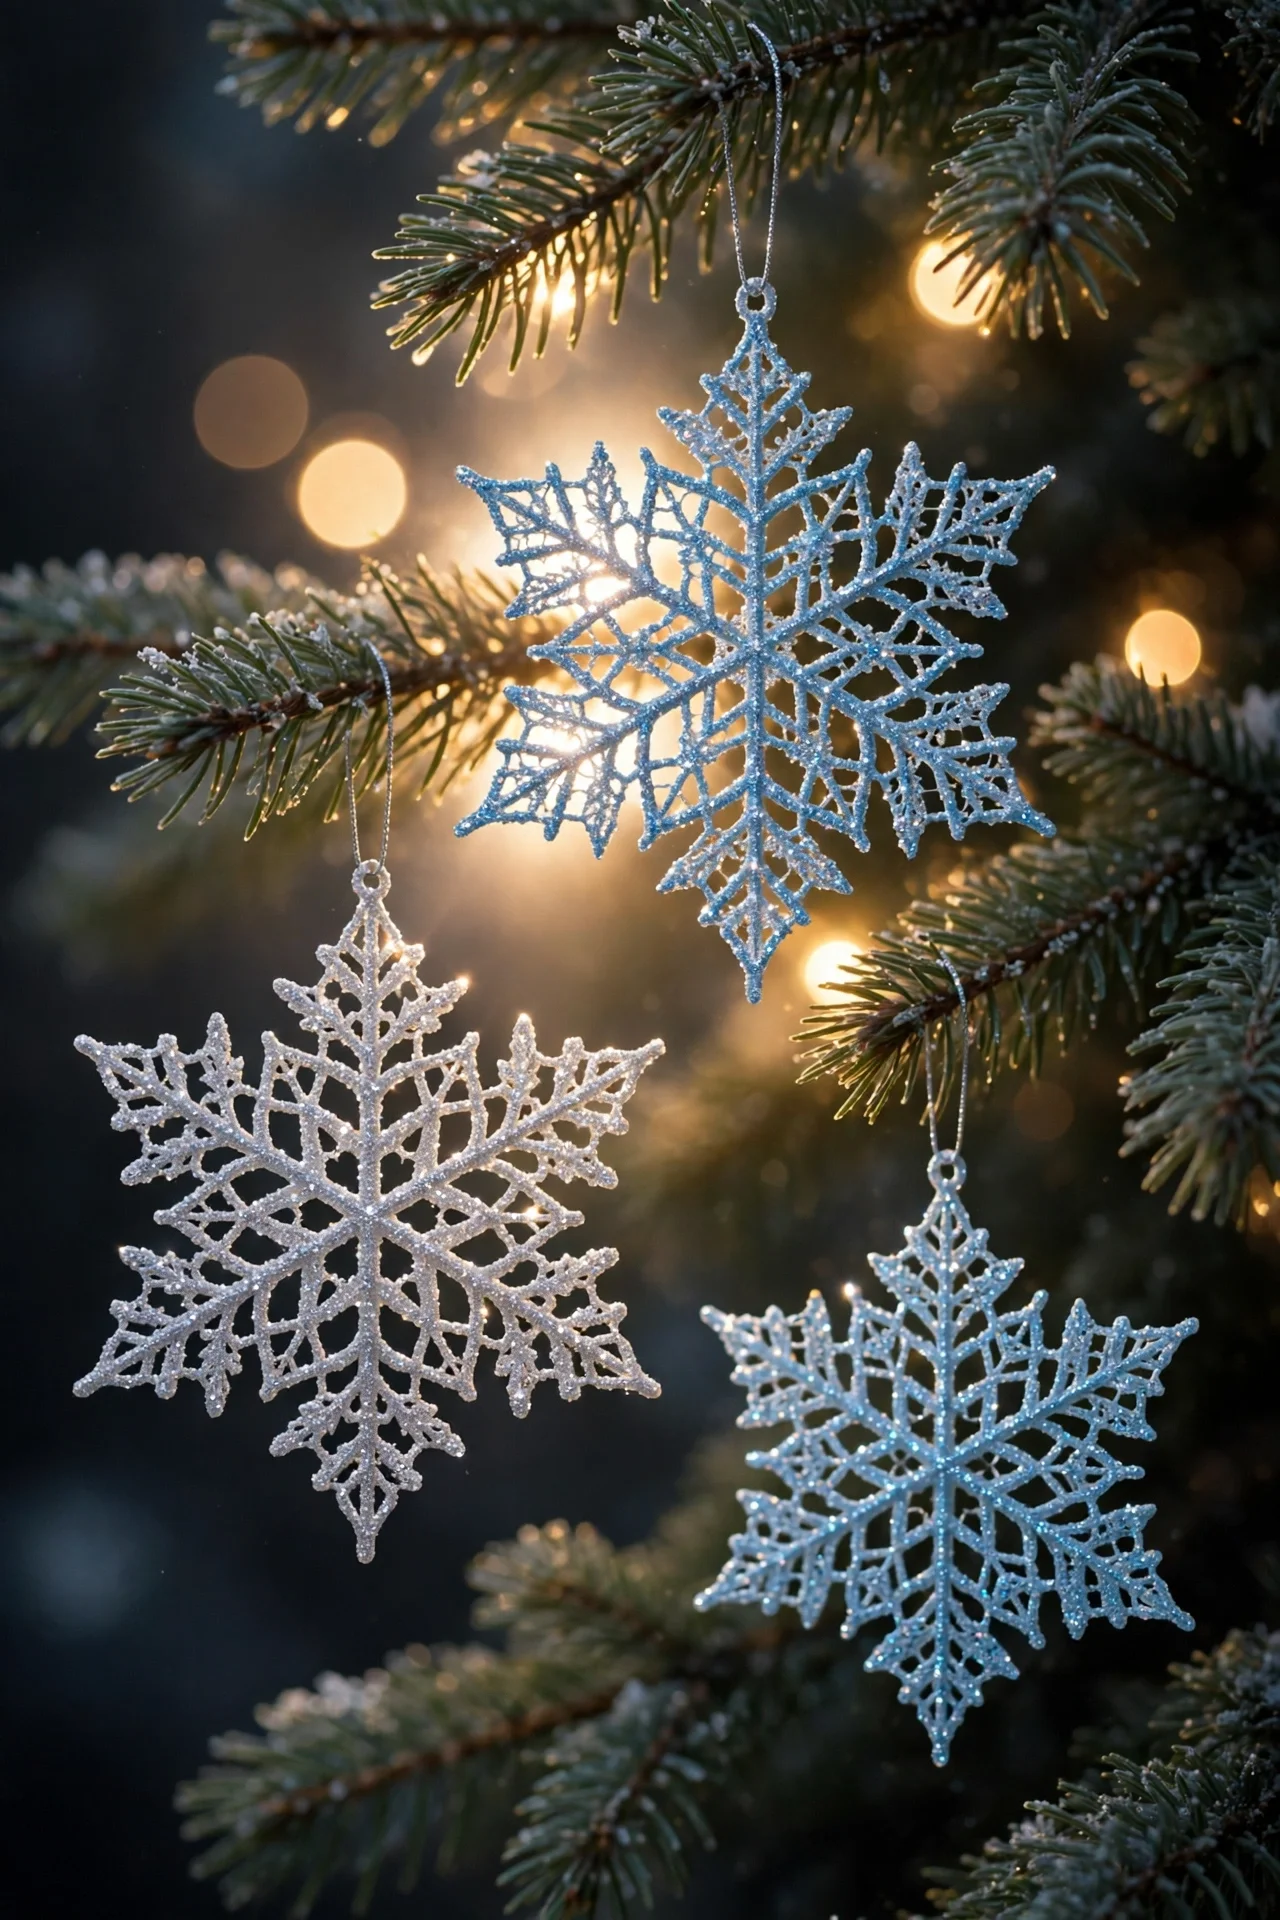
Glitter glue snowflakes dry into lacy, jewel-like ornaments with almost no supplies. Draw a snowflake with glitter glue onto wax paper or a clear plastic sheet, making every line thick and fully connected.
Let the design dry completely — at least overnight — until it feels firm and peels away cleanly in one piece. Thin or broken lines are the usual cause of tears, so trace over any weak spots and dry again.
Punch or thread a loop through one point, and hang the snowflake where light passes behind it. Silver, ice blue, and white glitter look like frost against dark branches.
Adults should handle any hot-glue variation of this craft, and finished snowflakes should hang high if glitter shedding worries you. Store them flat between sheets of wax paper.
20. Twig Rustic Star Ornaments
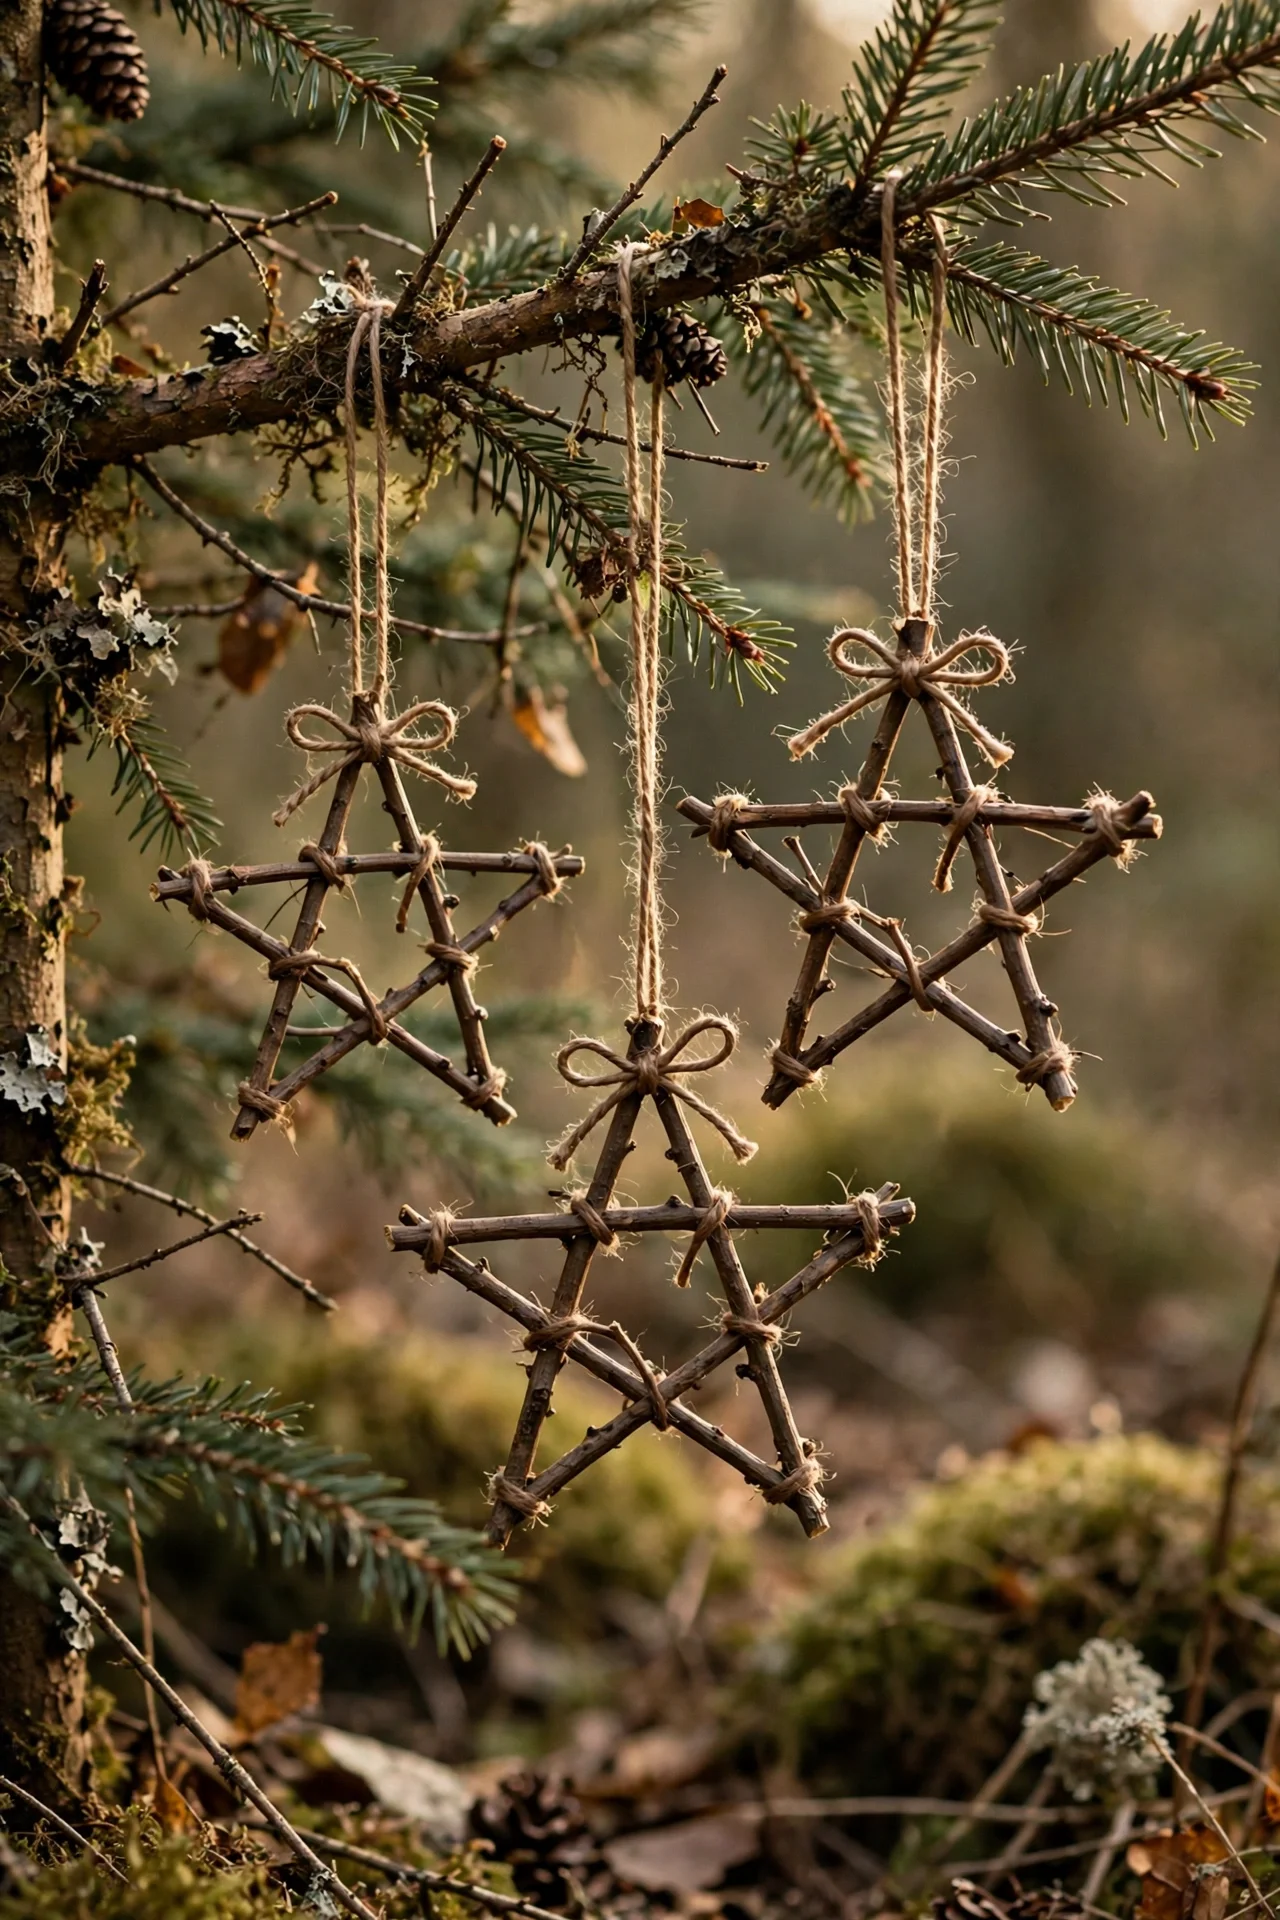
Twig stars are the fastest nature craft on the tree. Gather five twigs of similar thickness and length — six to eight inches is a good size — and trim them.
Lay them into a star shape and bind each point with twine, wrapping and knotting at the back. A tiny dot of hot glue under the twine keeps the joints from slipping as you work.
Add a small loop of twine at the top point for hanging. Leave the bark bare for a rustic look, or dry-brush the twigs with white paint for a frosted effect.
These stars suit the tree, a wreath, or an outdoor display — pair them with the looks in our 26 Small Porch Christmas Decor Ideas for Tiny Entryways for a handmade welcome outside.
21. Pom-Pom Wreath Ornaments

A pom-pom wreath packs a lot of softness into a tiny circle. Make or buy small pom-poms about an inch wide — a fork or a small pom-pom maker keeps their size even.
Glue the pom-poms side by side onto a small ring of cardboard or a mini foam wreath form until the base disappears. Mix deep green with a few cream pom-poms for a frosted-berry effect.
Tie a red ribbon bow at the top or bottom, and glue one or two tiny red pom-poms among the green as berries. Add a ribbon loop behind the bow for hanging.
These wreaths are feather-light and soft, so they are safe on the lowest branches. They also look lovely hung in a row along a mantel or across a child’s bedroom doorway.
22. Upcycled Sweater Ornaments

An old sweater with a hole or a shrunken fit can live on as soft ornaments. Cut simple shapes — hearts, stars, trees, mittens — from the sound parts of the knit, cutting two of each.
Stitch or glue the pairs together with a little stuffing inside, leaving a small gap at the top for a ribbon loop before you close the seam. Cable-knit and Fair Isle sections look especially festive without any extra decoration.
If sewing feels slow, wrap sweater strips around foam balls instead, pinning the ends underneath, for a no-sew version with the same cozy texture.
Cream, red, and grey knits mixed together give the tree a warm, fireside feeling. These ornaments are unbreakable, pack without padding, and carry a little nostalgia onto every branch.
23. Mini Embroidery Hoop Ornaments
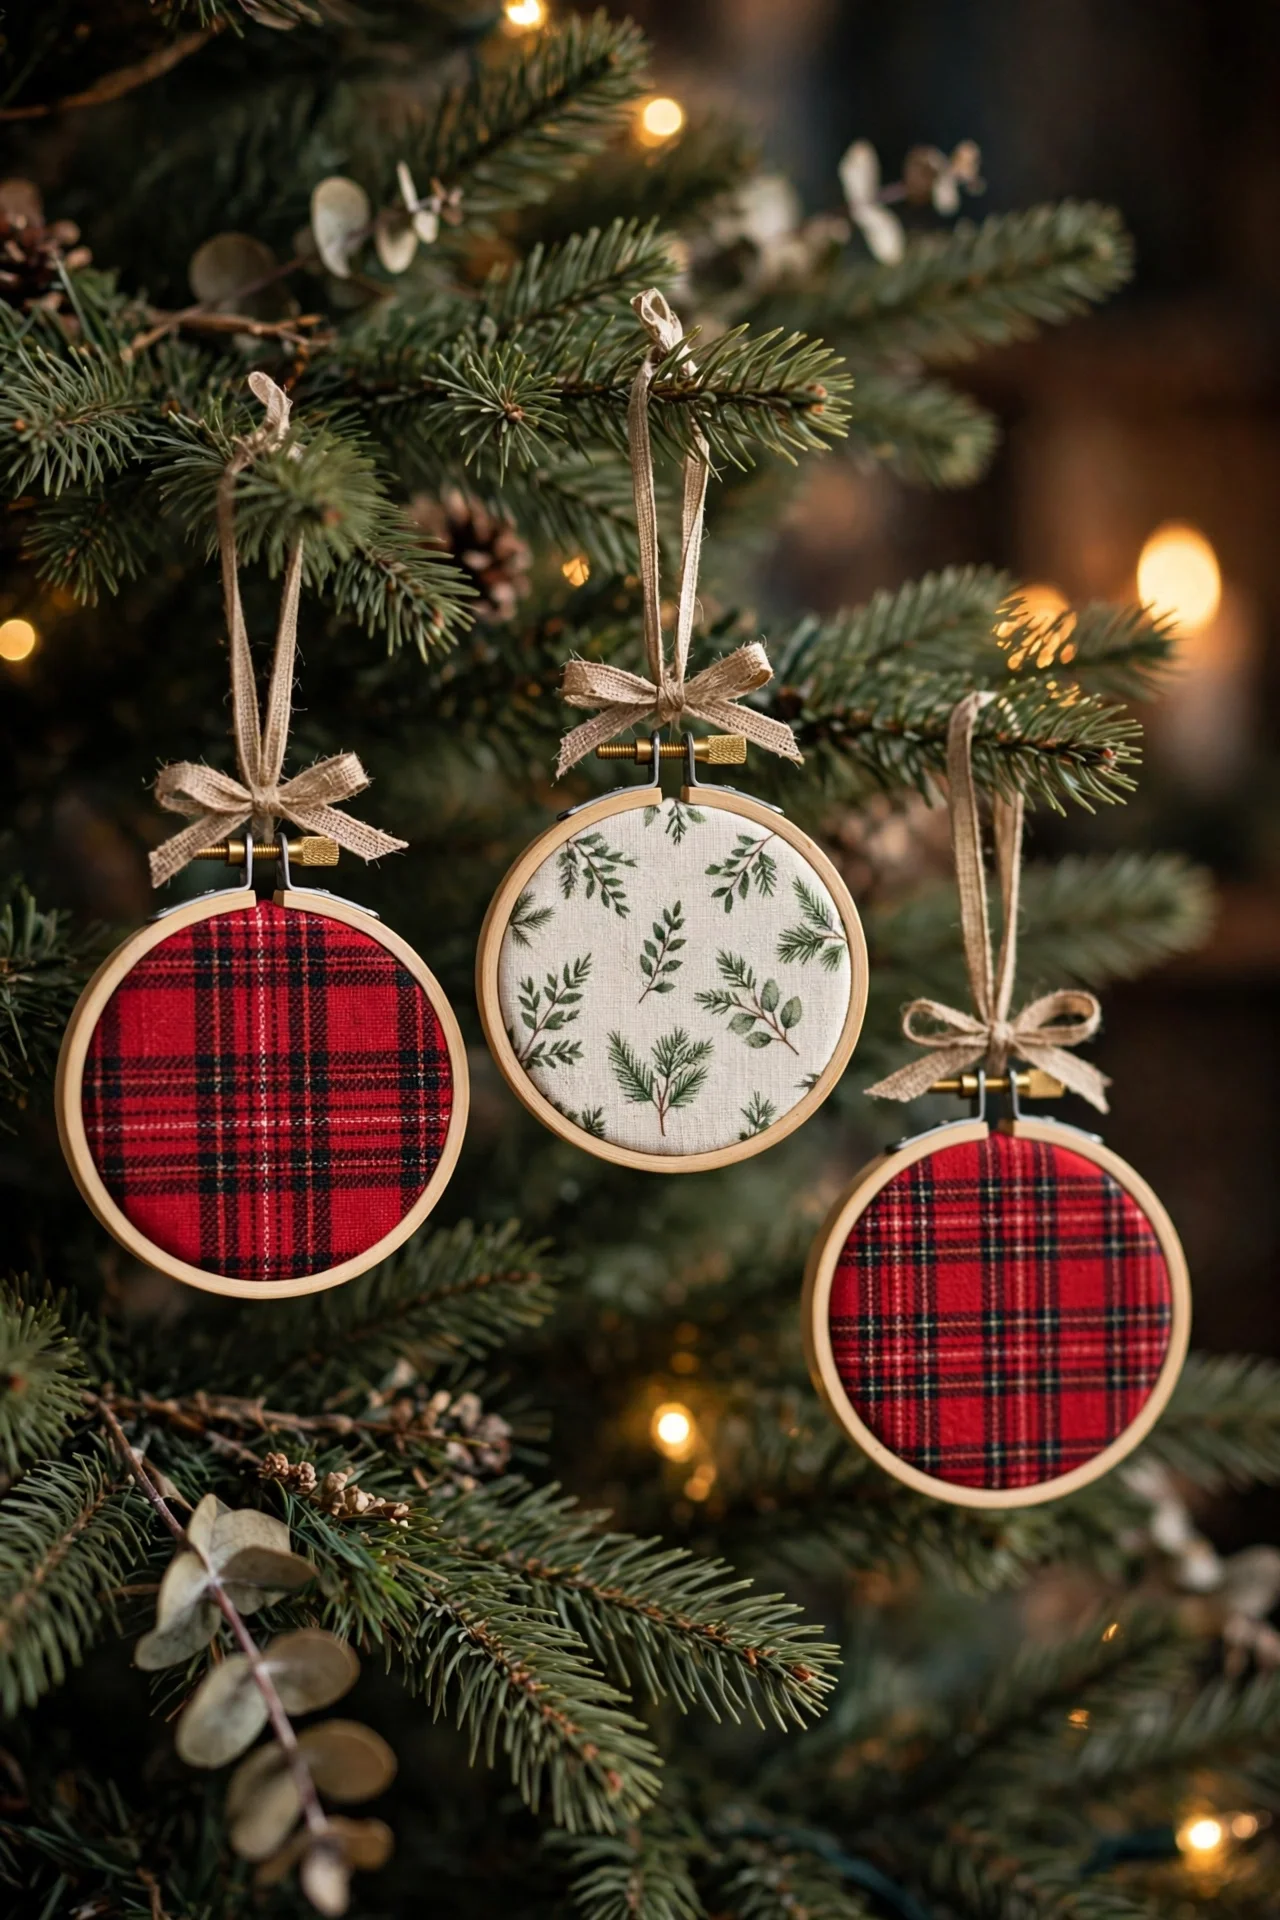
Mini embroidery hoops frame pretty fabric like tiny works of art. Choose hoops about three inches wide and festive cotton fabric — plaid, tiny sprigs, polka dots, or a small woodland print all work beautifully.
Stretch the fabric tightly in the hoop, tighten the screw, and trim the excess close to the back edge. A ring of hot glue around the back keeps the fabric from slipping over time.
Tie a ribbon bow at the screw on top and thread a loop through it for hanging. Group three hoops in different fabrics on nearby branches to create a small gallery moment.
No stitching is required, but a few simple embroidered dots or a stitched snowflake shape adds handmade charm. These hoops make mailable gifts that lie flat in an envelope.
24. Cardboard Gingerbread House Ornaments
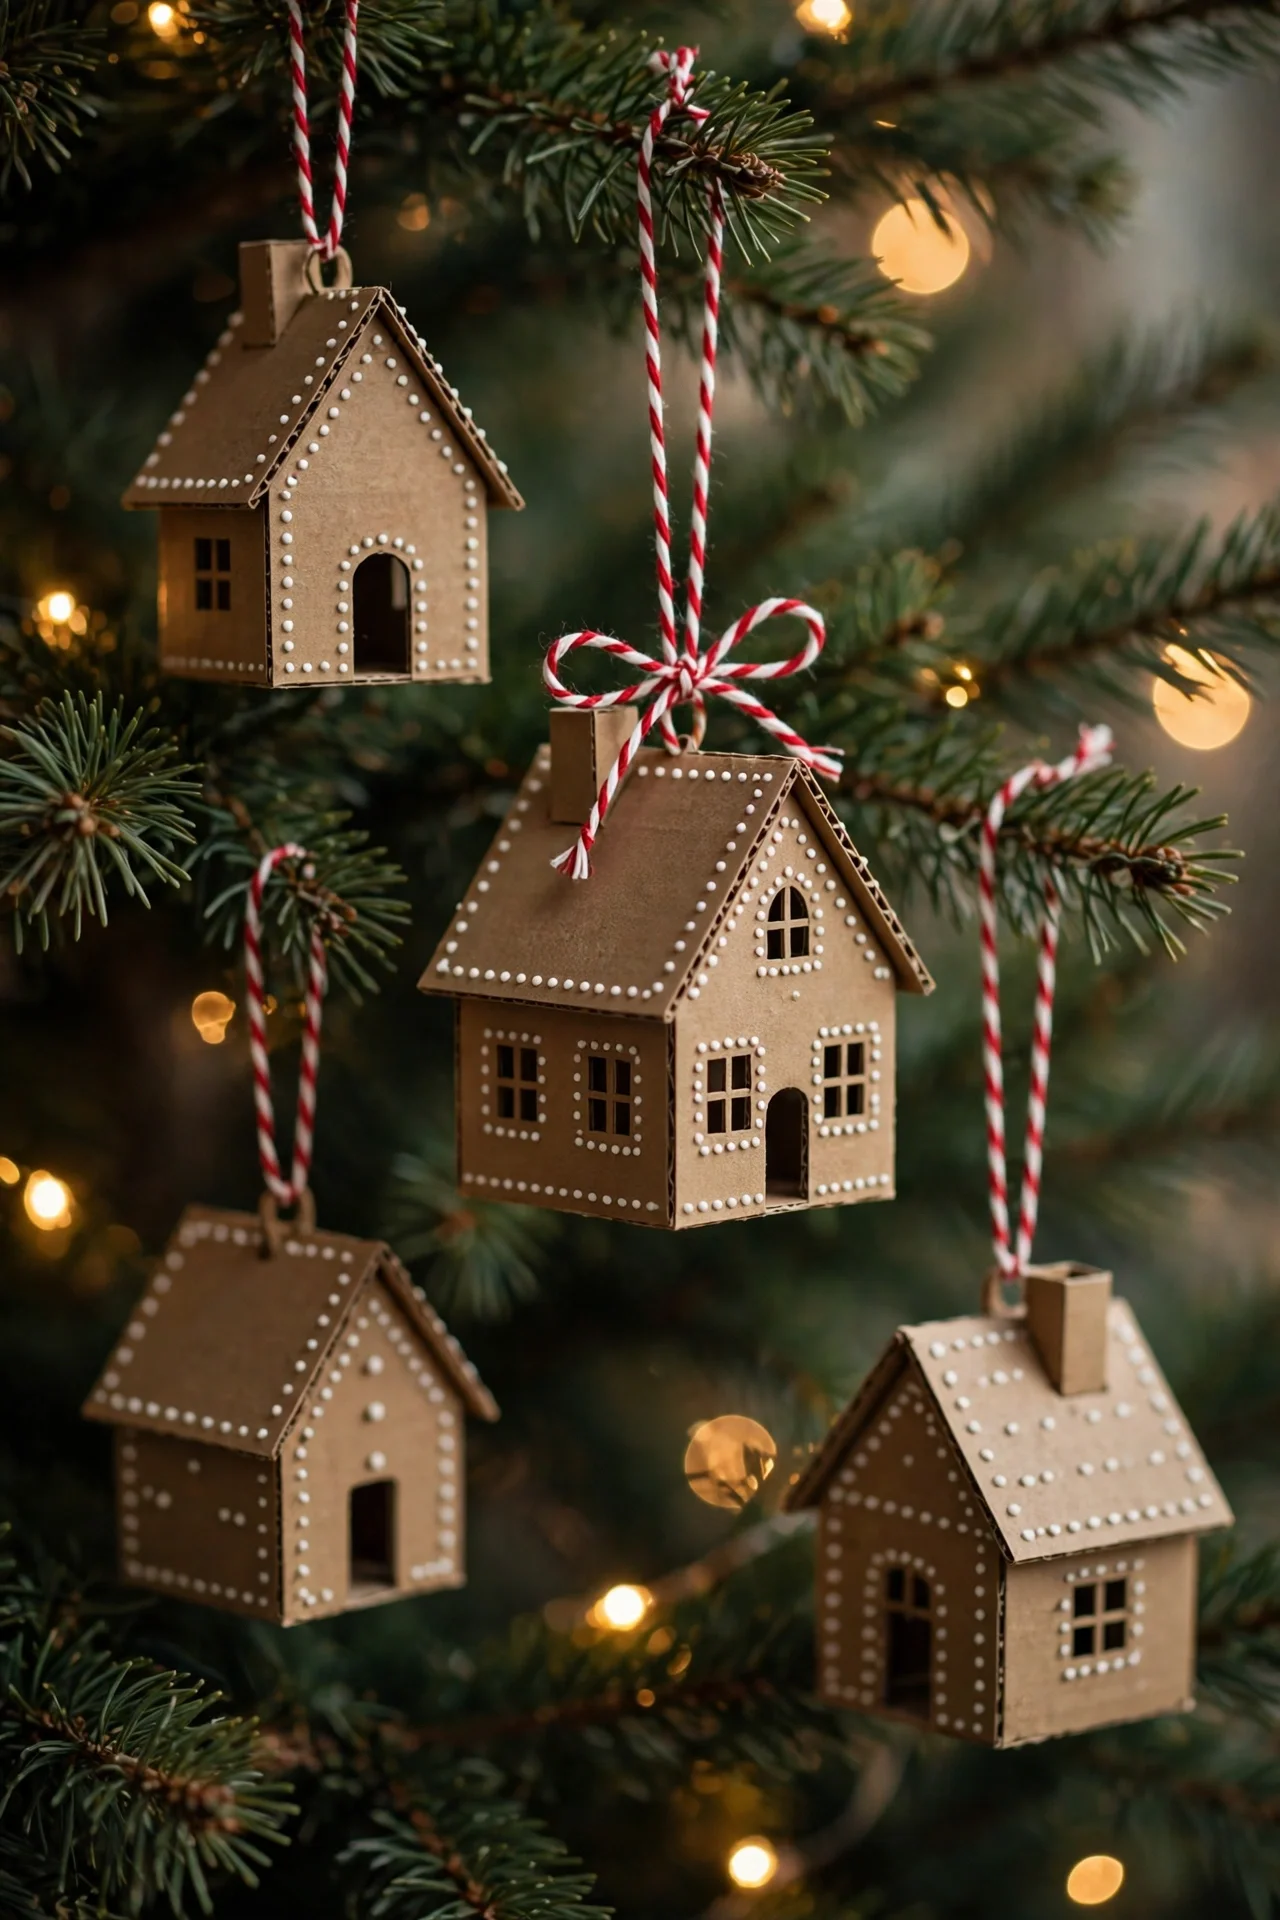
Cardboard gingerbread houses bring storybook charm without a crumb of baking. Cut a simple house silhouette — a square with a peaked roof — from sturdy brown cardboard or kraft card.
Draw the details with a white gel pen or dimensional white paint: dots along the roof edge, a simple door outline, round windows, and scalloped trim. The white-on-brown contrast reads instantly as icing, with no lettering needed.
Glue a second cardboard layer behind the first for sturdiness, punch a hole in the roof peak, and thread red-and-white twine through for hanging.
Make a small village of them in slightly different sizes and hang them together on one section of the tree. They are light, flat, and store neatly stacked in an envelope.
25. Ribbon Angel Ornaments
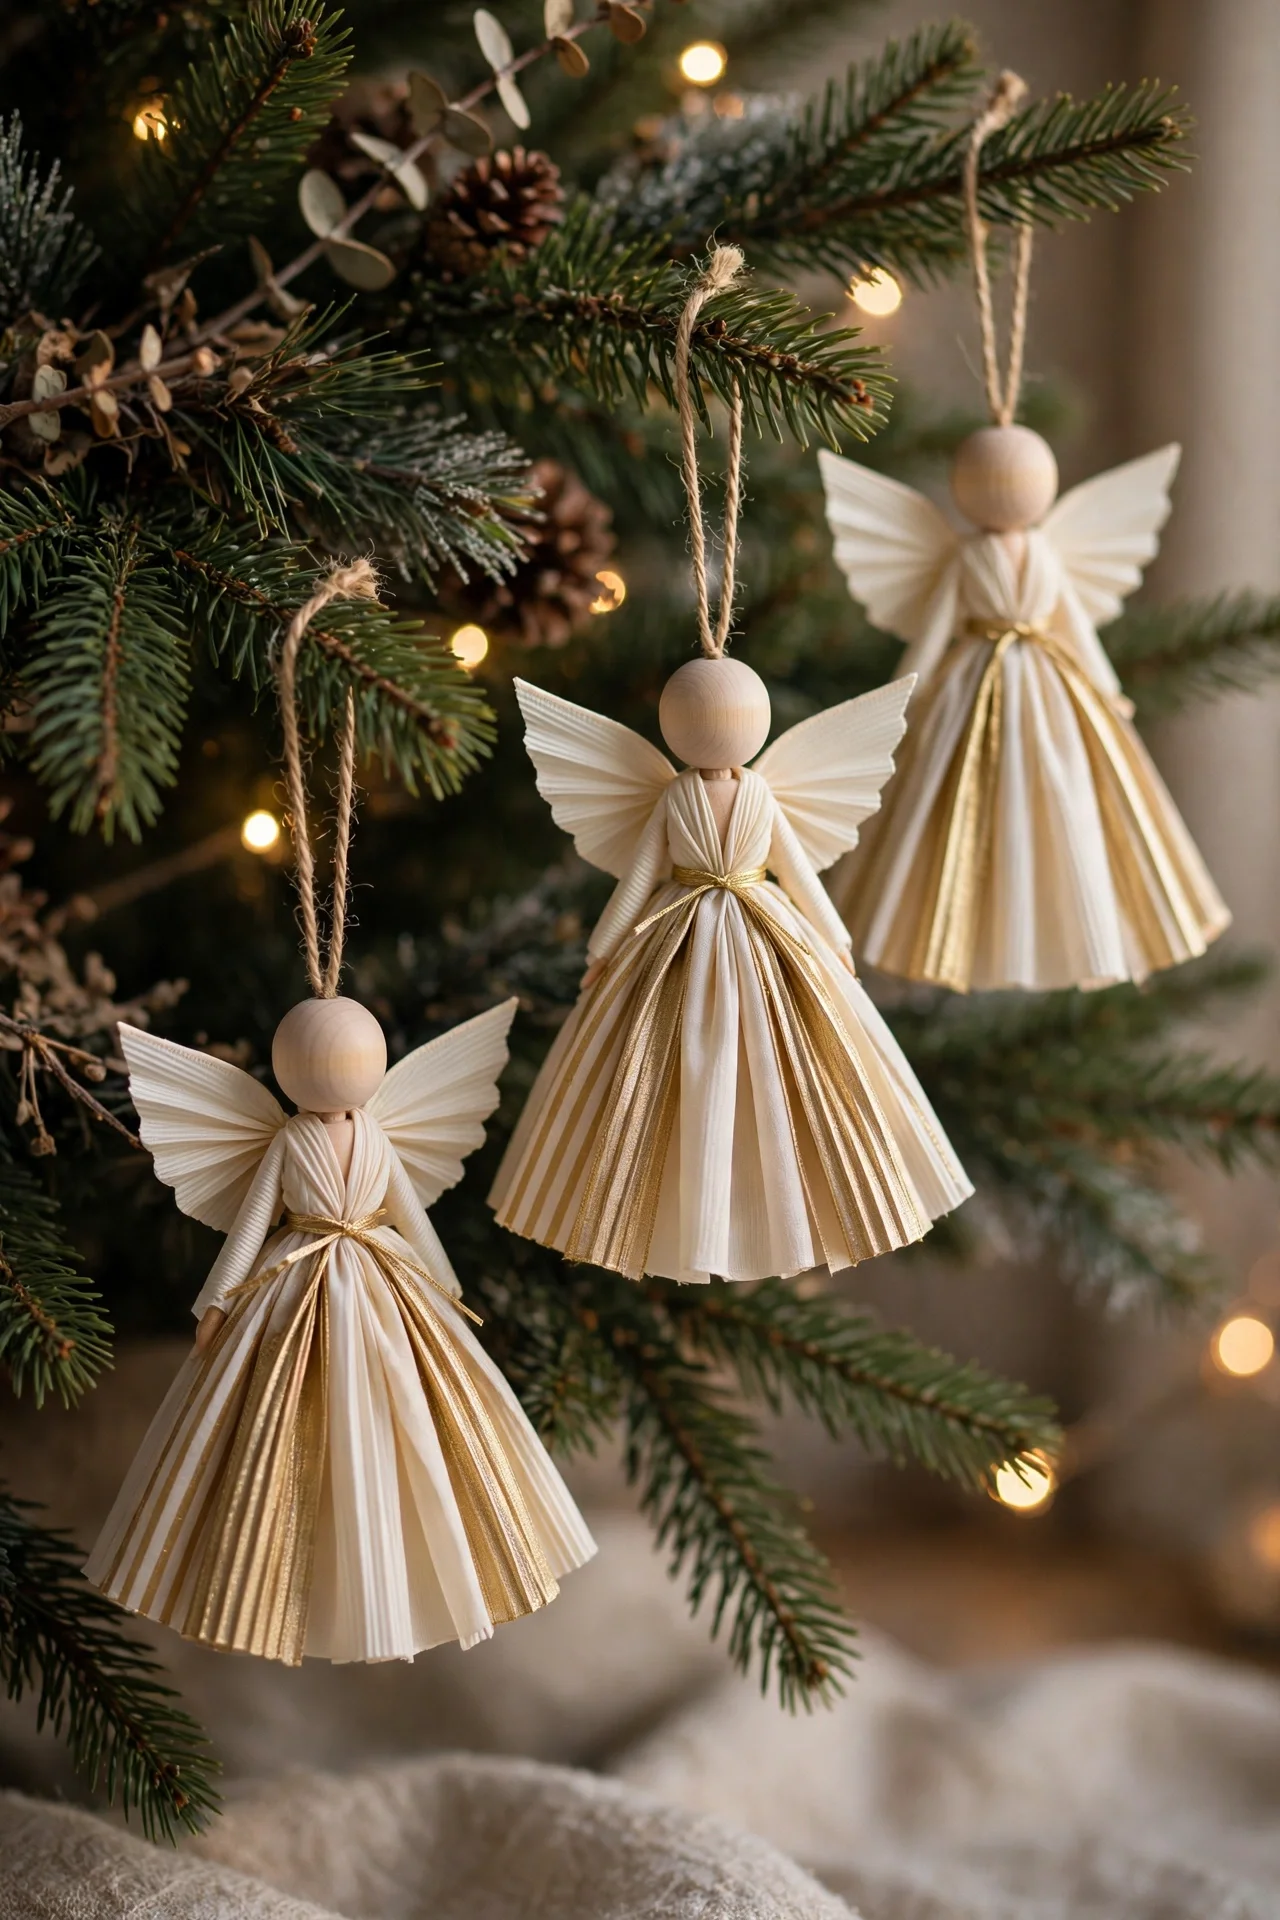
Ribbon angels finish the collection with elegance. Fold a wide wired ribbon into accordion pleats to form the gown, pinch it at the top, and secure it with thread or an elastic band.
Thread a wooden bead onto a loop of cord and glue it above the pinch as the head. Add a narrower strip of ribbon behind the bead, looped into two wings, and glue it firmly in place.
A tiny gold cord halo above the bead and a small bow at the neck add the final details. Cream, gold, and soft blush ribbons all glow against green branches.
Make one angel for the top of the tree’s lowest tier or a choir of them for a mantel garland. They store flat and need only a reshaping each year.
Conclusion
A tree dressed in handmade ornaments feels different from any other — it smells of cinnamon and orange, it sparkles with pinecones and clay, and every branch holds something someone you love actually made. Start with the projects that match supplies you already own, make a few each evening, and let the collection grow naturally year after year.
Keep the handmade theme going beyond the tree with our 28 Easy DIY Christmas Decorations to Make This Holiday Season, and carry the welcome to the front of the house with our 30 Beautiful Christmas Door Decorating Ideas for 2026. Set out the craft box this weekend, put on some music, and let your handmade holiday tree begin.
FAQs
What are the easiest DIY Christmas ornaments for beginners?
Start with dried orange slices, glitter pinecones, paper strip baubles, and yarn-wrapped stars. They need few supplies, forgive small mistakes, and look polished on the tree. Clear fillable baubles are another instant win — a pinch of faux snow and a sprig of greenery is the whole project. Choose two or three beginner projects first, then try clay or salt dough once you are comfortable.
How do I make handmade ornaments last for years?
Store them dry, cool, and padded: wrap fragile pieces like clay and salt dough in tissue, keep dough ornaments away from humidity, and box cinnamon and orange ornaments in airtight tins to hold their scent and color. Seal painted wood and dough with clear varnish, and refresh faded ribbon bows rather than replacing whole ornaments. Label each box so fragile pieces are never crushed at the bottom of a pile.
Are DIY ornaments safe around children and pets?
Most are, with a few sensible swaps. Choose shatterproof plastic baubles instead of glass, hang ornaments with small parts — bells, beads, and button pieces — high on the tree, and supervise young children around loose beads and hot glue. Soft felt, fabric, pom-pom, and sweater ornaments are the safest choices for the lowest branches, where little hands and curious pets can reach.
How many handmade ornaments do I need for a full tree?
A six-foot tree looks full with roughly 60 to 80 ornaments, and handmade pieces can make up all or part of that count. A practical approach is to craft 25 to 30 handmade ornaments using the ideas in this guide, then fill gaps with plain glass balls in two or three matching colors. Repeat each handmade style at least three times so the tree feels designed rather than random.


